Looking for a Crash Site collectibles walkthrough in Astro Bot? This page will show you where to find all the collectibles in Crash Site, the central hub level of the game. As part of our Astro Bot guide, our Crash Site collectibles walkthrough will show you where to find all Bots and Puzzle Pieces in the stage.
Where Are All Crash Site Collectibles in Astro Bot?
Below, we have a walkthrough of Crash Site, showing you where to find all the collectibles throughout this Astro Bot level, roughly in the order you should find them.
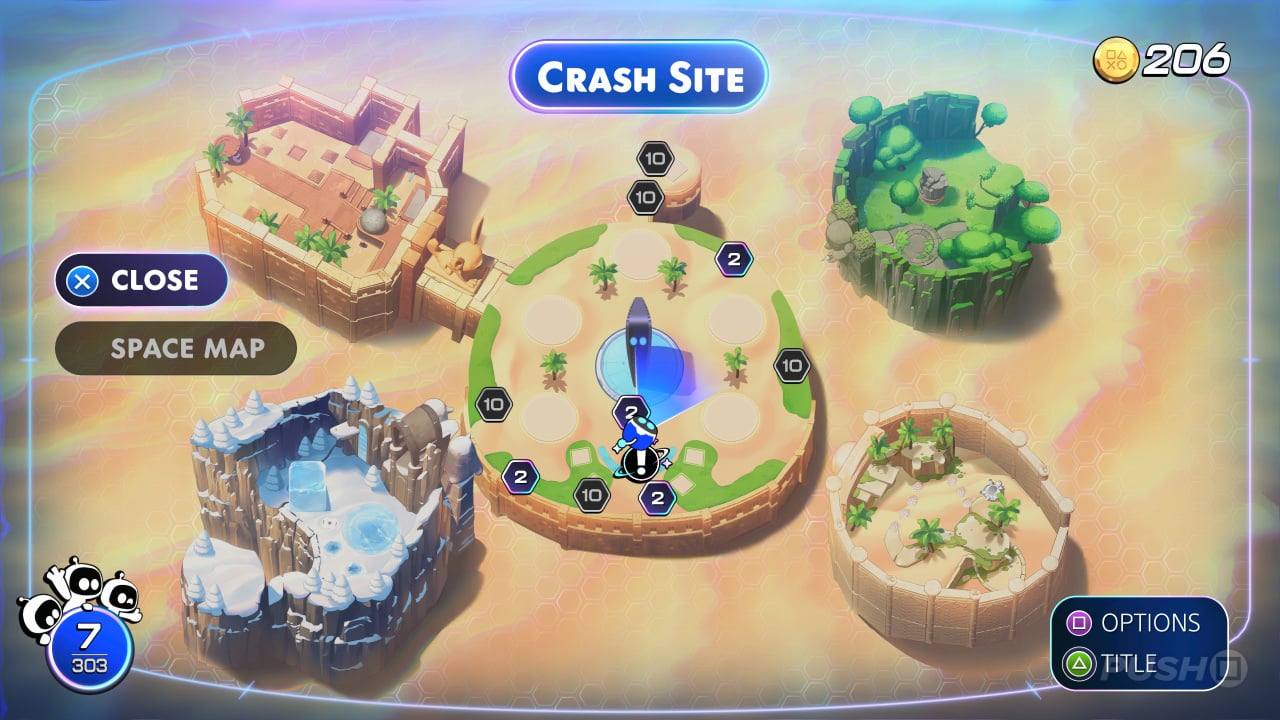
Note: The first four Bots listed below will only show up in Astro Bot if you have obtained them within Astro's Playroom. For more information, see our guide: Astro's Playroom: All Special Bots Locations.
Bot #1: Selene
- Directly behind the Dual Speeder, you'll see Selene trapped beneath a rock.
- If you have collected 2 or more Bots, you will be able to free her.
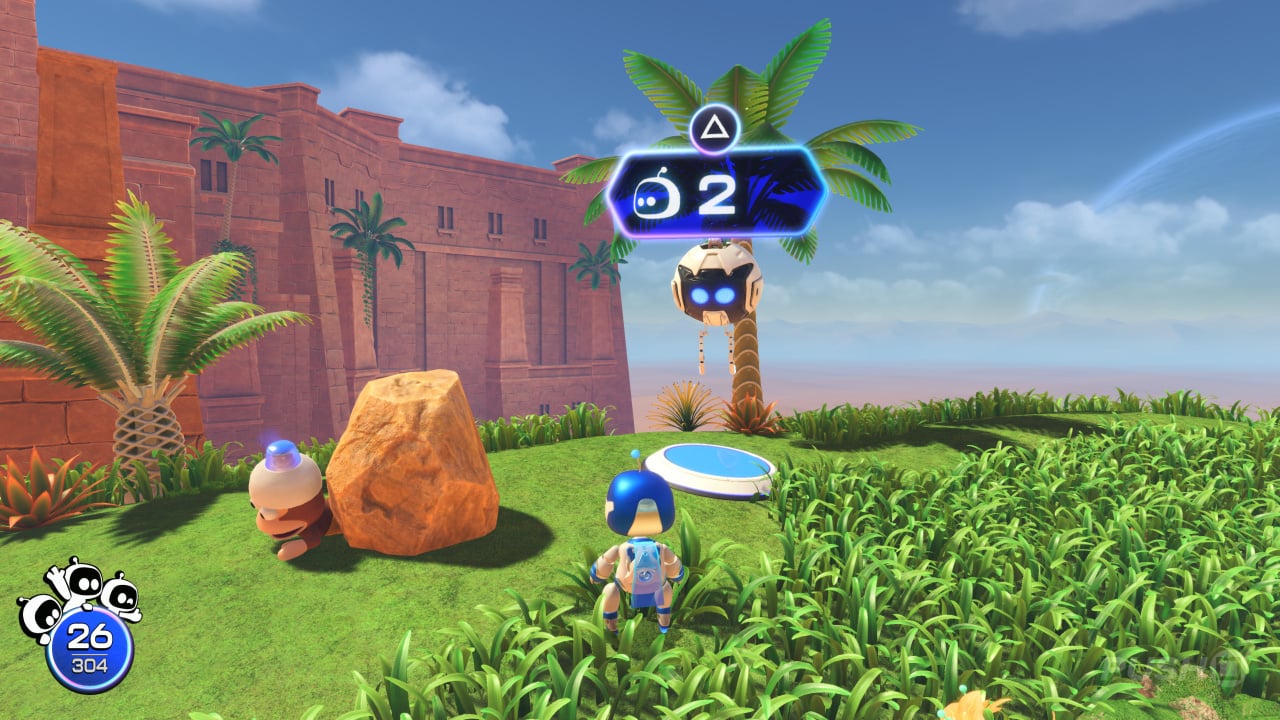
Bot #2: GT Racer
- In the southwest corner of the central area, you'll see GT Racer trapped under a rock.
- If you have collected 2 or more Bots, you will be able to free them.
Bot #3: Lady Maria
- In the northeast corner of the central area, you'll see Lady Maria trapped under a rock.
- If you have collected 2 or more Bots, you will be able to free her.
Bot #4: Pipo Monkey
- In the northwest corner of the central area, you'll see Pipo Monkey trapped under a rock.
- If you have collected 2 or more Bots, you will be able to free him.
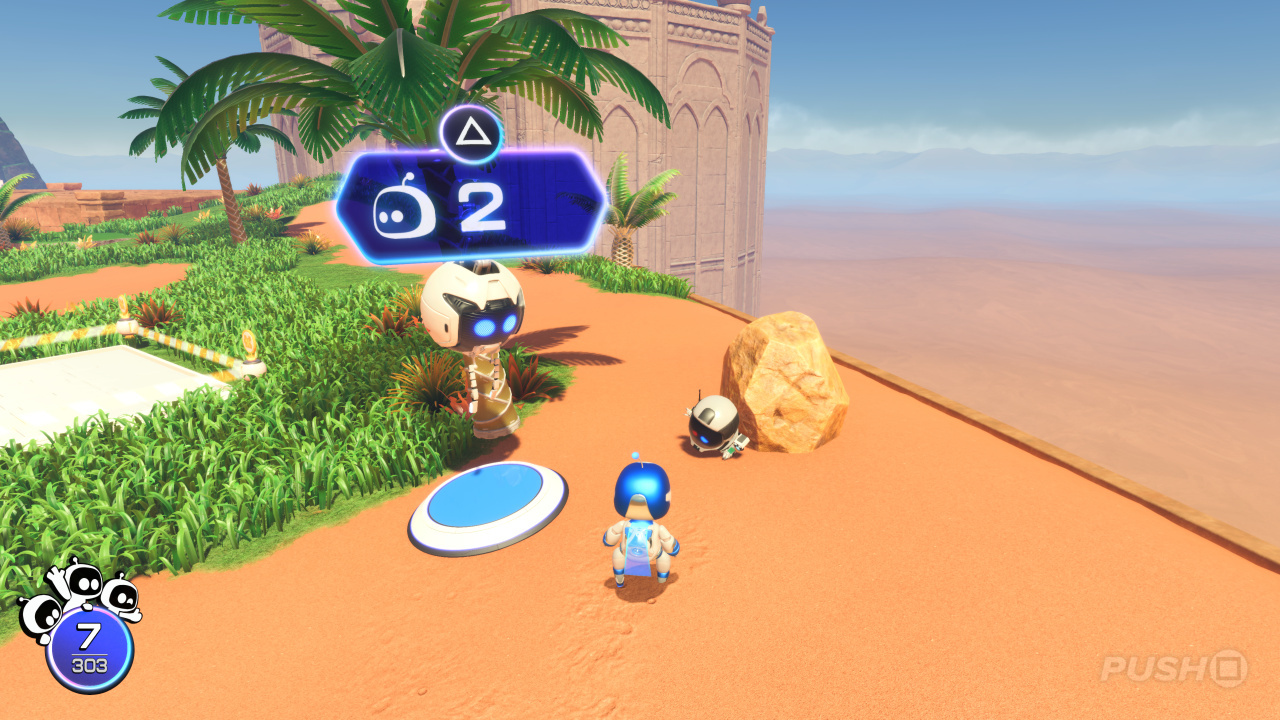
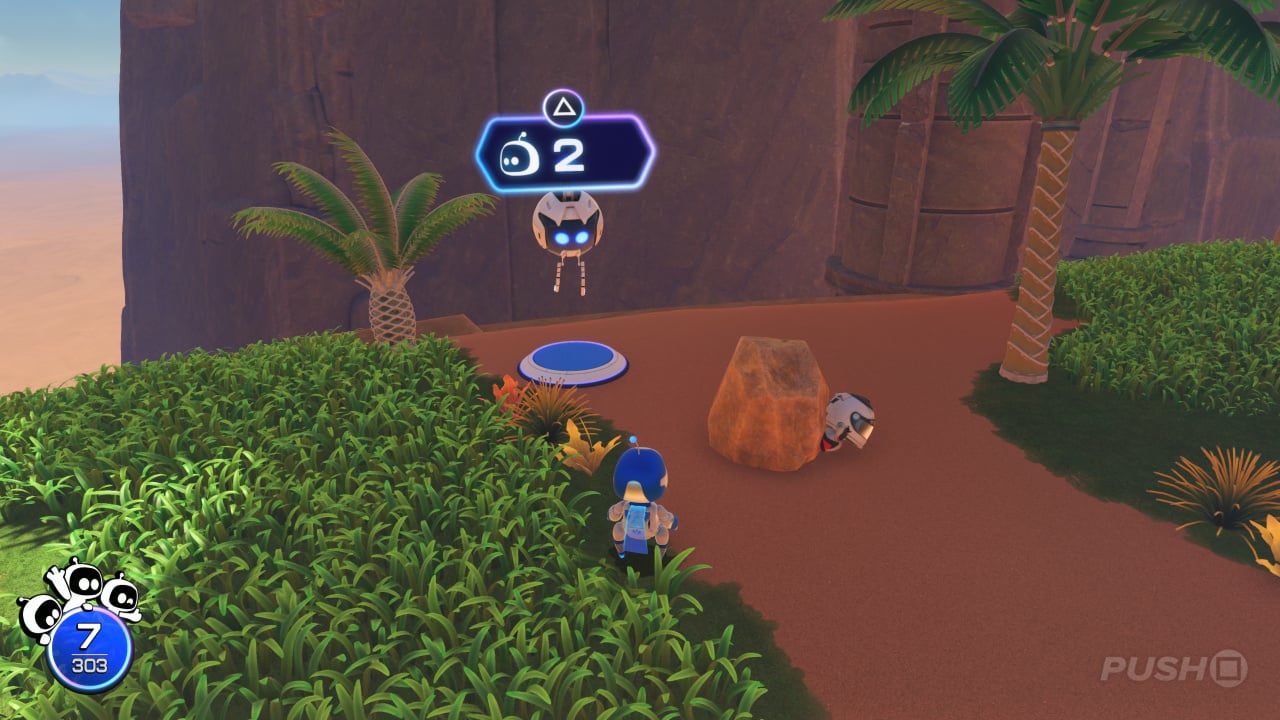
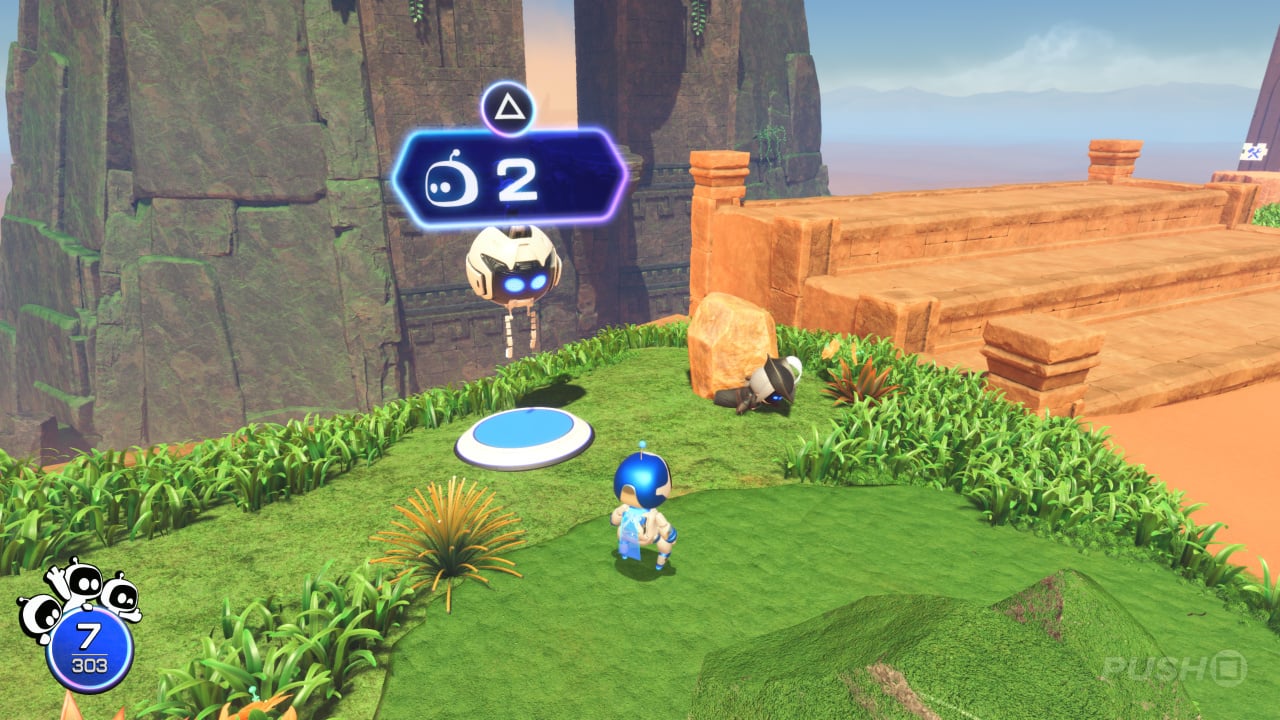
Puzzle Piece #1
- Straight ahead of where the Dual Speeder is, you'll see a robot fox trapped under a rock.
- If you have collected 2 or more Bots, you will be able to free them, revealing this Puzzle Piece.
Puzzle Piece #2
- Behind the Dual Speeder, to the right you'll see a large rock.
- If you have collected 10 or more Bots, you will be able to lift the rock, revealing this Puzzle Piece.
Puzzle Piece #3
- To the west of the central area, you'll see the Puzzle Piece atop a stone pillar.
- If you have collected 10 or more Bots, you will be able to reveal a path to collect it.
Bot #5 and #6
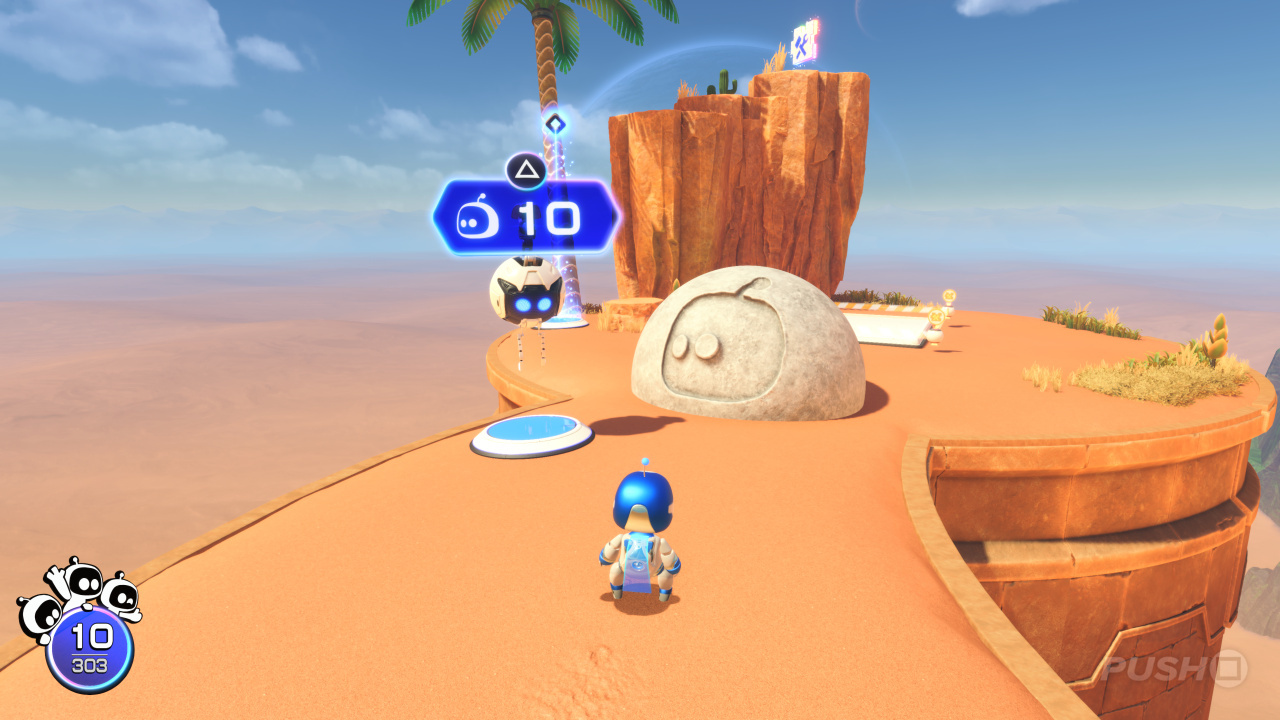
- To the north of the central area is a narrow bridge leading to a circular platform.
- A pair of Bots will be trapped beneath a boulder.
- If you have collected 10 or more Bots, you will be able to free them.
Puzzle Piece #4
- On this same platform is a tall rock with a Puzzle Piece on it.
- If you have collected 10 or more Bots, you will be able to reach it by climbing a chain of Bots.
Puzzle Piece #5
- Due east of the central area, you will see a Puzzle Piece above a pillar, but it's too far to reach.
- If you have collected 10 or more Bots, you will be able to reach it by latching onto a chain of Bots.
Puzzle Piece #6
- After collecting Squawky in Gatcha Lab, a trio of birds will be flying around the map with this Puzzle Piece.
Puzzle Piece #7
- If you have unlocked Heavy Roller in Gatcha Lab, you will be able to see a set of bowling pins and a bowling ball behind the Dual Speeder.
- Line up the shot and, if you get a strike, you'll reveal this Puzzle Piece.
Note: Below collectibles can only be obtained after completing Apes on the Loose.
Bot #7

- In the northeastern grassy area, immediately head left to find this Bot up a tree.
- Beat the enemies, then hit the tree to knock the Bot down.
Bot #8
- From Bot #7, continue around the edge of the area and you'll see this Bot clinging to a rockface.
- Defeat the nearby enemies, then jump up and hit the Bot.
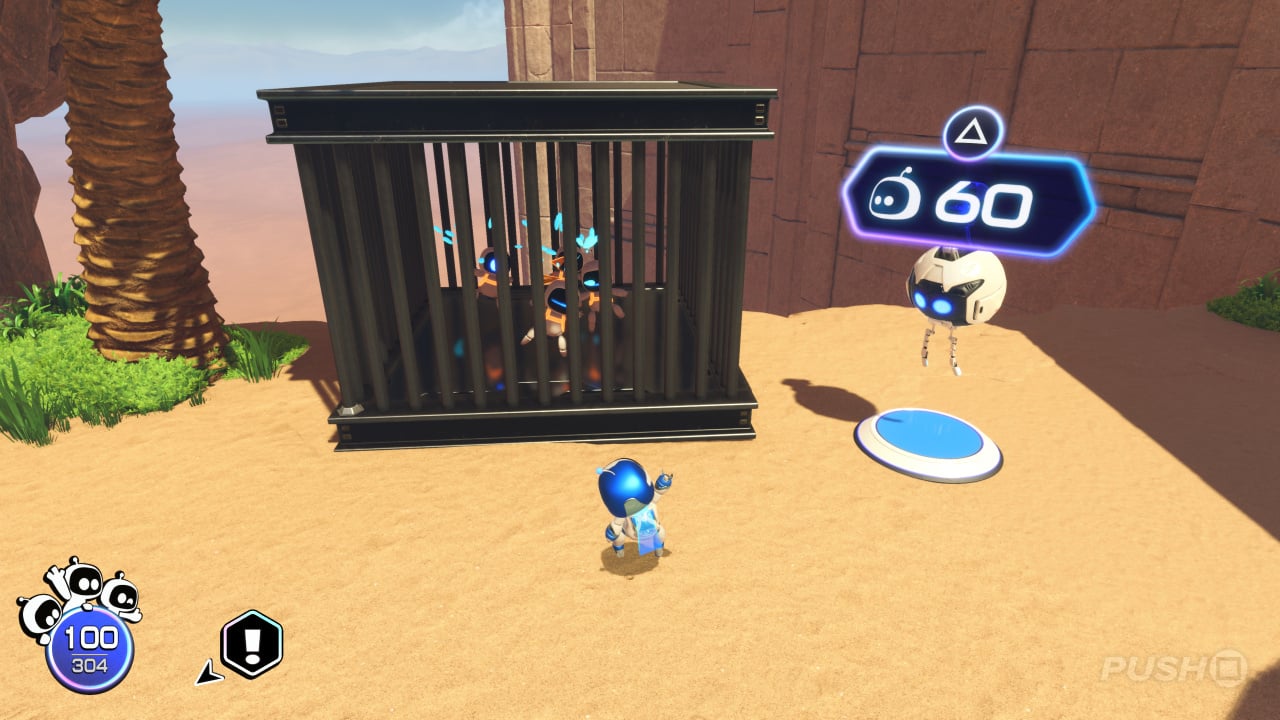
Bot #9, #10, #11, and #12
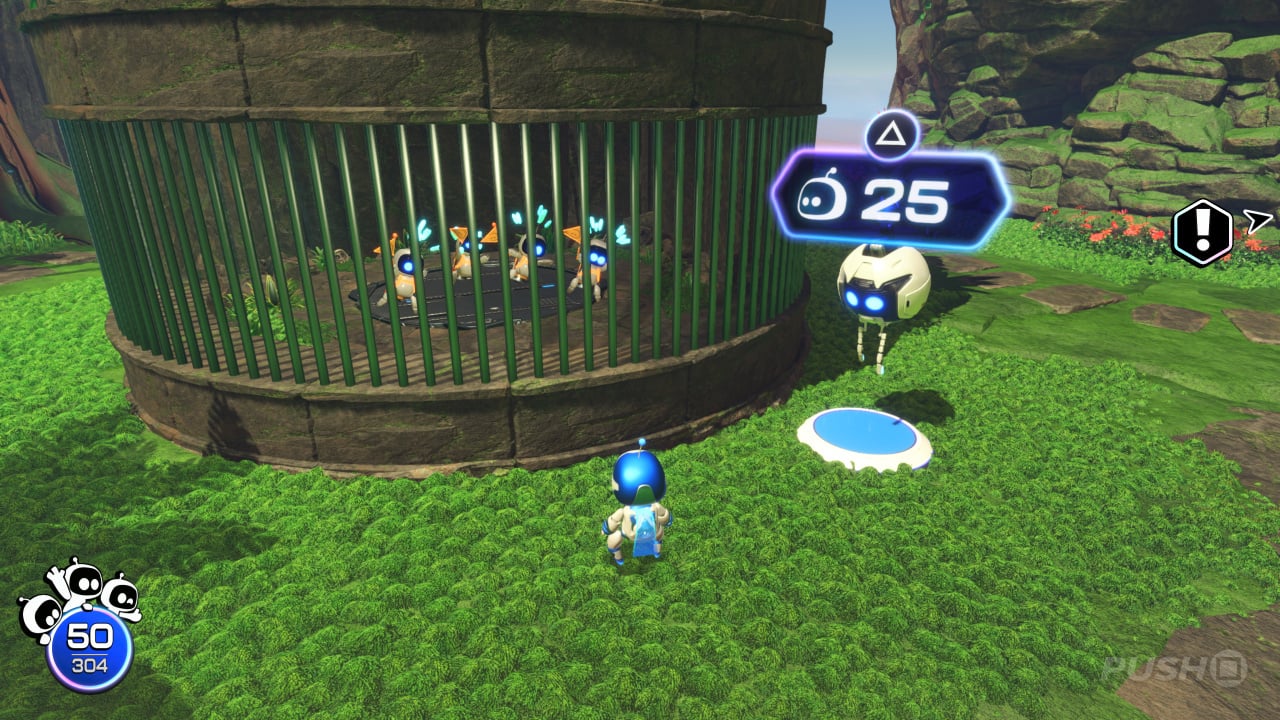
- In the middle of this area are some Bots inside a cage.
- If you have collected 25 or more Bots, you can free them.
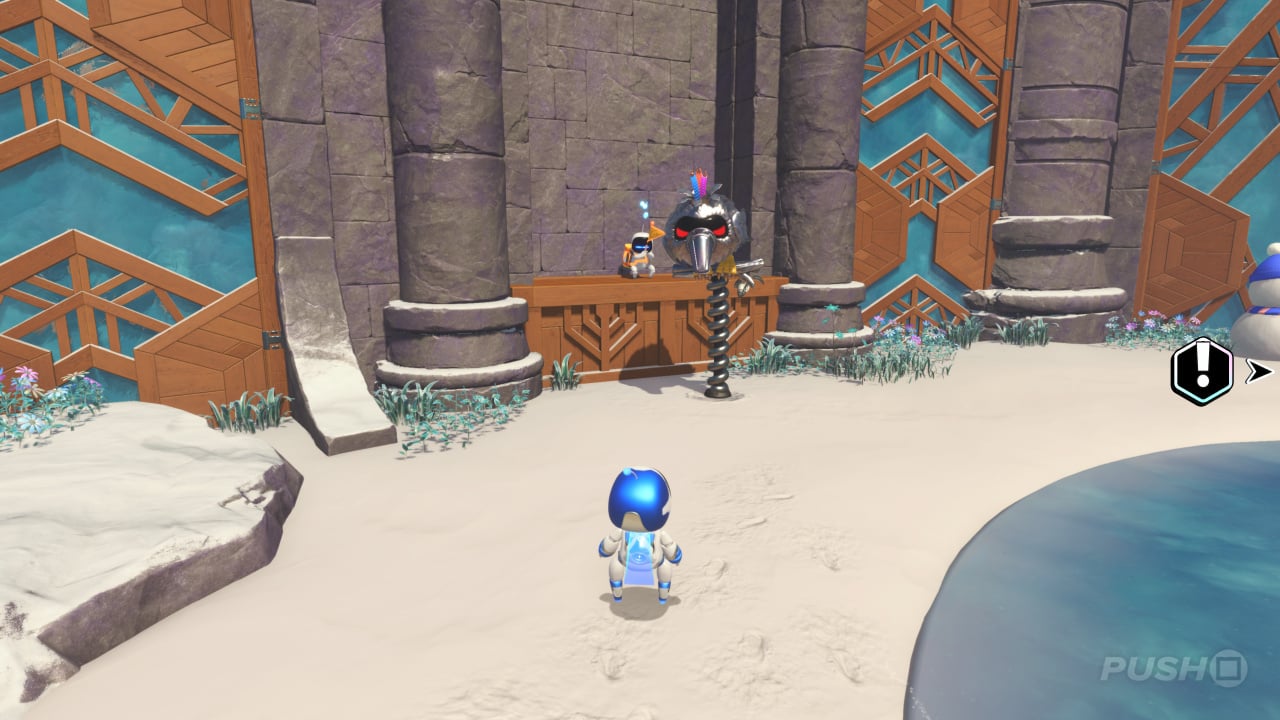
Bot #13: Spyro
- Around the other side of the central stone structure are several trampolines.
- If you have collected 20 or more Bots, they can lift the trampolines to help you reach the top of the structure.
- Break open the egg to reveal Spyro.
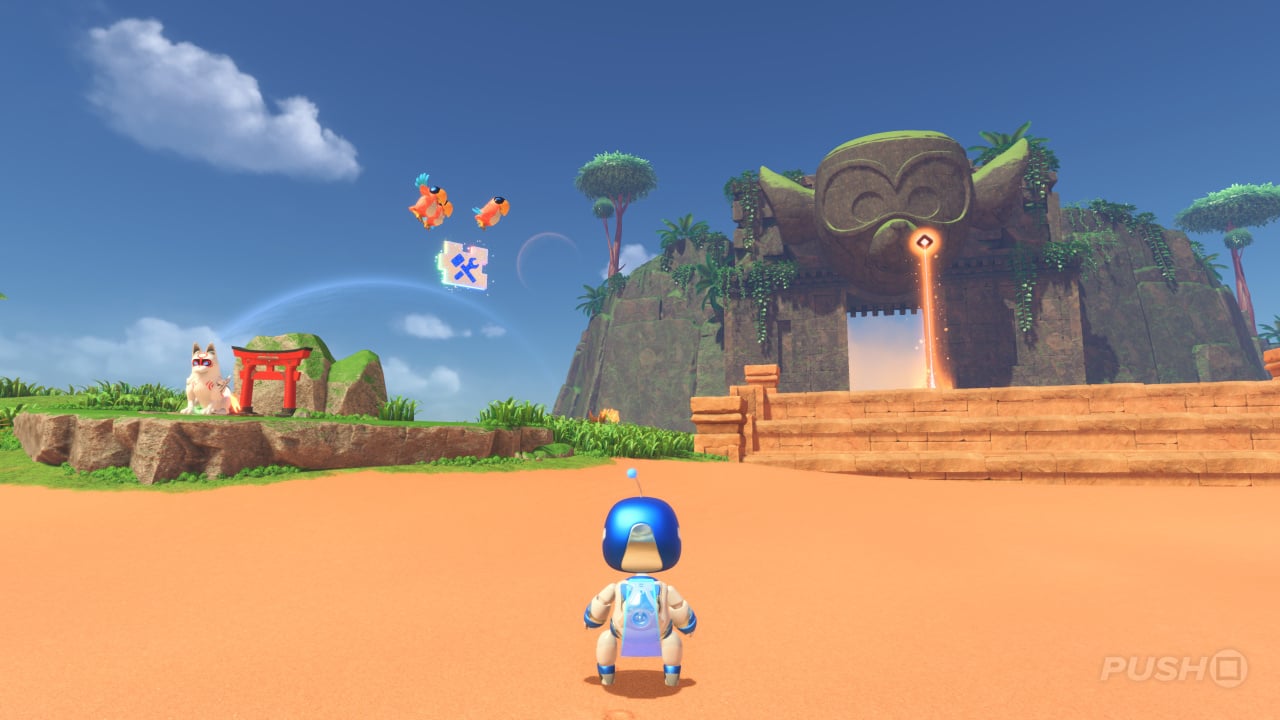
Bot #14: Amaterasu
- To the right of this grassy area is a stone circle with two lemurs on it.
- If you have collected 50 or more Bots, you can reveal a hidden structure.
- Next, use 20 Bots to form a ladder. Climb it and break open the egg to reveal the Bot.
Bot #15: Imp
- Go through the stone archway to find a tree.
- If you have collected 20 or more Bots, you can climb down to a hidden area.
- Break open the egg to reveal the Bot.
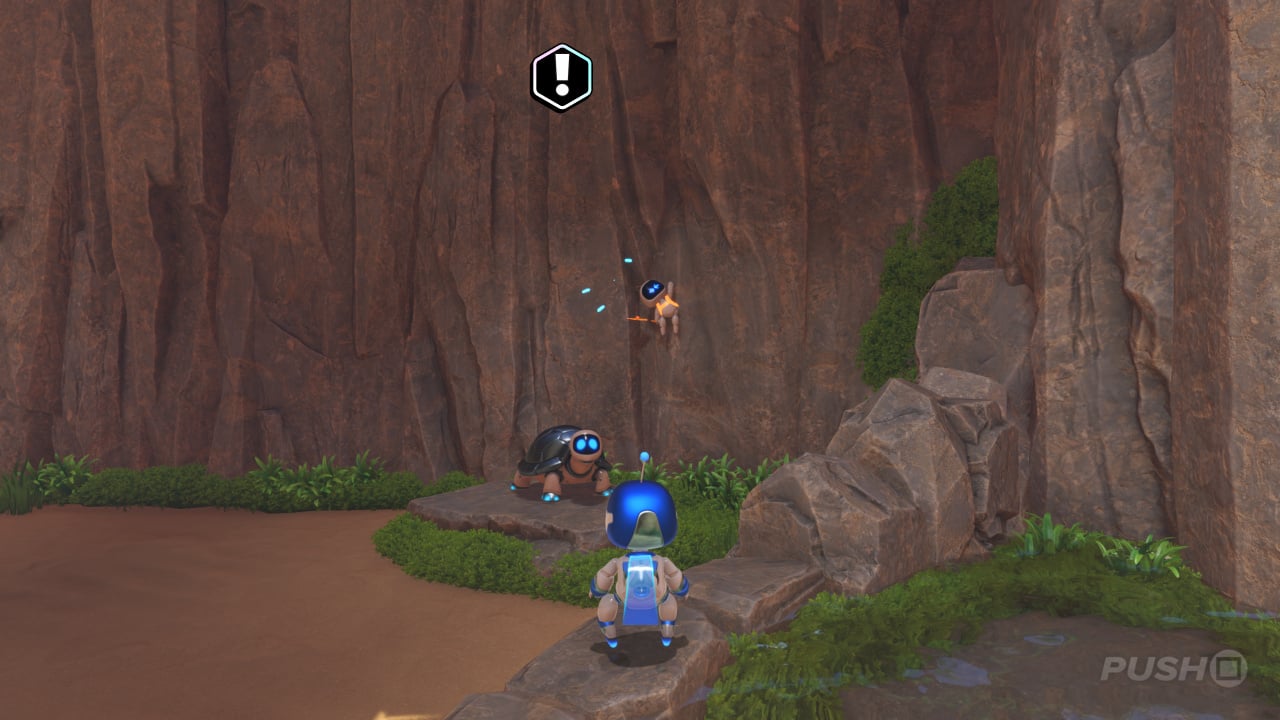
Bot #16
- If you have collected 30 or more Bots, you can scale a vertical wall to an upper area.
- Over to the right you'll find this Bot being guarded by enemies.
Puzzle Piece #8
- In one corner of the area is a large blue wire you can pull.
- If you have collected 100 or more Bots, you can reveal a moving platform that allows you to get this Puzzle Piece.
Note: Below collectibles can only be obtained after completing Bot of War.
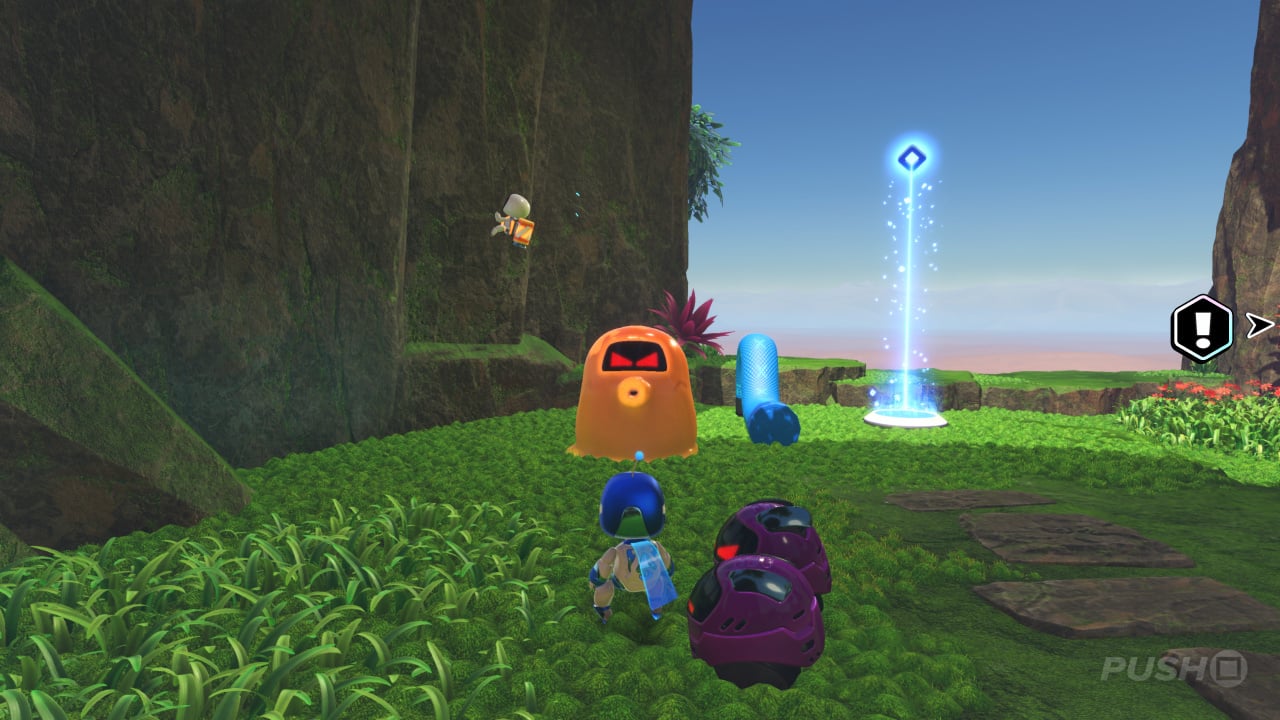
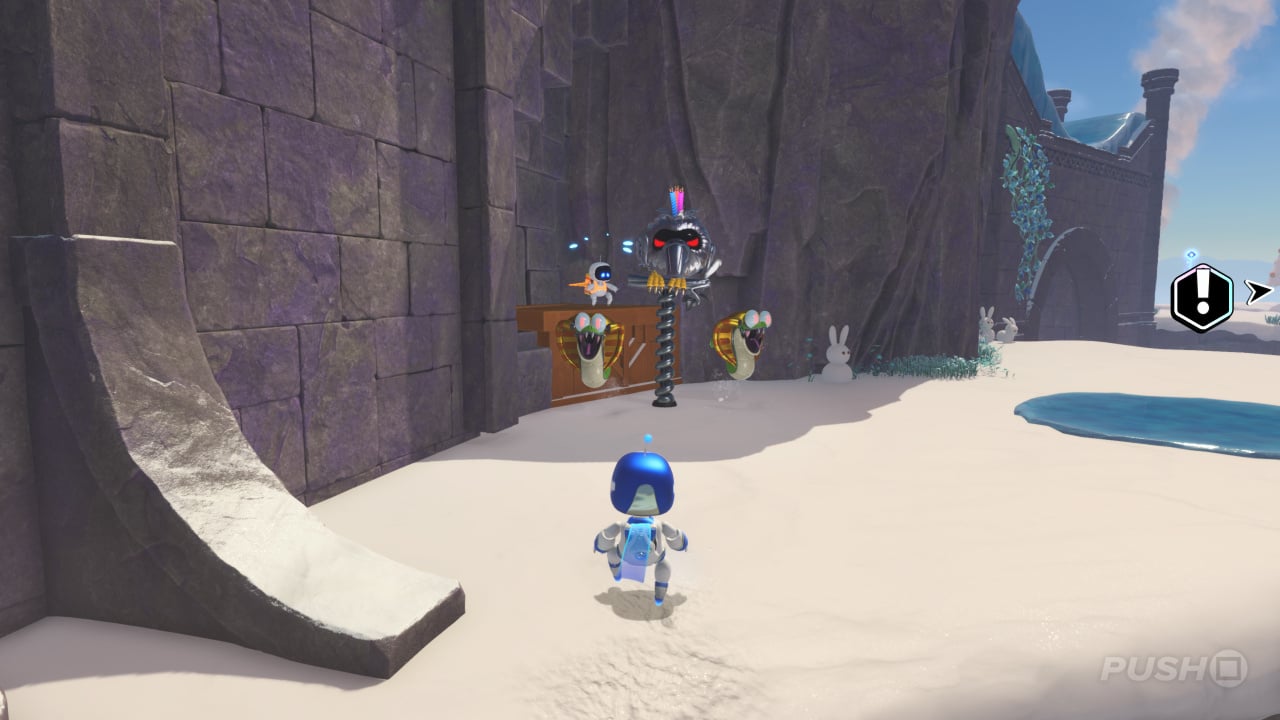
Bot #17
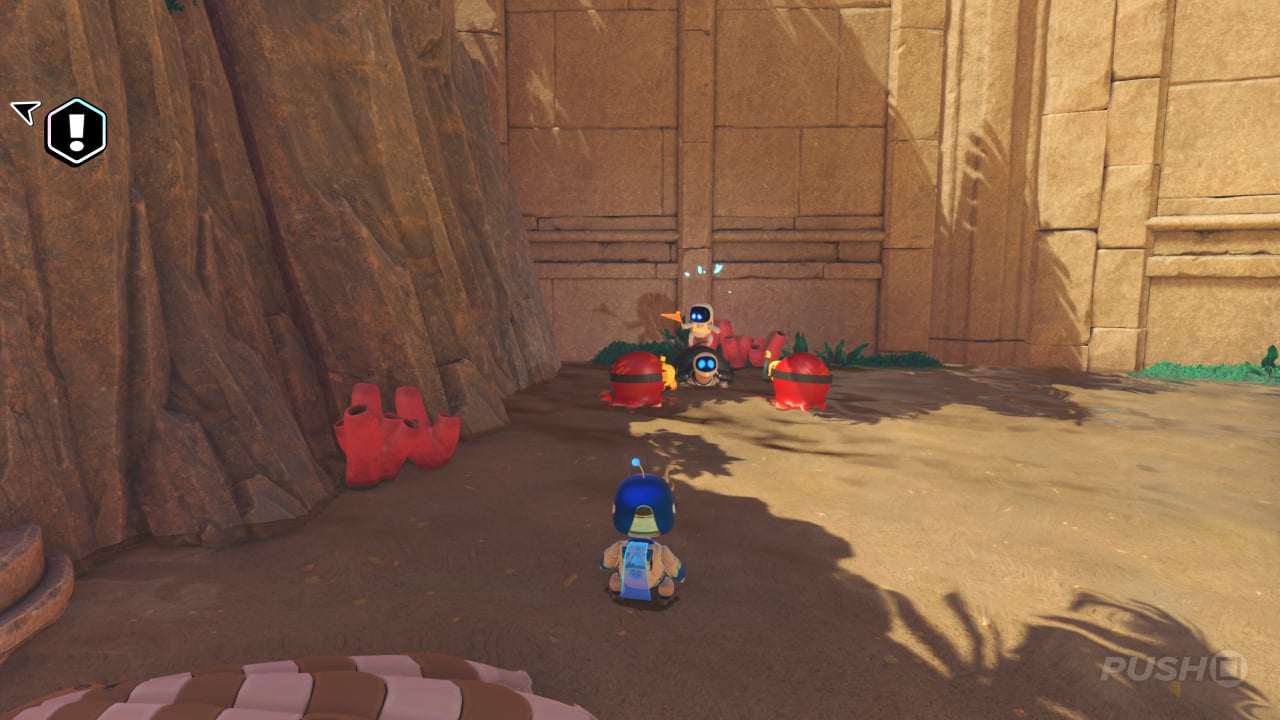
- In the southeastern area, head over to the left to find this Bot being threatened by enemies.
Puzzle Piece #9
- Just opposite the above, you'll see a tortoise on its back.
- If you have collected 40 or more Bots, you can turn it over to reveal this Puzzle Piece.
Bot #18: Mister Mosquito
- Just beyond the tortoise, you'll see a large wooden lever.
- If you have collected 80 or more Bots, you can turn it to reveal an egg containing this Bot.
Bot #19
- After collecting Bot #18, next to the pool of water is this Bot clinging to a wall.
Bot #20
- Back up in the main area, you'll find this Bot behind some rocky platforms.
Bot #21, #22, #23, and #24
- This group of Bots has been caught in a cage.
- If you have collected 60 or more Bots, you can free them.
Bot #25: Shiba Inu
- After raising the shells up to cross the gap, you'll reach a platform with a dip in the floor.
- If you have collected 50 or more Bots, you can break down into the area below to find this Bot.
Bot #26: Stray Cat
- Down by the entrance to this area is a large blue wire you can pull.
- If you have collected 100 or more Bots, you can pull it to release a jet of water.
- Ride the water up to a platform where you'll find this Bot in an egg.
Note: Below collectibles can only be obtained after completing Dude Raiding.
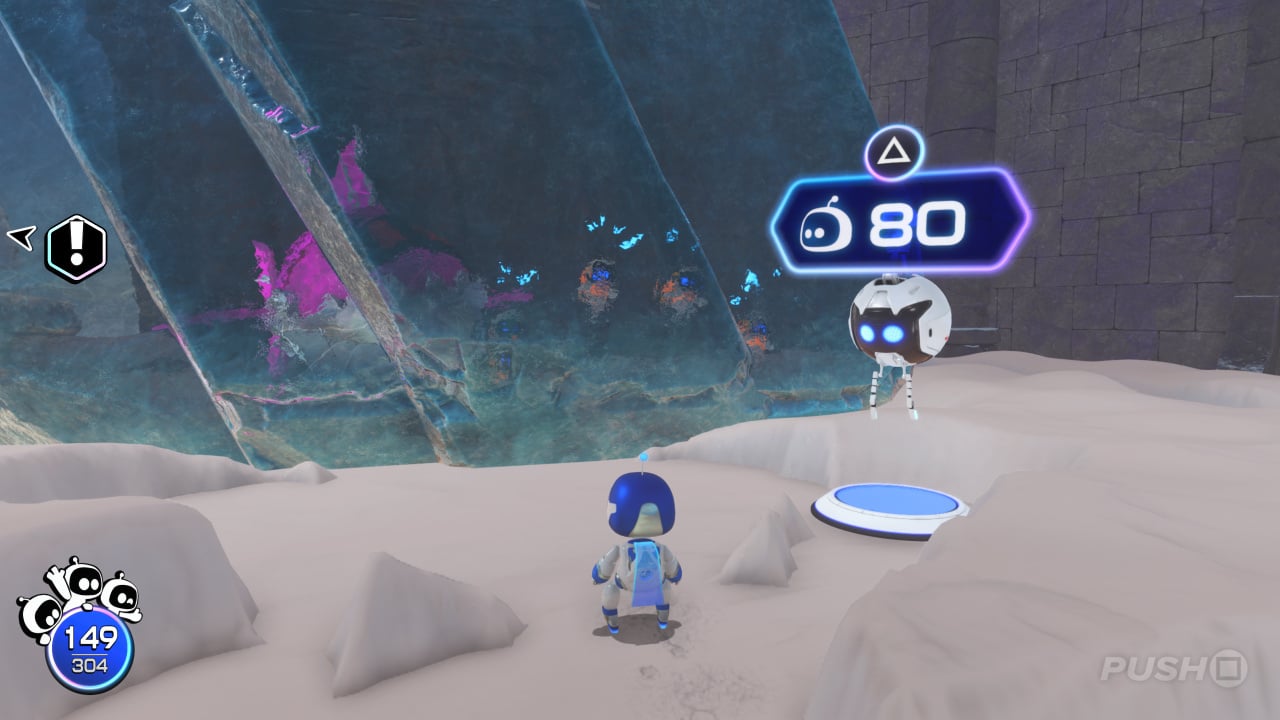
Bot #27
- From where you enter the snowy southwestern area, go left to find this Bot guarded by an enemy.
Bot #28
- Continue left around the edge of the area to find another Bot guarded by three enemies.
Bot #29, #30, #31, and #32
- Ahead just to the right of where you enter the snowy area, you can see four Bots trapped in ice.
- If you have collected 80 or more Bots, you can free them.
Puzzle Piece #10
- After rescuing the above Bots, you'll uncover a trampoline.
- Bounce on it to get to a raised area where you'll see this Puzzle Piece.
Bot #33: Pomeranian
- While you're up on this raised platform, go over to the left.
- If you have collected 80 or more Bots, they can form a tightrope for you to cross to the other side.
- On the other side is an egg containing this Bot.
Bot #34: Flower
- Just to the right of the entrance to the snowy area is a large blue wire you can pull.
- If you have collected 100 or more Bots, you can pull the wire to break the ice wall.
- Next, call on 90 Bots to help you reach the platform above.
- At the top is an egg containing this Bot.
Bot #35
- After raising the trampoline and two ice platforms, head over to the far platform where the crashed satellite is.
- Over to the right is this Bot hanging from a tree.
Note: Below collectibles can only be obtained after completing Going Loco.
Bot #36
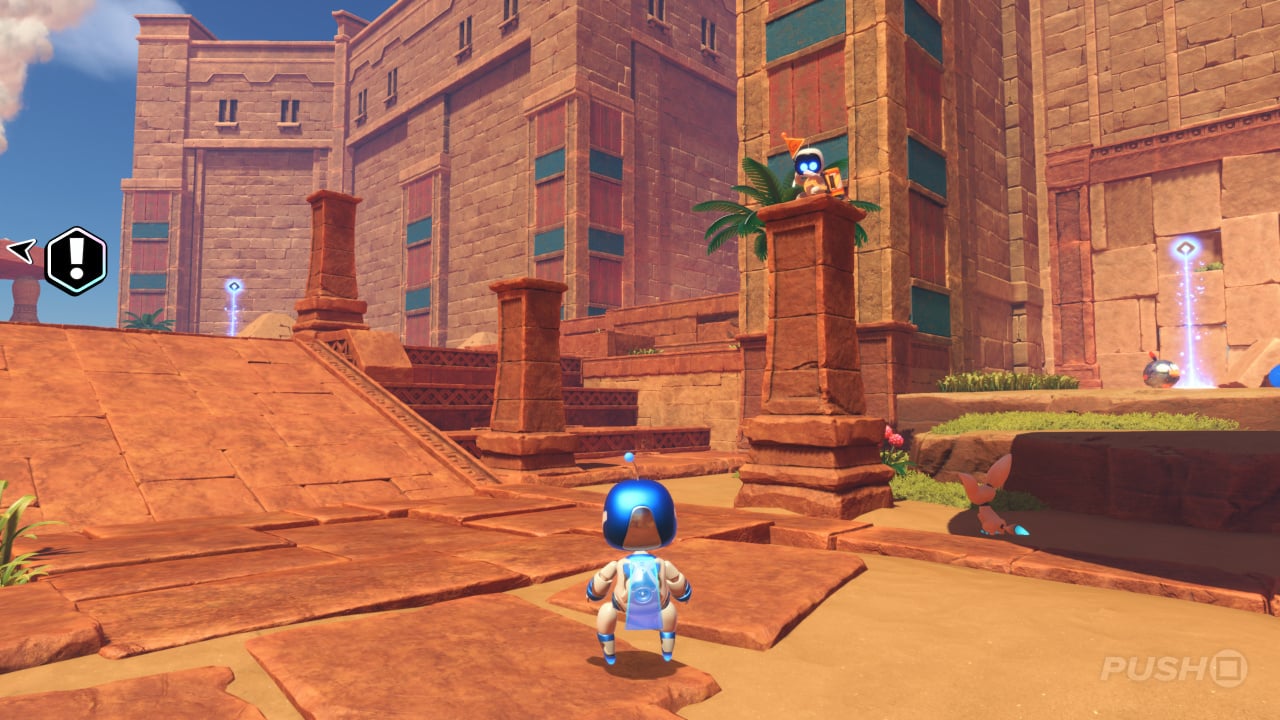
- Upon entering the northwestern temple area, this Bot can be seen ahead stood on a pillar.
- Go up the slope and jump across the pillars to reach it.
Bot #37
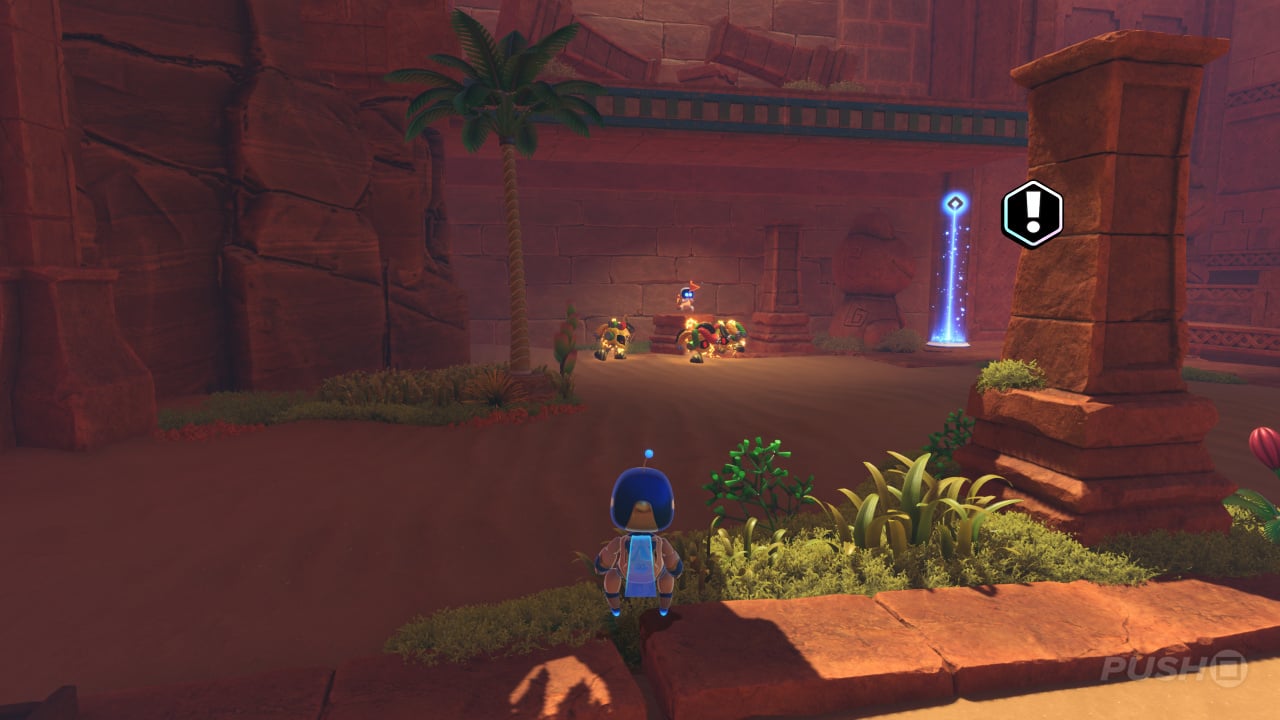
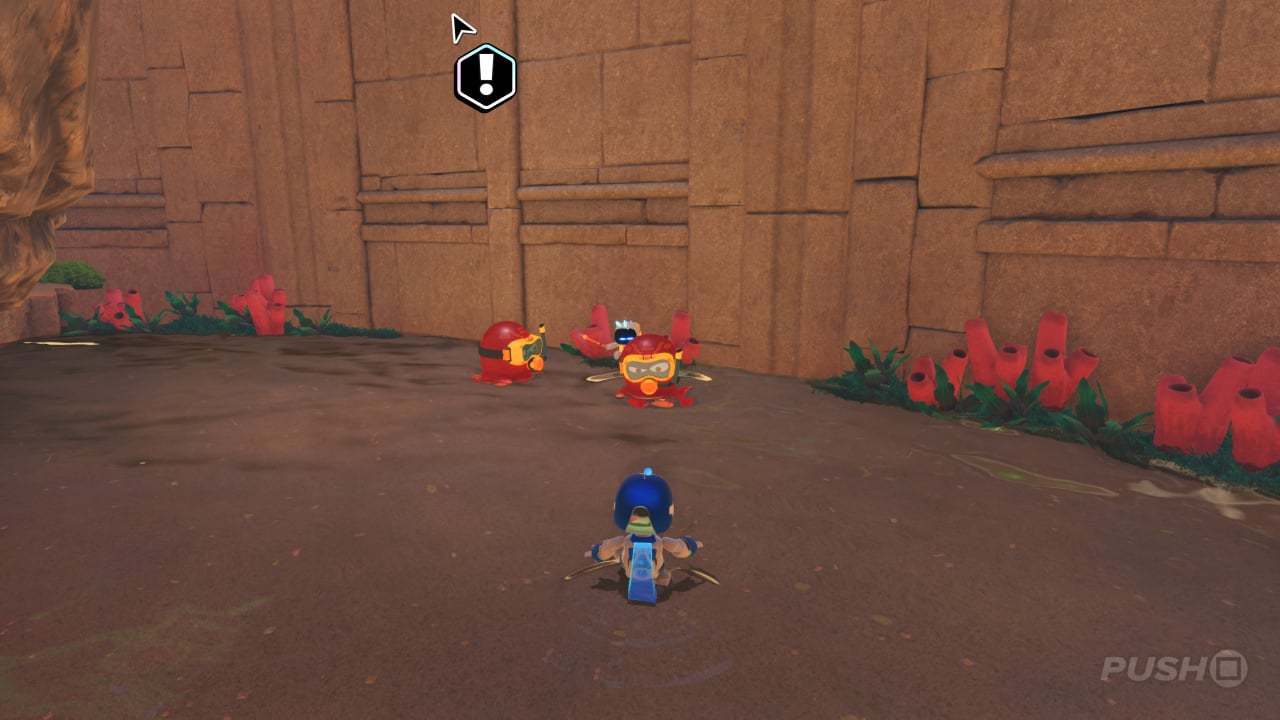
- From where you enter this area, look left and you'll see this Bot being threatened by enemies.
Bot #38: Ferox
- From where you enter this area, go right to find a large blue wire.
- If you have collected 100 Bots or more, you can pull the wire to bring the wall down and reveal this Bot.
Bot #39: Trico
- Go up the slope and over to the right to find a large sheet of material.
- If you have collected 150 Bots or more, you can break the material and drop down to a new area, where this Bot is waiting.
Bot #40
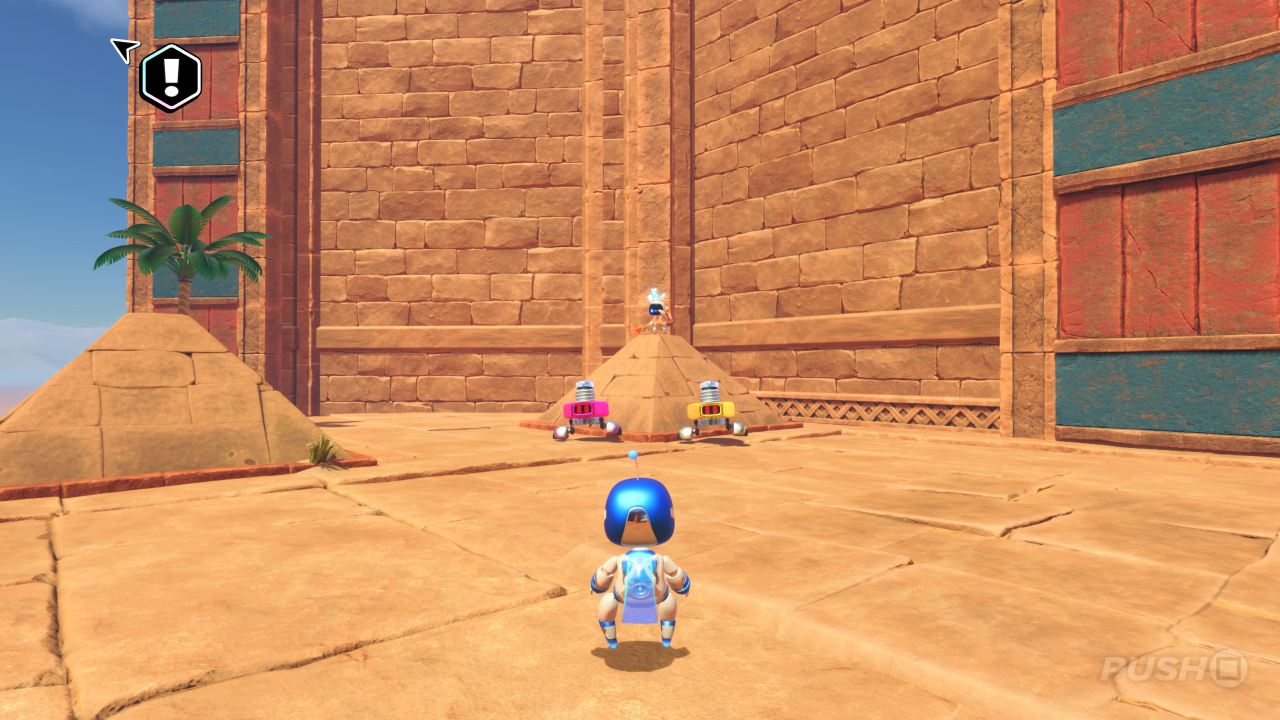
- Back in the main area, go further up and on the right you'll see this Bot sat atop a small pyramid.
Bot #41, #42, #43, and #44
- On the opposite side, you'll see a large patterned wall.
- If you have collected 120 Bots or more, you can push the wall to a new position.
- Climb the ladders and defeat the enemies to rescue this group of Bots.
Puzzle Piece #11
- After activating the wall of Bots you can walk up, go up to the elevated area.
- Walk past the giant boulder on the left to find a large sheet of materia.
- If you have collected 100 Bots or more, you can break the material to drop down and find this Puzzle Piece.
Bot #45: Robbit
- Go back to the snowy area of Crash Site.
- Here you'll find some circles of ice just left of the entrance.
- If you have collected 200 Bots or more, you can lift them up to form a tower, where this Bot waits at the top.
Bot #46: Agro
- Go back to the northwestern temple area of Crash Site.
- At the far side, there are four small pyramids.
- If you have collected 250 or more Bots, you can have them form a giant pyramid to reveal this Bot.
Bot #47: Chop Chop Master Onion
- After getting every Puzzle Piece in the game, you will unlock a large golden statue in Crash Site.
- Approach it and, if you have collected 300 Bots or more, you'll unlock one last level, Great Master Challenge.
- Complete it to get this Bot.
Did you find this Crash Site walkthrough in Astro Bot helpful? Let us know in the comments section below, and check out our Astro Bot guide for lots more.


Comments 0
Wow, no comments yet... why not be the first?
Leave A Comment
Hold on there, you need to login to post a comment...