Looking for a Hieroglitch Pyramid collectibles walkthrough in Astro Bot? This page will show you where to find all the collectibles in Hieroglitch Pyramid, a level found in Camo Cosmos. As part of our Astro Bot guide, our Hieroglitch Pyramid collectibles walkthrough will show you where to find all Bots and Puzzle Pieces in the stage.
Where Are All Hieroglitch Pyramid Collectibles in Astro Bot?
Below, we have a walkthrough of Hieroglitch Pyramid, showing you where to find all the collectibles throughout this Astro Bot level, roughly in the order you should find them.
Bot #1
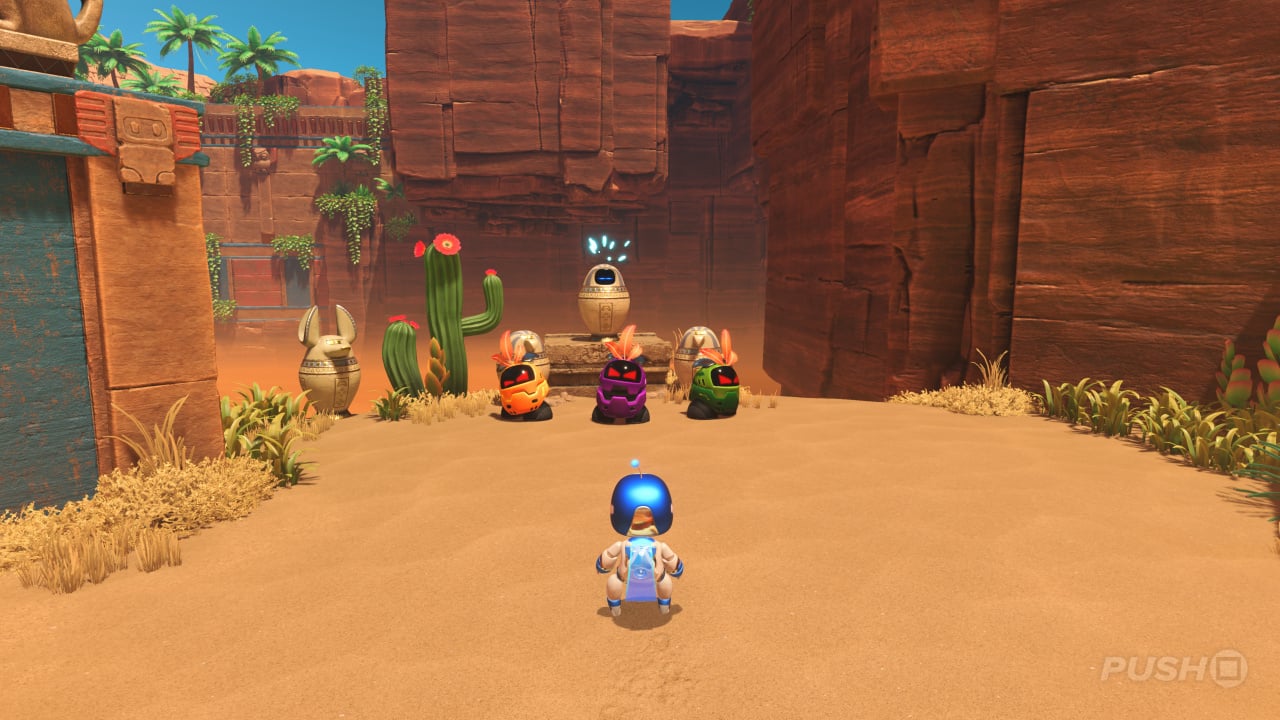
- From the start of the level, head forward between the two sets of steps.
- This Bot is trapped inside an urn — punch it to free them.
Bot #2
- After the rope bridge collapses, continue forward and you'll see a crack in the ground.
- Defeat the enemies and spin attack the crack to find this Bot.
Bot #3: Lara Croft
- When the camera goes side-on, you'll dodge through large falling blocks.
- The one furthest to the right is hiding some urns you can smash.
- Smash them and spin attack the crack that appears on the ground.
- Below, tip-toe under the sleeping blocks by moving the left stick only slightly, instead of all the way.
- Once you're clear, you can pick up this Bot.
Puzzle Piece #1
- After collecting the ball power-up, continue until you come to a small tunnel.
- Instead of going through it, head over the spikes on the right to find this Puzzle Piece.
Bot #4
- After going through that little tunnel, go right and you'll see some metal boxes.
- Get on them, jump, then become a ball in mid-air to smash the boxes.
- This reveals a panel. Use ball form on it to be launched up.
- Keep going up and you'll find this Bot.
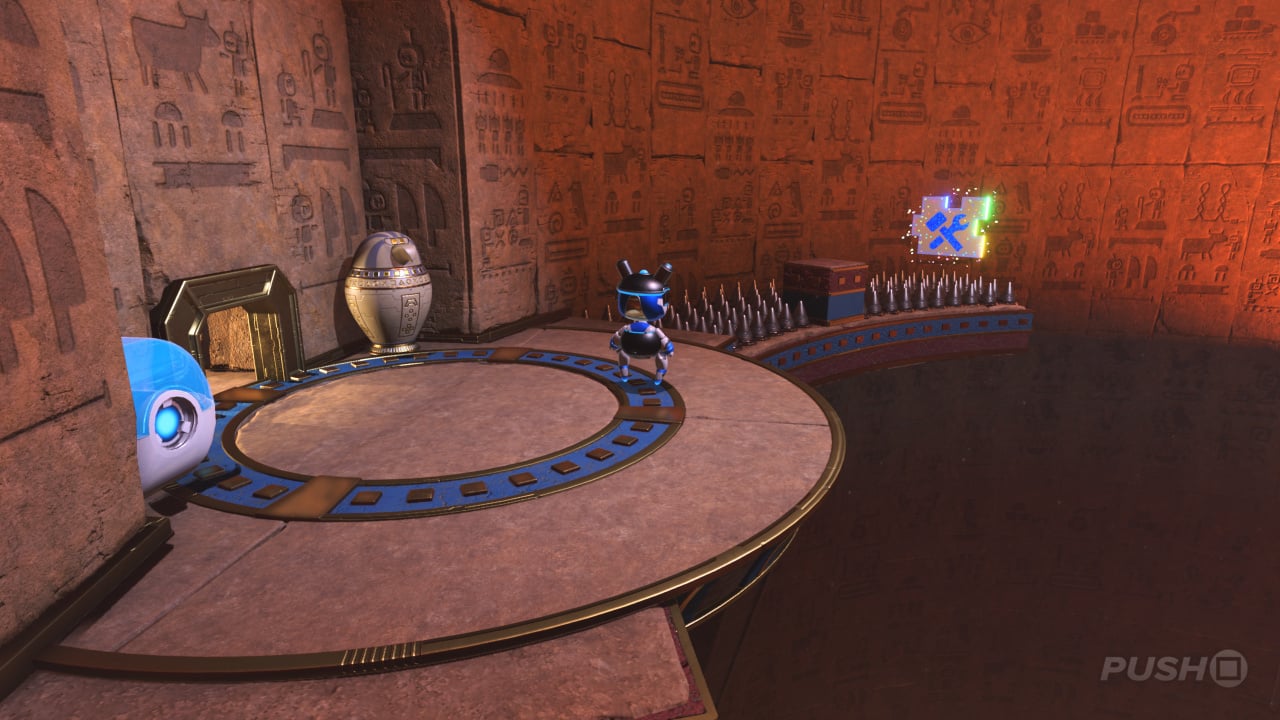
Puzzle Piece #2
- Go back down and head towards the big moving blocks.
- On the left is a tunnel — go through it.
- Inside is a treasure chest containing this Puzzle Piece.
Bot #5
- After the volcano launches you to a new area, defeat the vacuum enemies then look left to see a lower platform.
- Feel the wall to find the block with a rough texture, then push it in.
- Inside you'll find this Bot.
Puzzle Piece #3
- After using ball form to go over the spikes underneath the moving blocks, launch on top of them and walk over them to the right.
- Go through to find this Puzzle Piece.
Bot #6
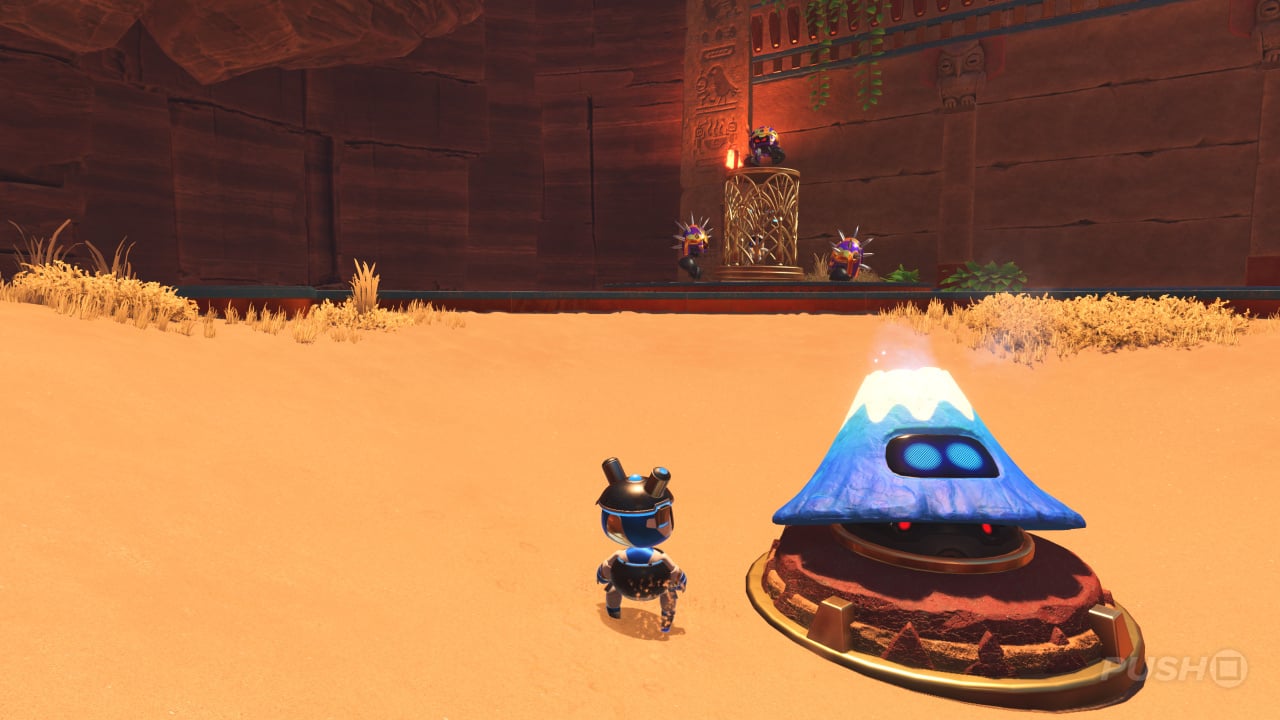
- After the volcano launch into a golf hole, head forward and to the left to see a Bot in a cage.
- Wait for the rotating volcano to point at the cage, then hop in to free the Bot.
Bot #7: Tir McDohl
- After activating the walkable wall, go up and see some metal boxes ahead.
- Smash them, then pull the wire to reveal a trampoline.
- In ball form, bounce up to a volcano, which will then launch you to a new area.
- Here, you must bounce up and destroy the red UFO to get this Bot.
Lost Galaxy Warp Portal
- When you reach the end of the level, go to the right and jump to the platforms covered in gems.
- Hit the gems away to reveal some wooden planks.
- Smash through them in ball form, then use the panel to launch yourself up.
- Feel the wall for the block with the rough texture and push it in.
- Next, you'll need to do this a couple more times, then the secret exit will be yours.
Did you find this Hieroglitch Pyramid walkthrough in Astro Bot helpful? Let us know in the comments section below, and check out our Astro Bot guide for lots more.


Comments 0
Wow, no comments yet... why not be the first?
Leave A Comment
Hold on there, you need to login to post a comment...