Looking for an Eidos 7 walkthrough in Stellar Blade? This page will demonstrate how to discover every collectible and resource in the abandoned city location, which represents the first level in Shift Up's console debut. As part of our Stellar Blade guide, our Eidos 7 walkthrough will detail the locations of Cans, Design Patterns, Beta Cores, Body Cores, Exospines, Passcodes, Camps, and more.
Where Are All Collectibles and Resources in Eidos 7 in Stellar Blade?
Below you'll find a full Eidos 7 walkthrough, which details the locations of all key collectibles and resources in the Stellar Blade stage.
Silent Street
Passcode: Gateway
This Passcode is required to progress the story. Once you arrive on Eidos 7, you'll happen upon a locked gate. Scan the body at the back of the room to the left, and then enter the Passcode to reach the next area.
Camp #1
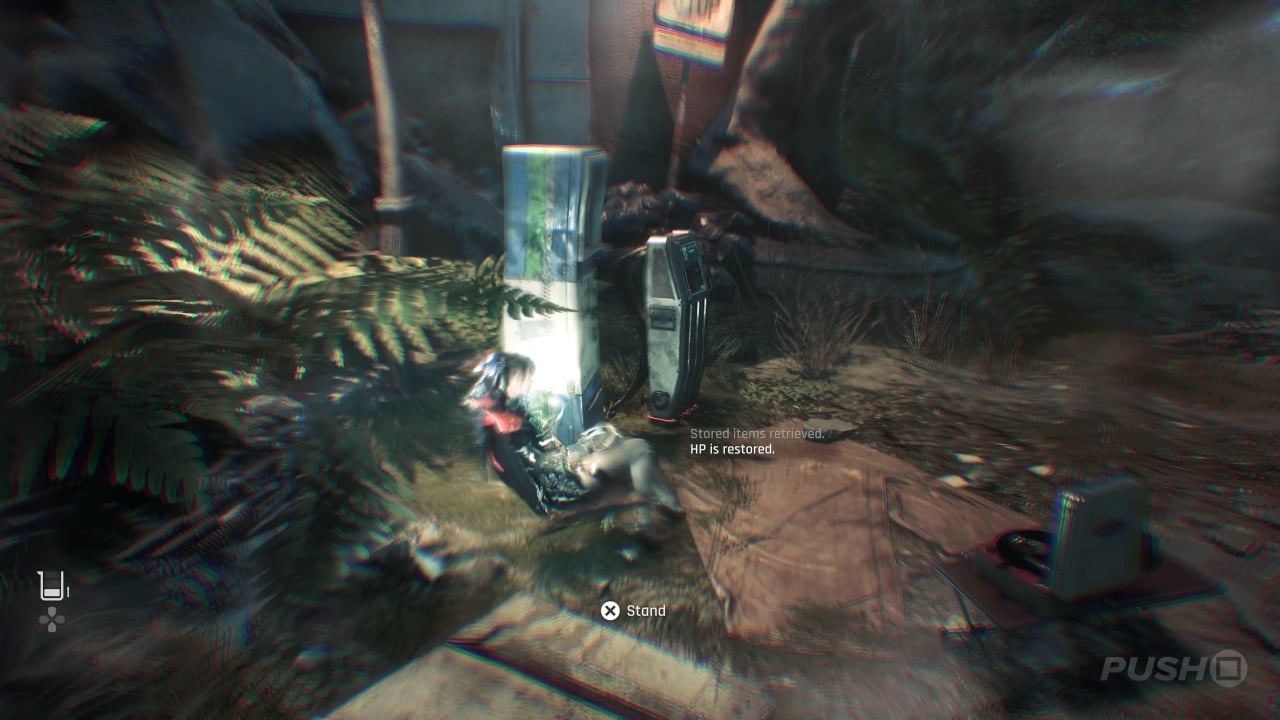
Before you cross the collapsed highway, you can rest at your first Camp. There are many of these throughout the game, so get used to their features and layout. Remember, each time you rest at a Camp, nearby Naytibas will respawn.
Beta Core #1
After the first fight with the Heavy Guardian, shortly after you're instructed to blow up the barrels to deal with the Mutated Creepers, take the alleyway to the left and scan the body protected by the Guardian to get the Beta Core.
Passcode: Pharmacy
Shortly before you need to move the wooden plank in the water to get to the yellow ladder, there's a simple platforming sequence involving a few monkey bars. Along the way, you can't miss a corpse slumped against the wall. Scan the body to get the Passcode. You'll find the pharmacy on the road just beyond library.
Camp #2
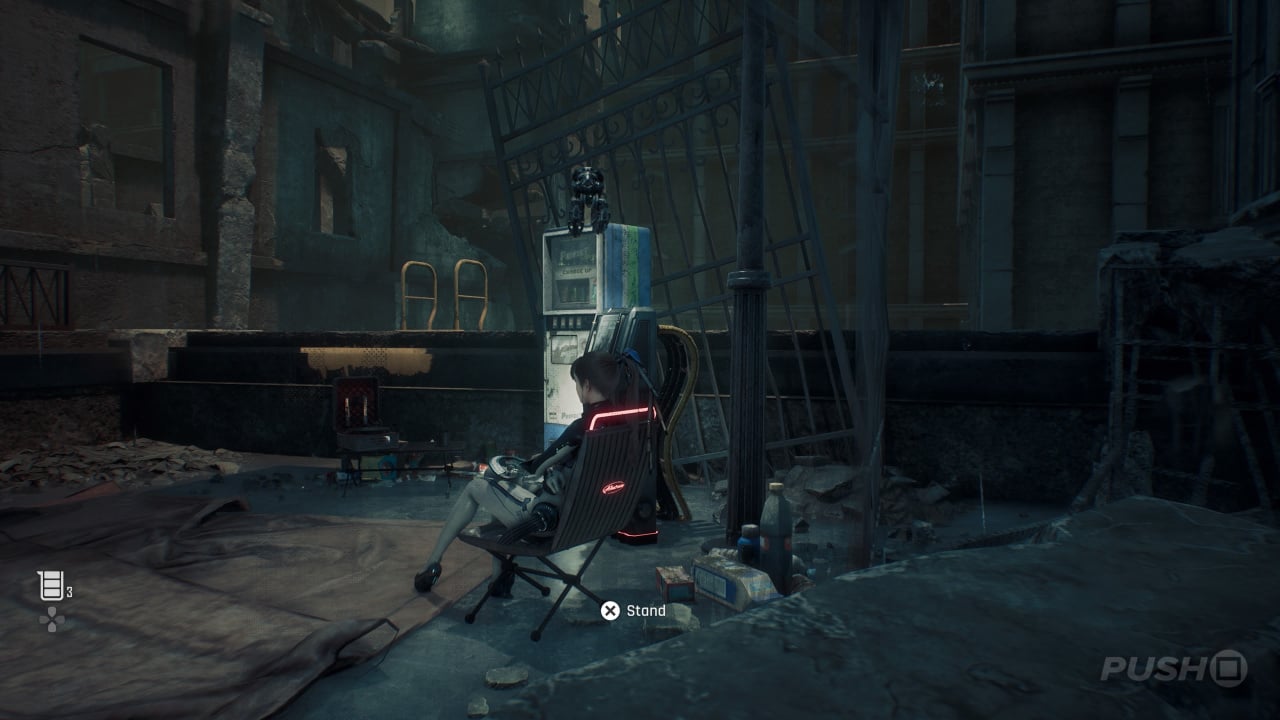
You can't miss this Camp. You'll see it as soon as you climb to the top of the ladder from the flooded area.
Parking Tower
Body Core #1
Scan the body under the staircase at the bottom of the Parking Tower for a Body Core.
Supply Camp #1
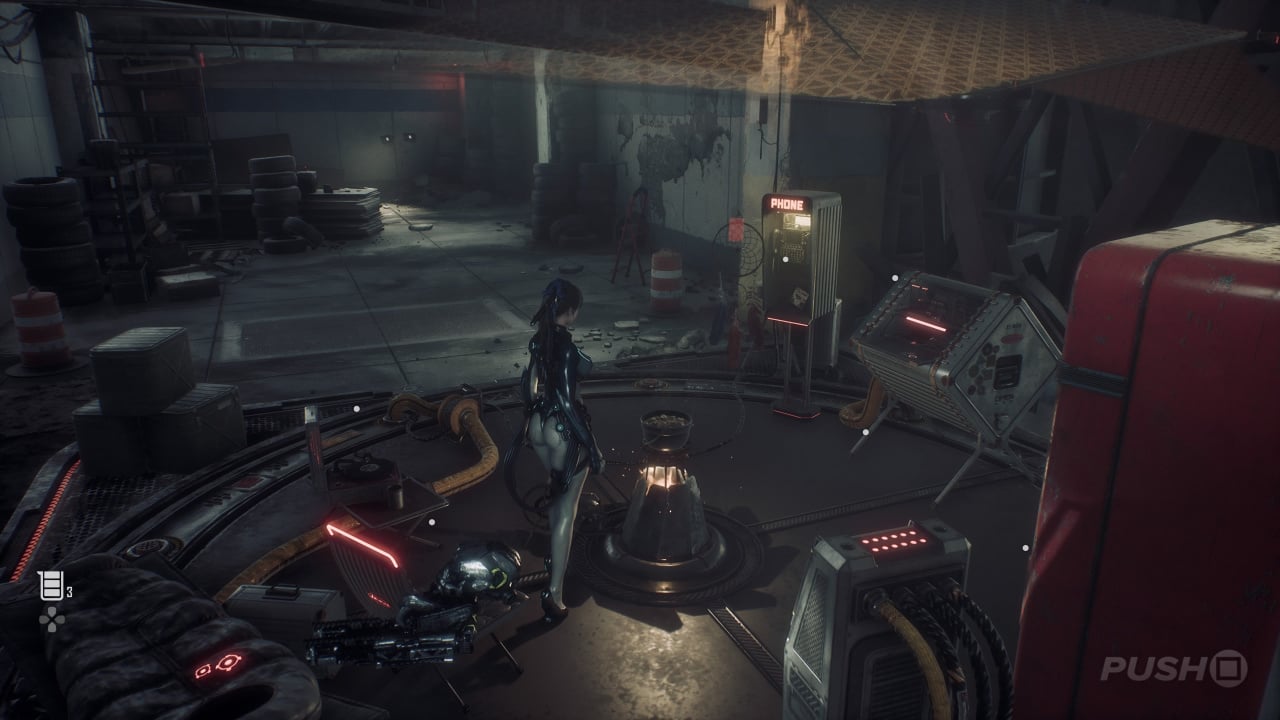
You'll have to activate this Supply Camp as part of the story, so it's unmissable. You'll be directed to it as soon as you reach the top of the Parking Tower's stairs.
Camp #3
The Camp is on the Parking Tower roof, but can only be used once you've defeated Abaddon.
Exospine: Chain-Type Exospine
When you descend the Parking Tower, after defeating the Abaddon, you'll find the Chain-Type Exospine in a red box in the far-right corner of the second floor.
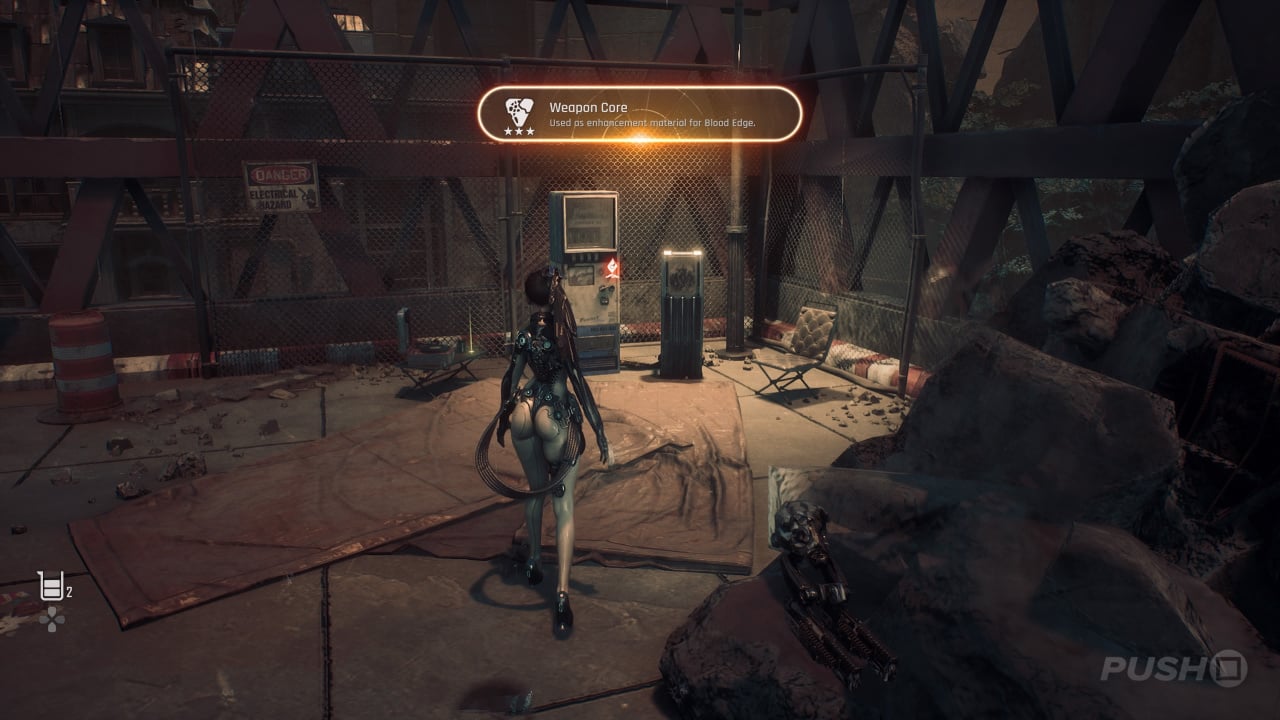
Camp #4
Once you leave the Parking Tower, there's a statue directly ahead with a Camp in front of it.
Body Core #2
Not long after the Parking Tower, take the left path past the giant crater, and you'll eventually reach an underpass. On the other side you'll see a building named Connia Kolzen. In front of it is a glowing corpse with a Body Core.
Body Core #3
After the Dozer fight, once you exit the Parking Tower on the right, head the opposite way to the waypoint and you'll stumble upon a small pub off the beaten path. Scan the body inside for a Body Core.
Abandoned Station
Passcode: Parking Lot
This Passcode is required for story progression. Once you reach the Abandoned Station, dive underwater and explore the area right of the locked door. Scan the body and then enter the Passcode to open the locked door.
Supply Camp #2
Immediately after climbing the rope out of the lift shaft in the Abandoned Station, you'll find a Supply Camp.
Flooded Commercial Sector
Design Pattern: Planet Diving Suit (7th) V2
When you get off the monorail and first arrive at the Flooded Commercial Sector on Eidos 7, head through the door at the bottom of the stairs and open the red chest in the room to get the Planet Diving Suit (7th) V2 design blueprint.
Camp #5
You'll find this Camp at the bottom of the staircase, immediately outside the monorail station.
Beta Core #2
Just outside of the monorail station, head to the far left past the various iron staircases. You should see a corpse fairly obviously slumped among the debris. Interact with it for the Beta Core.
Exospine: Grenadier-Type Exospine
Outside of the monorail station, take the path to the left, away from where the Hall of Records is located. Use the yellow handholds to navigate into a courtyard, where you'll fight a Mutated Hydra. To the left of this area, just outside the floodgate terminal, protected by some Mutated Creepers, is the Grenadier-Type Exospine.
Passcode: Rear Gate
Climb the yellow ledge directly opposite the monorail station and defeat the Naytiba standing in front of Barker Drugs, then scan the body for the Passcode. Now head to the gate marked Ground 317 to the right of the monorail station and input the code.
Supply Camp #3
Immediately after you've opened the Rear Gate with the Passcode above, the Supply Camp is on the other side.
Camp #6
After the clock tower puzzle, once you've climbed up the collapsed buildings and dropped back down, there's a Camp directly ahead.
Drone: Armoured Pack
After the aforementioned Camp, you'll need to swing across some bars before crossing the gap to the waypoint. Stay on the same side of the camp and instead climb up using the yellow handholds. The Armoured Pack for the drone is in a red box behind some red girders.
Beta Core #3
In the same area as the Armoured Pack for the drone, slumped up against a mesh fence is a corpse with a Beta Core.
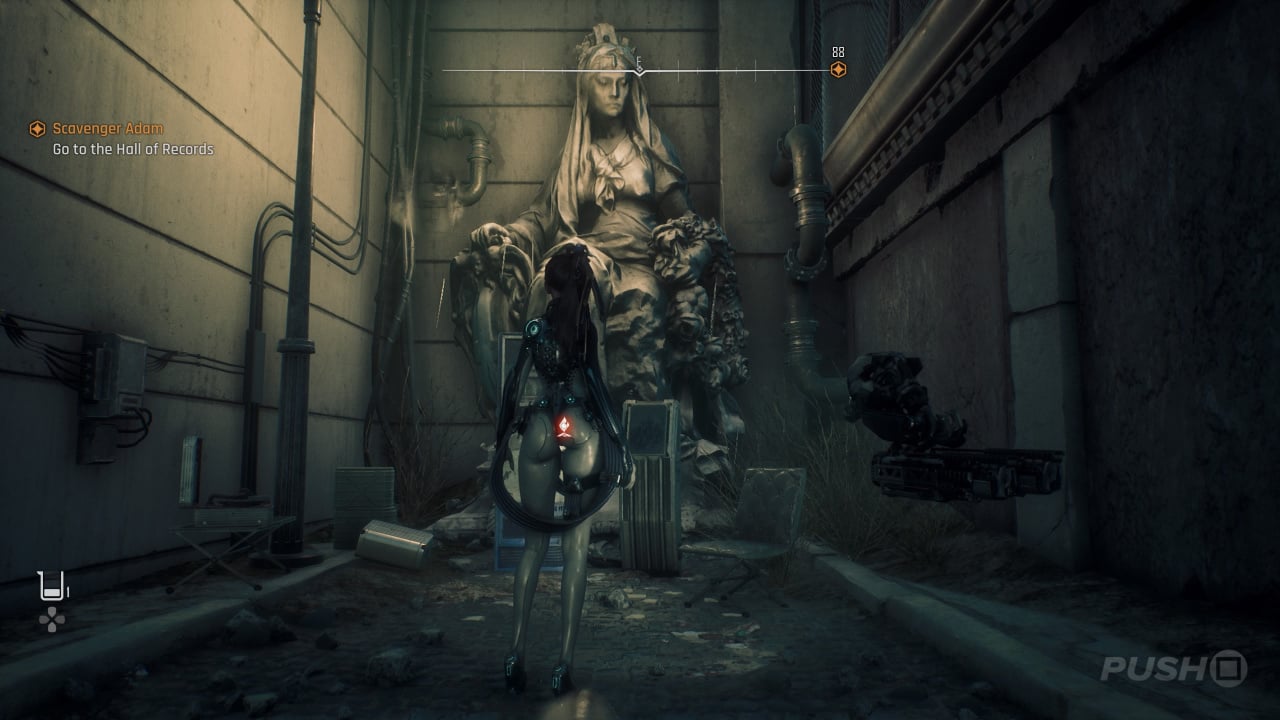
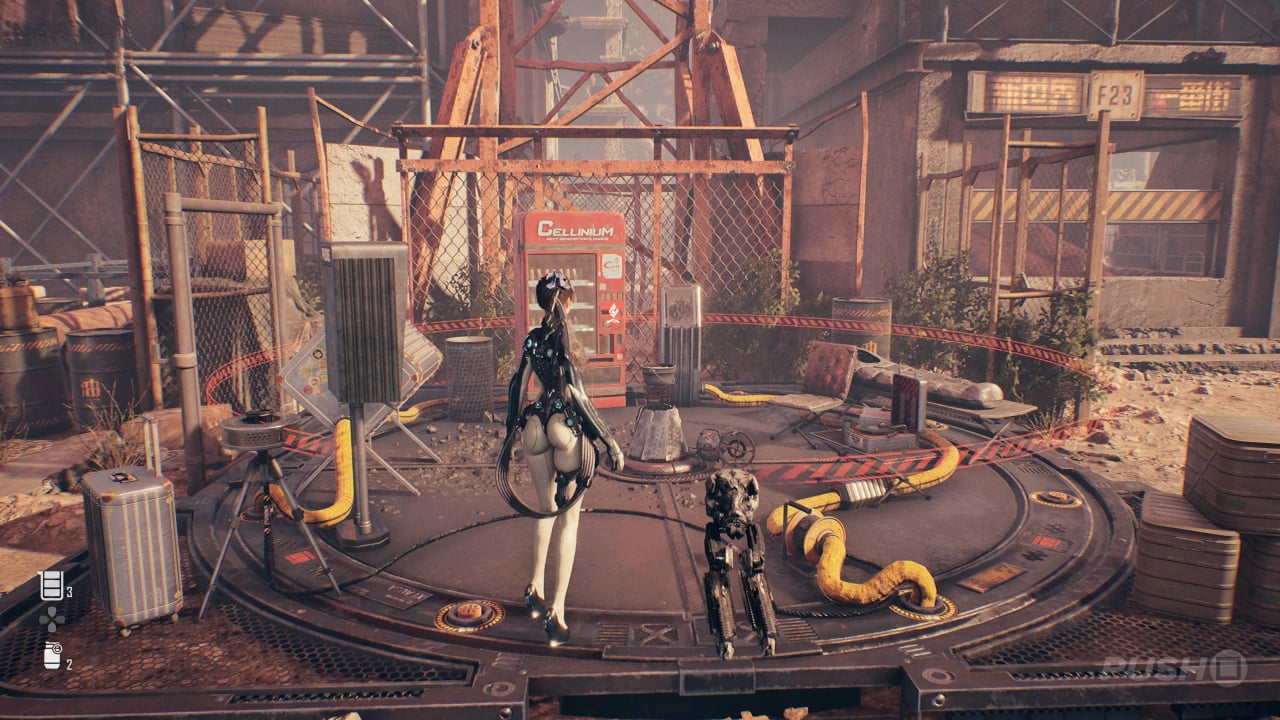
Can: Elixir Carrot
Only accessible after draining the sewage during the Oblivion quest. Drop down to the lower walkways, near to the giant statue of the woman holding two children. There's a yellow rope which can help you descend lower into the area. Before you go down, head inside the Red Grill restaurant and the Elixir Carrot can is unmissable, on a table.
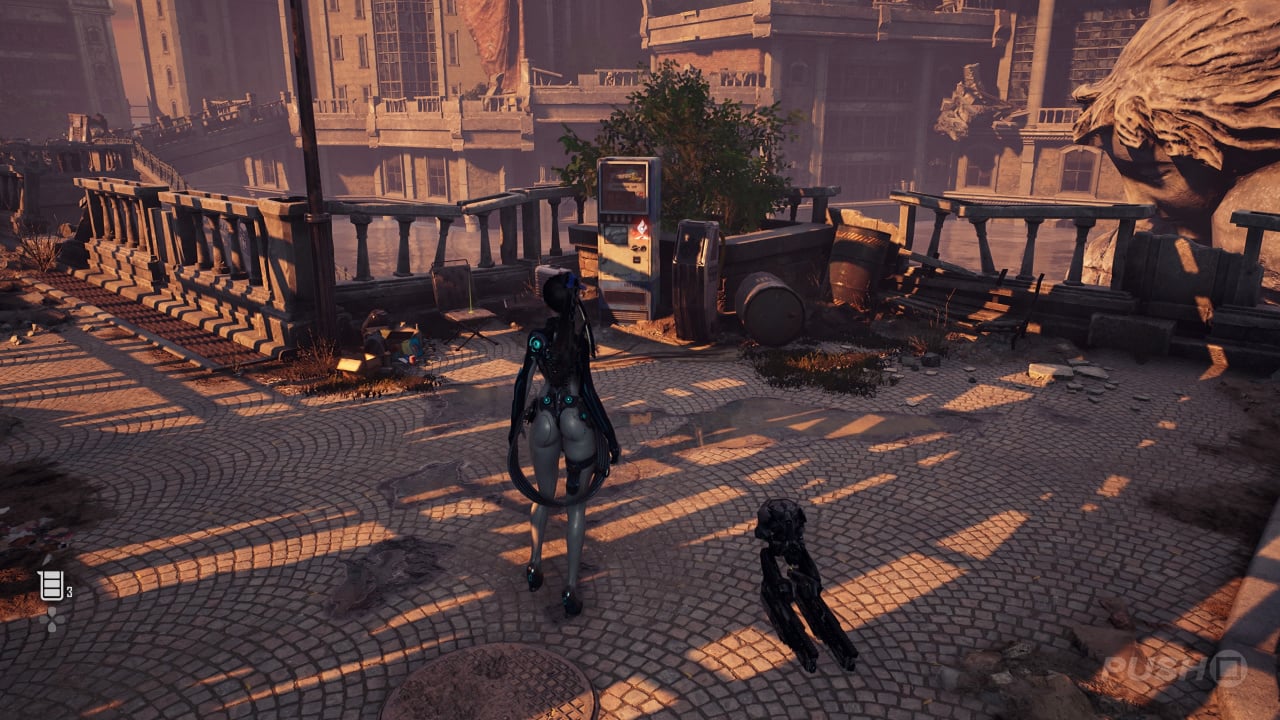
Passcode: Flooded Commercial Sector
Only accessible after draining the sewage during the Oblivion quest. On the same walkway where you found the Elixir Carrot can, run away from the restaurant and find a robot behind some boxes. Kill it for the Passcode. The Passcode can be used on a crate in the Wayfield Diner, on the walkway above where you killed the robot.
Design Pattern: Wasteland Adventurer
Only accessible after draining the sewage during the Oblivion quest. On the walkway where you found the Carrot Elixir can, take the rope down and look immediately to your left. There's a red box in the corner with the Wasteland Adventurer blueprint.
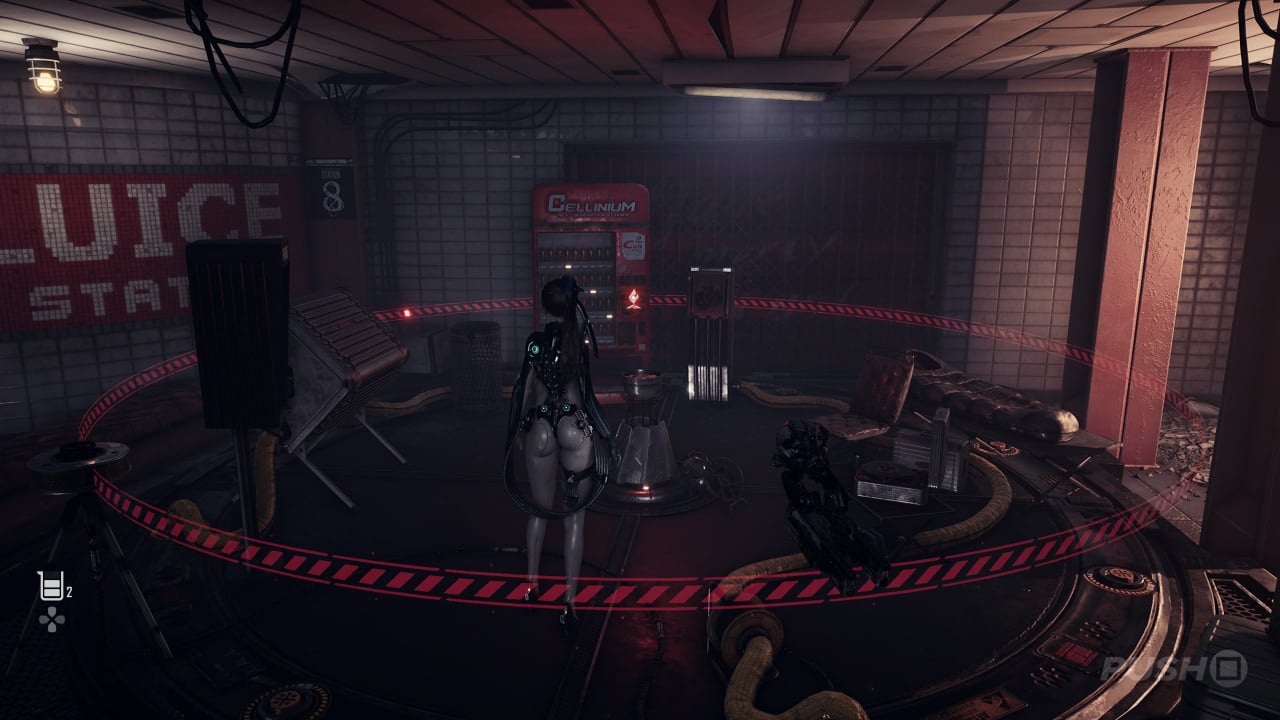
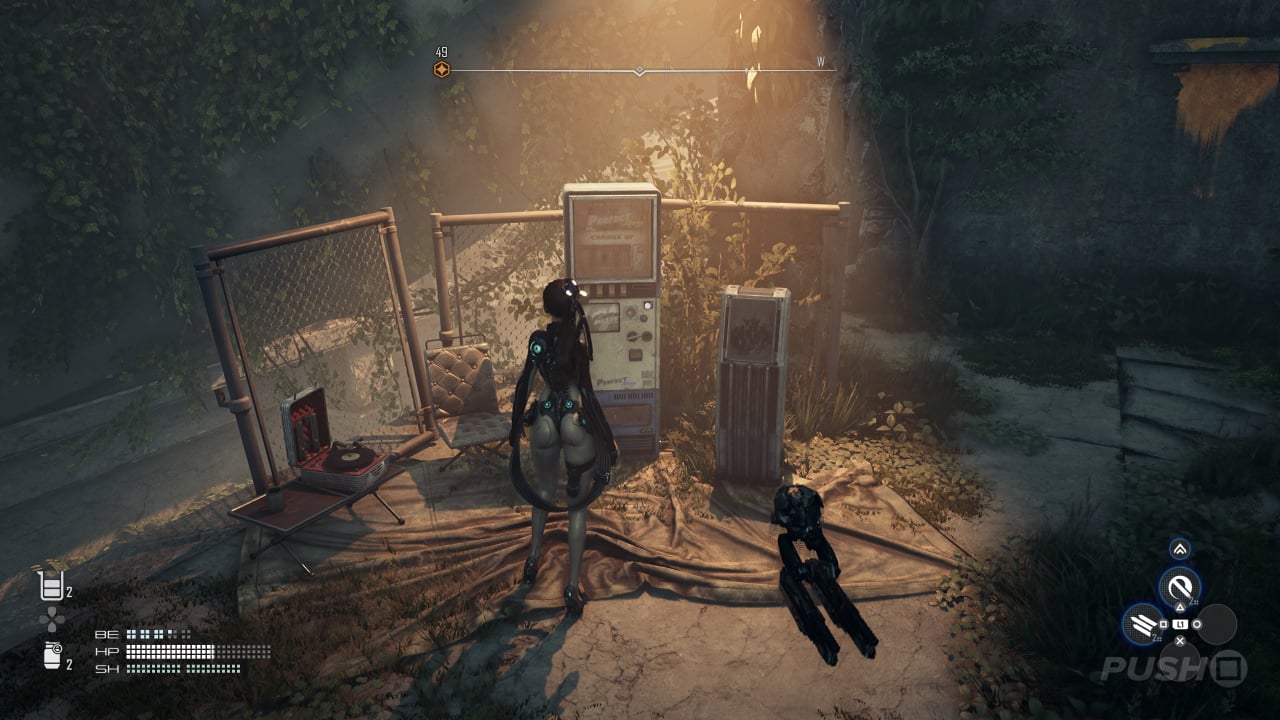
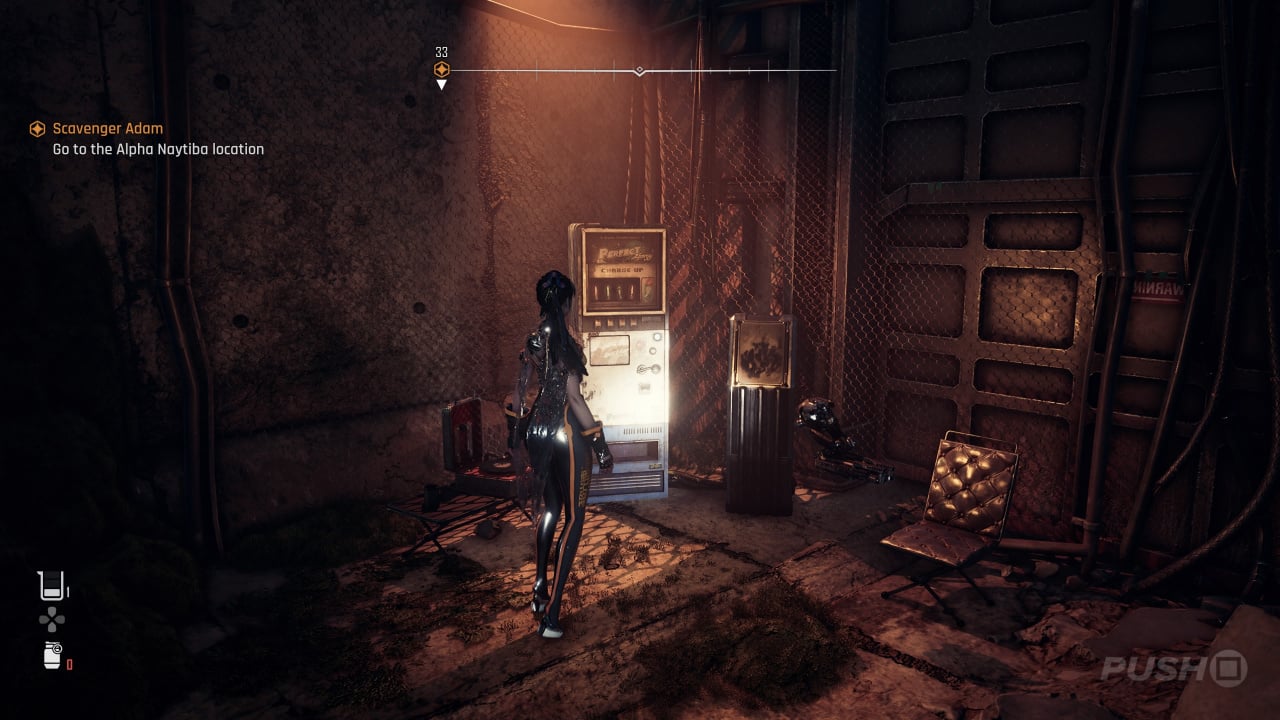
Can: Cryo Original
Only accessible after draining the sewage during the Oblivion quest. Explore the walkway behind the statue, on the lowest level possible once you've drained the sewage. To the right of a liquor store, there's a Fiz vending machine. Interact with it to get the Cryo Original can. If you can't find it, it's on the same pathway as Warehouse 77, which you need to enter for the Oblivion quest.
Memory Tower
Passcode: Underground of the Memory Tower
Watch the cutscene as you approach the Memory Tower. Then head up the staircase on the left and defeat the Naytiba in front of the human body. Scan the body for the Passcode. Head down the staircase, and then enter the code to open the gate opposite the generator.
Beta Core #4
In the restaurant named Red Grill, immediately after the fight with the Corrupter, scan the body for the Beta Core.
Camp #7
Climb up the big yellow ladder once you reach the collapsed highway. The Camp is just to the right at the top.
Construction Zone
Supply Camp #4
As soon as you arrive at the Supply Camp, it's located right in the middle of the area.
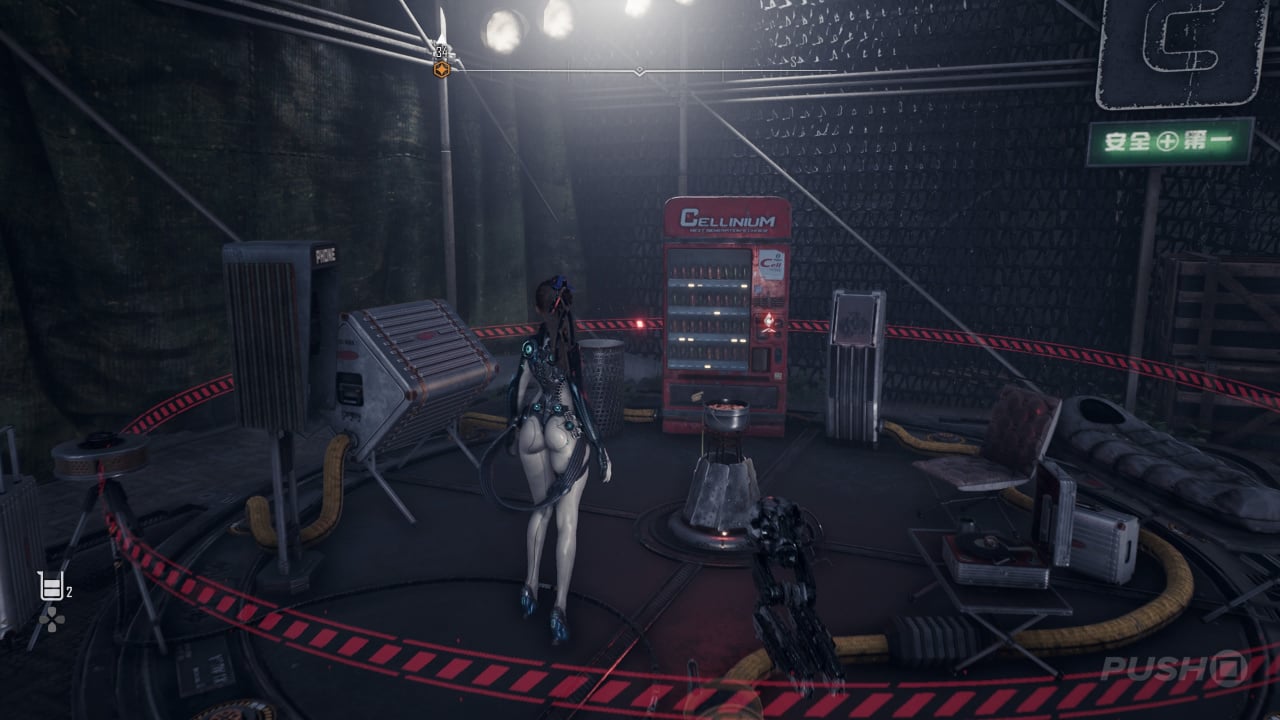
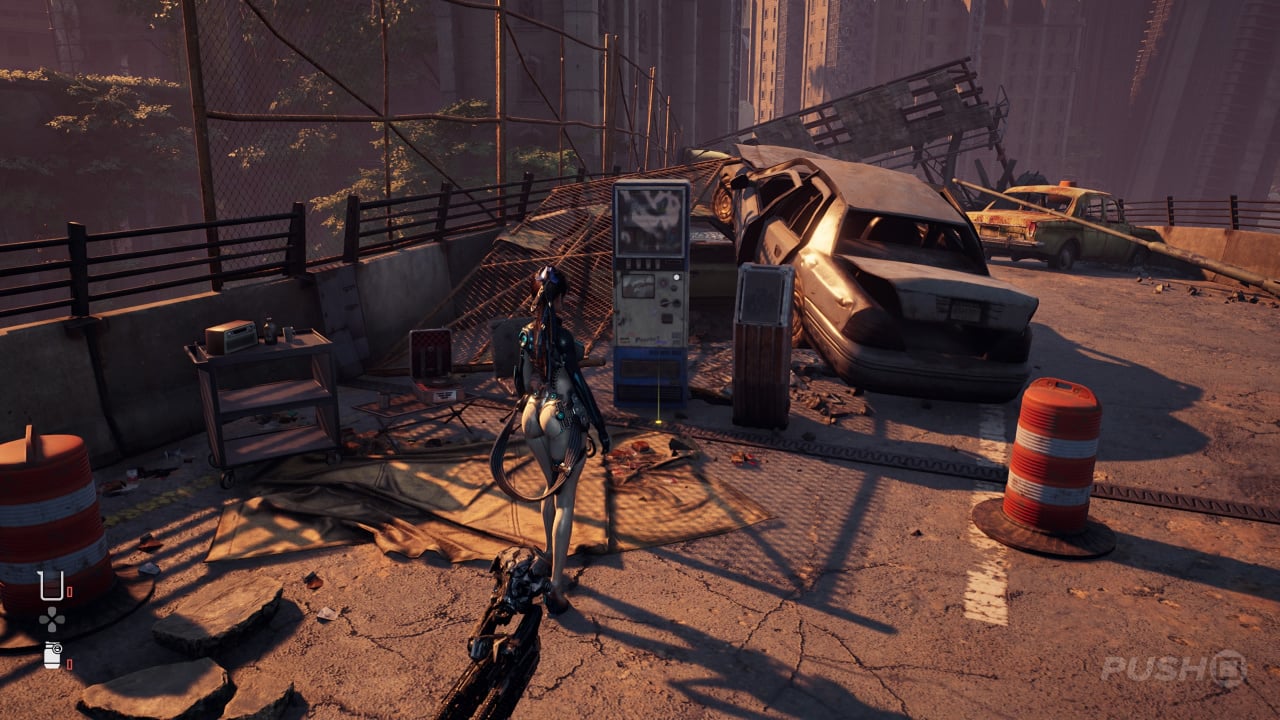
Can: Potential Blast
When you're looking for the ID Cards, climb to the third floor of the eastern-most dilapidated building opposite the Supply Camp in the centre of this area. On the table, next to a toolbox, is the Potential Blast can.
Exospine: Protection-Type Exospine
In the Construction Zone, climb up the containers next to the lift you need to power outside the western-most building while you're looking for the Crane ID Cards. On the second floor there's a box with the Protection-Type Exospine inside.
Body Core #4
Use the left crane in the Construction Zone to make a pathway up to the multi-storey on the left. Climb up on the ledge and onto the second floor to get the Body Core.
Design Pattern: Red Passion
Use the right crane in the Construction Zone to destroy the wall on the right, and then position it to make a pathway so you can open the crate that's in the area behind. You'll get the Red Passion blueprint for your troubles.
City Underground Sector
Camp #8
After you've organised the cranes in order to create a safe passage out of the Construction Zone, you'll find a Camp in a room to the left just on the other side.
Body Core #5
Follow the tunnel after the Camp and you'll reach a four-way intersection with a box you can hack open. Follow the path straight forward and you'll emerge outside, where there's a corpse on the right with the Body Core on it.
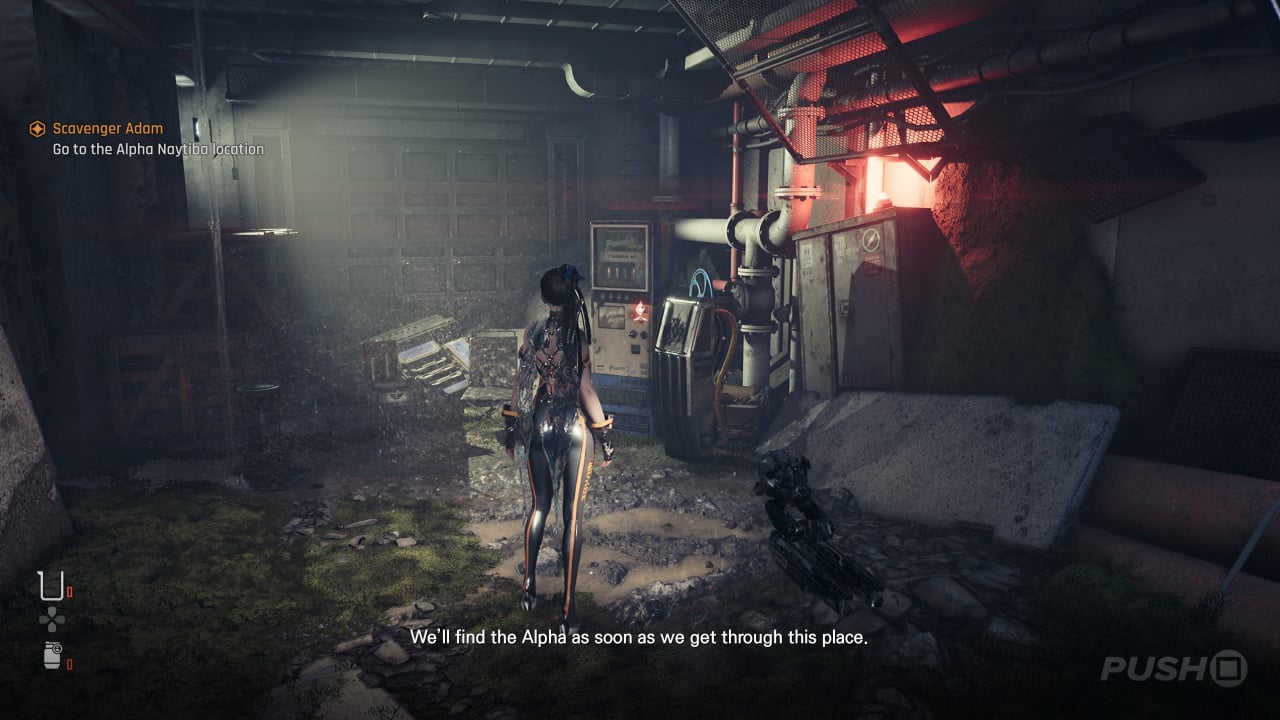
Beta Core #5
Shortly after being asked by Adam to traverse the collapsed tunnel piping, head underground on your right and scan a corpse with a Beta Core upon it.
Camp #9
Opposite the corpse that you need to loot for the Floodgate Key, there's a room on the other side of the corridor with a Camp inside.
Crater
Supply Camp #5
Once you emerge outside from the City Underground Sector, you'll happen upon a Supply Camp just off to the left of the main path.
Did you find this Eidos 7 walkthrough in Stellar Blade helpful? Take a look at our Stellar Blade guide, and let us know in the comments section below.


Comments 0
Wow, no comments yet... why not be the first?
Leave A Comment
Hold on there, you need to login to post a comment...