Belurat, Tower Settlement is a main area in the northwest of the Gravesite Plain in Elden Ring DLC Shadow of the Erdtree, and hosts a Boss Fight against Divine Beast Dancing Lion at the end of it. In this Elden Ring guide, we are going to reveal how to complete Belurat, Tower Settlement via a step-by-step walkthrough.
How Do You Complete Belurat, Tower Settlement in Elden Ring?
On this page, we're going to reveal how to complete Belurat, Tower Settlement. We'll include the location, a step-by-step walkthrough, and any additional information, like item drops.
Belurat, Tower Settlement Location: How to Find It
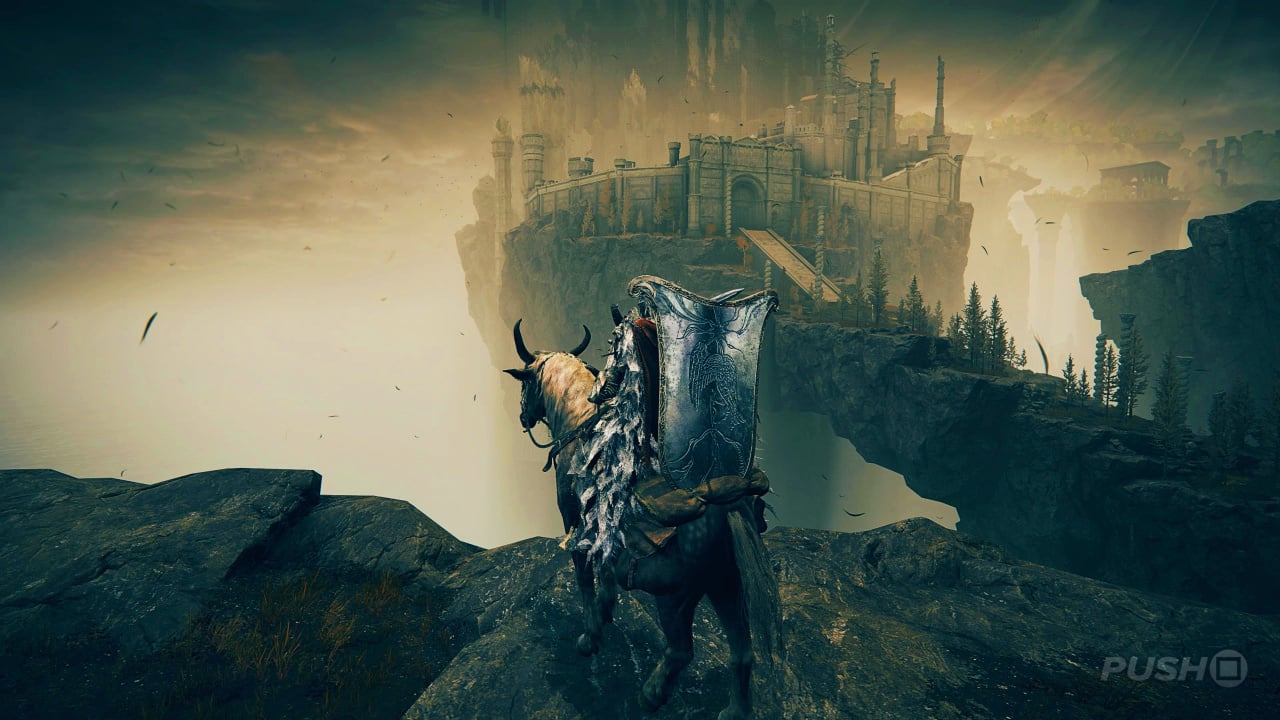
Belurat, Tower Settlement is the easiest Legacy Dungeon to find in the Shadow of the Erdtree DLC, located in the starting Gravesite Plain area to the northwest. Once you reach the Site of Grace called Three-Path Cross, head up the hill to the west and you'll come upon a clearing with Belurat, Tower Settlement directly in front of you.
Belurat, Tower Settlement: Walkthrough
When you're ready to enter Belurat, Tower Settlement, climb the huge stone staircase and push the double doors open. Inside is an entrance hall that isn't the most welcoming, with a giant scorpion hanging from the ceiling. Dispose of it, then proceed into the next room where a whole flock of smaller scorpions await. Once they're dead, grab the Revered Spirit Ash off the statue, then go behind it for a Poisonbone Dart.
More scorpions — both big and small — await on the level above, so dispose of them and grab the Fireproof Dried Liver the large one was guarding. Beware of another scorpion looking to ambush you on the next staircase with the Black Pyrefly, then you'll find a Site of Grace once you get back outside. Using it as your base, feel free to enter the room on your left, but the main path takes us to the right where enemies will be praying around a water feature that's seen better days. Kill them all, pick up the Stimulating Boluses, and grab the Knot Resin from the poisoned water to the left. Just beware of the enemy ready to ambush you.
Up the small staircase to find a slightly more open area with enemies praying to your right. The main path is to the right, but you can grab a Somber Smithing Stone [3] if you go the opposite way, then take a ladder down into a part of the sewers containing Messmerfire Grease — also, note the locked door. Return to the surface and continue on and enemies will start shooting spells at you from a ledge above. Take cover in the dead end to your immediate right (and grab more Messmerfire Grease), then sprint underneath them to avoid taking damage.
There's another Black Pyrefly on the corpse at the end of this corridor, before you take a left inside, which appears to be a pantry. Go upstairs to find the next Site of Grace, called Small Private Altar. In the next area, you can take a left to defeat the enemies that were shooting spells at you previously (take note of the locked door at the end of the corridor), then double back and go right for the main path. Take care with the dual-wielding foe ahead; they're no pushover.
For a bit of exploration, you can now head right down the staircase and past a group of ghostly enemies to a courtyard with a big tree in the middle. Here, you'll be invaded by Fire Knight Queelign. Defeat them to earn the Crusade Insignia. You'll also find the Ash of War: Shriek of Sorrow on the backside of the tree in the centre. Now you can return to the fork in the road near the Site of Grace and head right this time to continue along the main path.
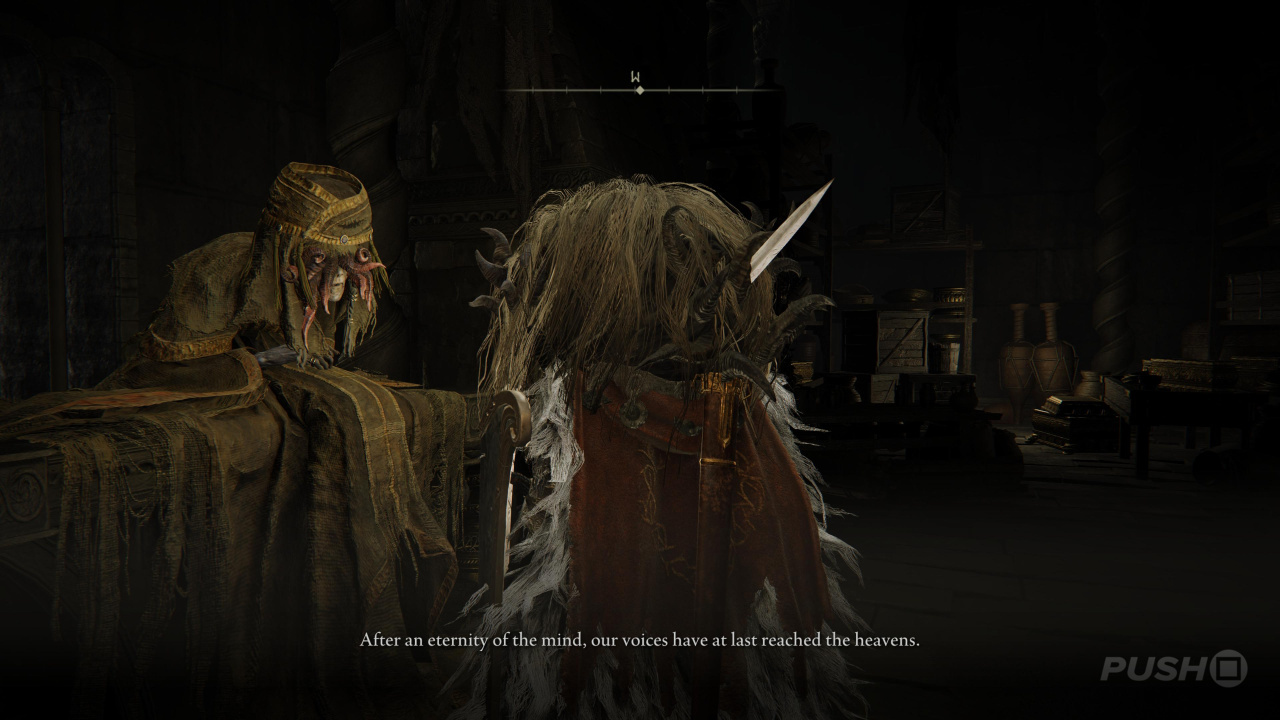
Follow the tight corridor around, defeating the ghostly enemies along the way, then cross the river. Go up the ladder and take the Storeroom Key off the corpse. To use this, fast travel to the Small Private Altar and take a left across the bridge and unlock the door. Inside, you'll find a new NPC you can talk to. After a few interactions, they'll essentially tell you to go away — but note their existence and location all the same.
Return to where you found the Storeroom Key and take a left outside. You'll see a staircase in front of you, but instead of actually going down it, climb onto the ledge next to it and take it to the edge. Look to your left and you'll be able to jump through into a bridge. In the next room will be the Well Depths Key, which unlocks a door in the sewers you accessed towards the start of the area down a ladder. To get there quickly, fast travel back to the first Site of Grace called Belurat, Tower Settlement and go right past the water feature, and then right again to find the ladder leading down to the sewers. Use the Well Depths Key and you'll come out into a vast poisonous swamp (there had to be one, didn't there?).
Begin by heading right, sticking to the land protruding out of the swamp to avoid contracting Poison. If you look to your left once you reach the end, you'll spot one of those dual-wielding enemies. Defeat them to get the Horned Warrior's Sword. If you look to your right, there'll be an item in the swamp — it's the Poisoned Hand. Directly southeast of this small island, you should spot a little light on one of the buildings ahead. Go there to find a ladder to climb, which leads to a shortcut back to the first Site of Grace for this area.
Next, return to where you entered the swamp area and take a left this time, climbing over the broken buildings to forge a path. At the end of this area, you'll notice a very large open space, perfect for a boss encounter! That's because there is one, against a version of the Ulcerated Tree Spirit. Before starting this fight, we strongly recommend having some Neutralizing Boluses on your Quick Items so you can negate Poison buildup. Luckily, you can call upon your Mimic Tear Ashes for the encounter so do so to make things a lot easier. Defeating the enemy rewards you with the Immunizing Horn Charm +2.
With those side quests out of the way, we can actually get back to some core progression through Belurat, Tower Settlement. Fast travel to the Small Private Altar and retrace your steps through the river back to where you first found the Storeroom Key on a corpse. Now, go up and to the right to find a new area with dangerous flying birds. If you start by taking a left and then another left down the staircase, you'll find an elevator with a lever at the bottom. Pulling it creates a shortcut back to the first Site of Grace for this area.
Rest there, then take the elevator back up and head into the scorpion-infested room on the left. Two giant scorpions will drop down from above, so kill them and grab the Bone Bow in the back. Return to the fork in the road and press on to where the bird enemies are. Use the rooftops to cross, defeating the birds along the way. On the other side, make sure to kill the glowing enemy holding a pot on their head as they give you a Revered Spirit Ash. On the bridge, you'll need to defeat an even tougher version of the dual-wielding enemy.
On the other side, you can take a right and go down into another small swamp area, but there's nothing of note down there. The main path is to the left, where you'll find another group of ghostly enemies praying to another Revered Spirit Ash around a giant tree. Having collected it, go inside and up the stairs — watch out for the enemy ready to ambush you — and you'll find a new Site of Grace to rest at. Beyond the next set of stone doors is a Boss Fight against Divine Beast Dancing Lion. For a guide covering how to beat Divine Beast Dancing Lion, please click the link.
After finishing the encounter, activate the Site of Grace and spend your Runes, then pick up the Divine Beast Head. From the boss arena, take a right and use the elevator to head up to a new place. Push open the stone double doors, grab the Revered Spirit Ash to your right, then ascend the staircase and grab the Tower of Shadow Message at the top. To finish Belurat, Tower Settlement off, fast travel back to the Small Private Altar and equip the Divine Beast Head. Go back to the NPC who previously told you to go away and she'll have new dialogue to share, resulting in a new Spell called Watchful Spirit.
Belurat, Tower Settlement: Item Drops and Loot
- Scorpion Liver
- Revered Spirit Ash
- Poisonbone Dart
- Fireproof Dried Liver
- Black Pyrefly
- Rada Fruit
- Smithing Stone [4]
- Silver Horn Tender
- Somber Smithing Stone [3]
- Messmerfire Grease
- Crusade Insignia
- Ash of War: Shriek of Sorrow
- Arrows
- Thin Beast Bones
- Redflesh Mushroom
- Storeroom Key
- Throwing Dagger
- Storeroom Key
- Well Depths Key
- Horned Warrior's Sword
- Poisoned Hand
- Immunizing Horn Charm +2
- Flight Pinion
- Fly Mold
- Stanching Boluses
- Dewgem
- Remembrance of the Dancing Lion
- Watchful Spirit
Did you find our guide covering how to complete Belurat, Tower Settlement in Elden Ring helpful? Share any of your own strategies in the comments below and check out our Elden Ring guide for more guidance and information.


Comments 0
Leave A Comment
Hold on there, you need to login to post a comment...