What are all Bounties in Metaphor: ReFantazio? Bounties are essentially monster-driven side quests, tasking you with taking down powerful creatures in exchange for large amounts of money. In this Metaphor: ReFantazio guide, we list every Bounty that you can undertake during your adventure.
What Are All Bounties and How Do You Complete Them in Metaphor: ReFantazio?
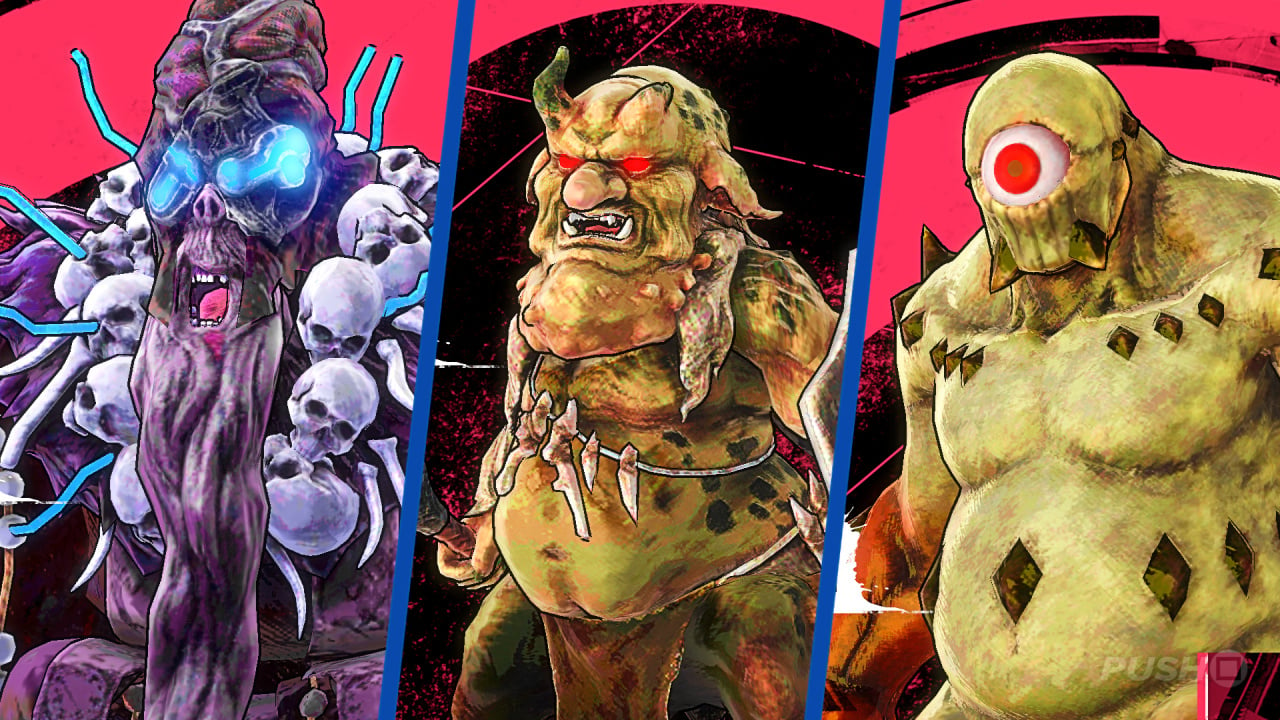
Below is a list of every Bounty in Metaphor: ReFantazio, complete with information on where to find each target, and tips on how to actually defeat them. Bounties are the most lucrative side excursions in the game, so you'll definitely want to take them on whenever you have free time.
Man's Not-So Best Friend
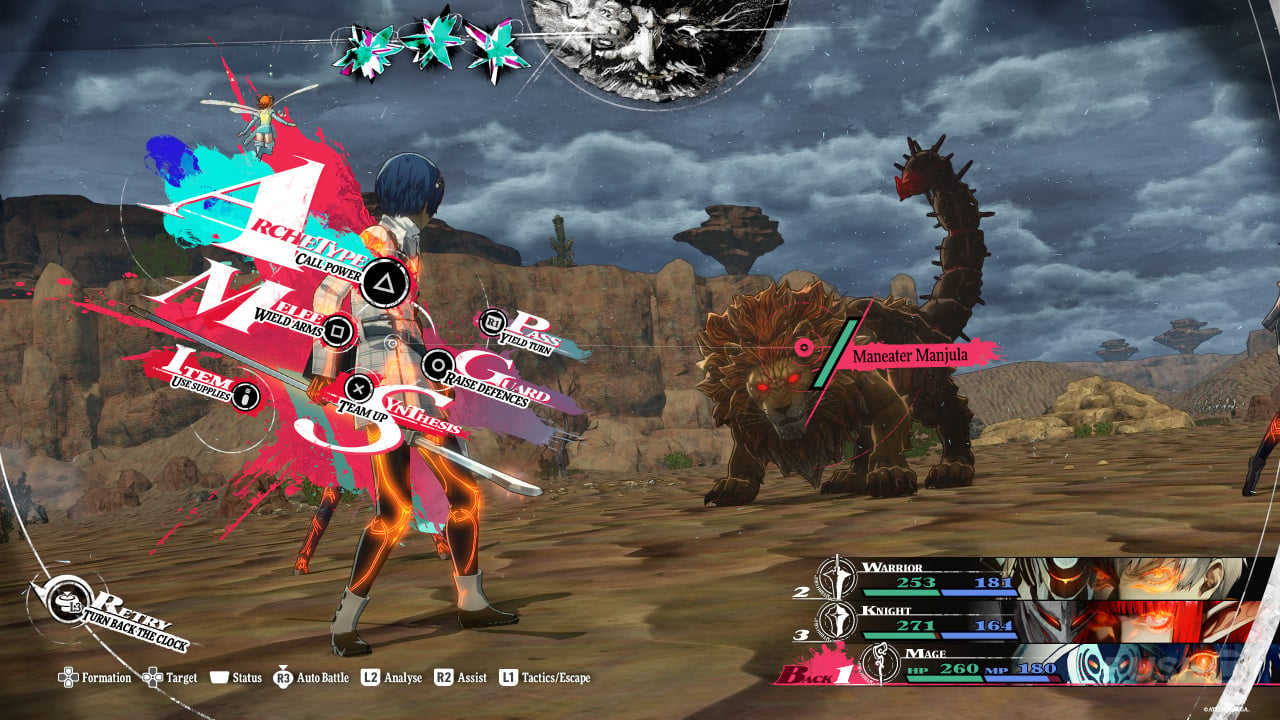
Target: Maneater Manjula
Rank: 2
Subscribe to Push Square on YouTube166k
Available From: As soon as you're able to accept bounties, after completing the Grand Trad Cathedral dungeon
Deadline: None
Location: Tradia Desert (leave Grand Trad by the main gate)
Walkthrough:
- Defeat wild dogs in the area (they're marked on your map)
- When enough dogs have been hunted, the bounty target will appear and you'll be forced to fight
- The target is weak to ice
- It resists fire
- The monster primarily deals pierce damage, so be wary of your party's weaknesses
- It doesn't have a huge amount of HP, so keep hitting it with your strongest physical and magic attacks
- There's a chance that its multi-hit pierce attacks will deal critical damage — which will likely be enough to threaten your relatively low-level characters
- Be sure to keep your own HP topped up should you drop to half or below
Reward: 10,000 reeve, Courage increase
The New King of the Imps
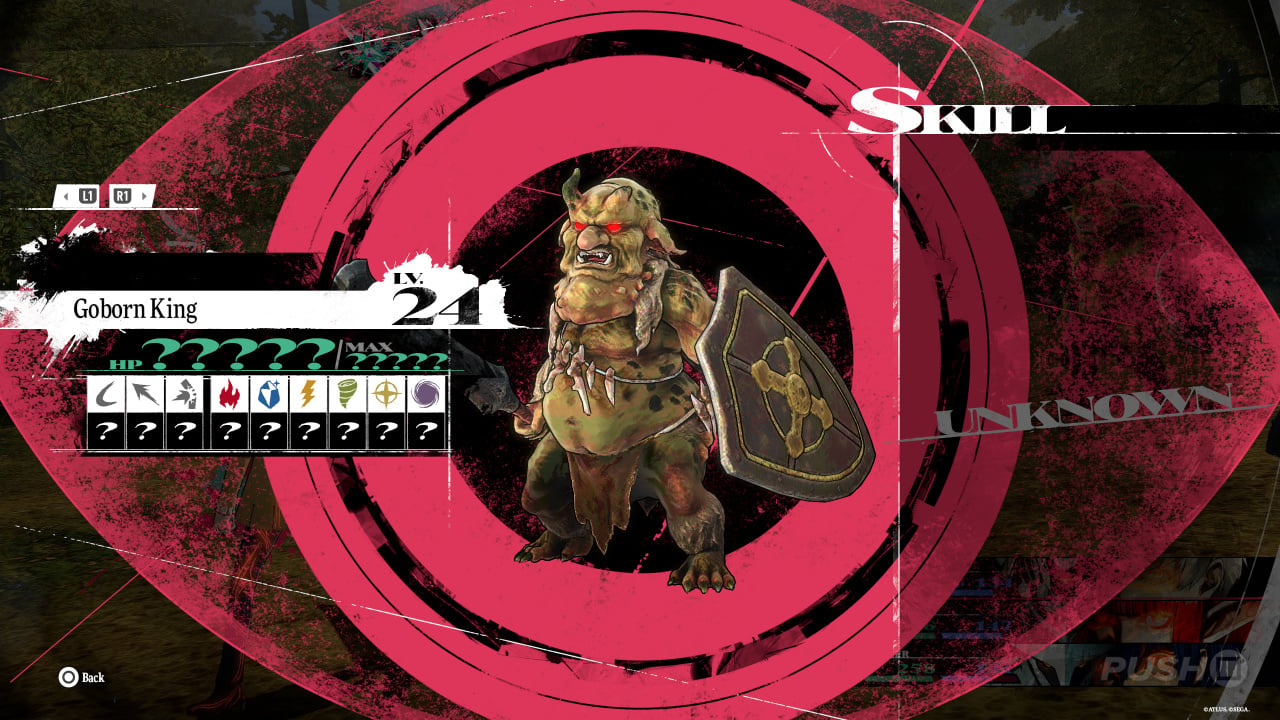
Target: Goborn King, Forest Champion
Rank: 3
Available From: Your second day in Martira
Deadline: None
Location: Imp's Den (unlocked on the map after accepting this bounty)
Walkthrough:
- Defeat black-clothed Goborns in the area to lure out the target
- When fighting the Goborn King, defeating his allies will cause him to grow significantly stronger
- It's best to wipe out three of his grunts, but leave the fourth alive as to avoid the king's rage
- The best Goborn to leave alive is probably the standard grunt with the sword; the others are capable of dealing more damage
- Remember that Goborns enter a frenzy if a party member is equipped with a magic-focused weapon, like a staff or mace (Mage and Healer Archetypes)
- The boss doesn't have much HP overall, but without any weaknesses, you'll just need to hammer him with your strongest attacks
- The only thing to really watch out for is the monster's multi-target rage attack, which can deal chunky damage
- It may be best to stick to the back row for much of the fight in order to lessen incoming damage — especially if you're relying on magic
Reward: Sentinel's Talisman (boss drop), Scrapmetal Slab (boss drop), 16,000 reeve, Courage increase
The Man-Eater in the Mine
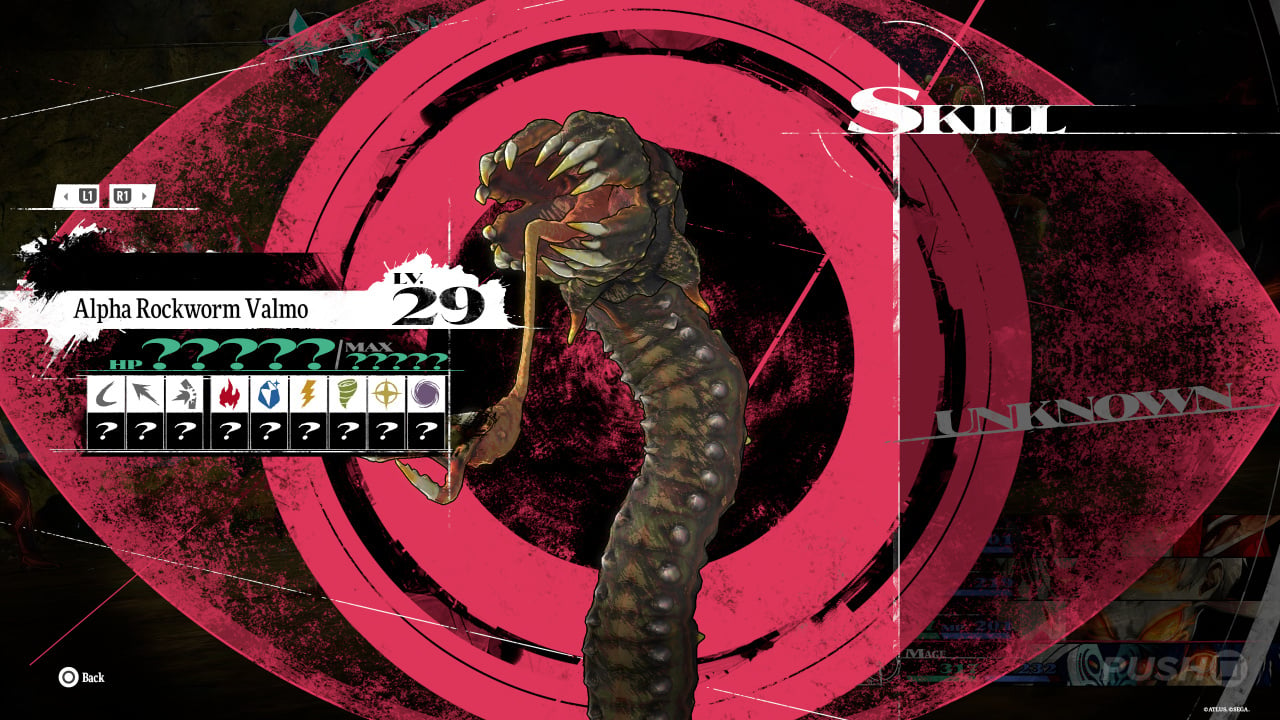
Target: Alpha Rockworm Valmo, Monstrous Maneater
Rank: 3.5
Available From: 7/5
Deadline: None
Location: Man-Eater's Grotto (unlocked on the map after accepting this bounty)
Walkthrough:
- The target can be found in the deepest part of the dungeon
- Unless you slay both worms on one of your turns, the remaining worm will simply summon another, resulting in an endless battle
- Get both worms down to minimal health, and then defeat them on the same turn
- The worms are weak to ice, so use your extra turns wisely
- They're immune to fire, and resist all physical attacks
- As such, this can become quite a drawn-out battle; be sure to have decent healing items or magic at hand to keep the party topped up
- The worms can inflict burn with their fang attacks, so you may want access to curatives
Reward: 20,000 reeve, Courage increase
Grieving Ghost of the Goblet
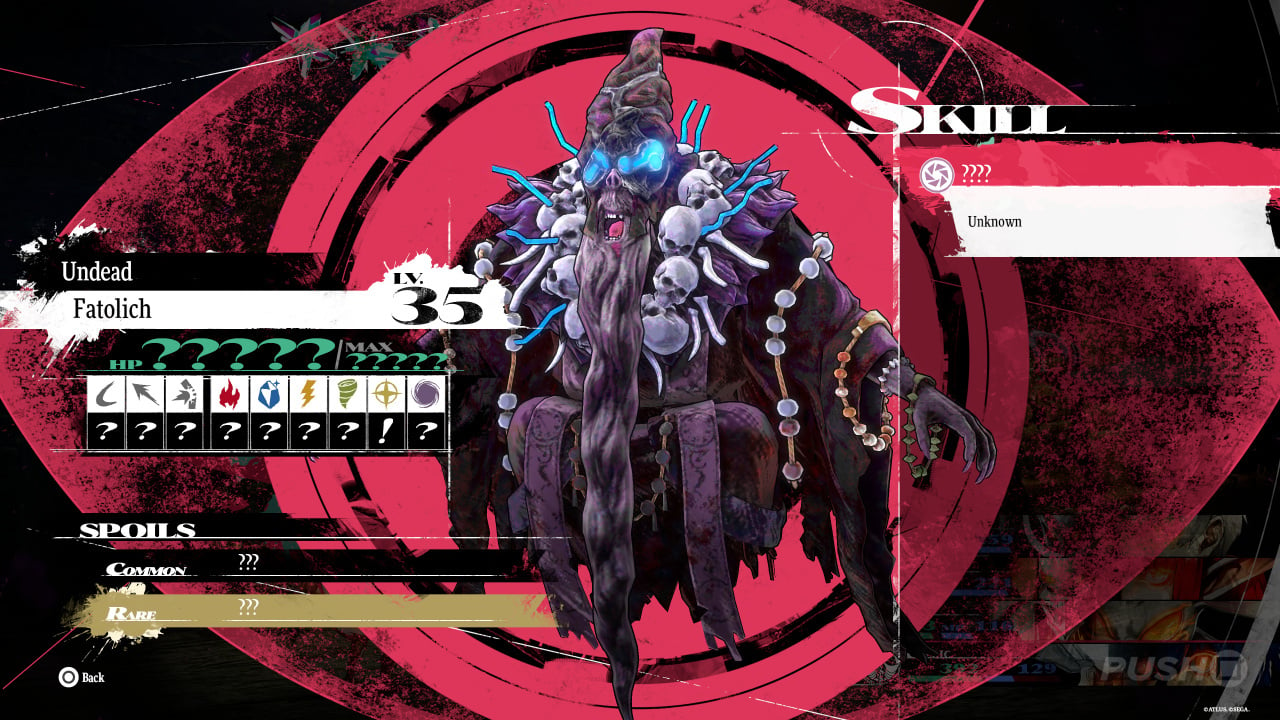
Target: Fatolich, Lamentable Dead
Rank: 4
Available From: 7/23
Deadline: None
Location: Tomb of Lament (unlocked on the map after accepting this bounty)
Walkthrough:
- The target summons a Chimera on his first turn, which can heal him
- Fatolich reflects all magic damage apart from light
- The Fatolich himself doesn't have too much HP — he can be defeated in a couple of rounds if you've got heavy-hitting light magic
- Use strong physical attacks and wind magic on the Chimera to bring it down quickly
Reward: 35000 reeve, Courage increase
The Greater One-Eyed Scoundrel
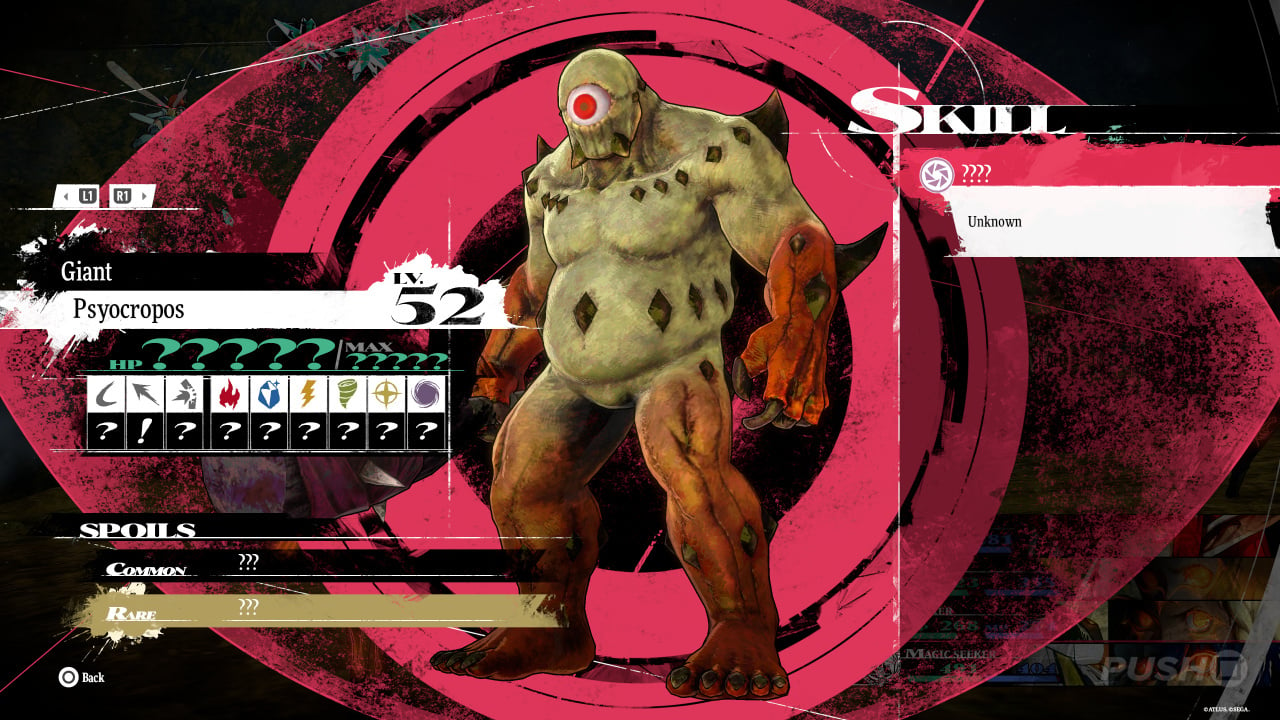
Target: Psyocropos
Rank: 6.5
Available From: 8/19
Deadline: None
Location: Scoundrel's Hold (unlocked on the map after accepting this bounty)
Walkthrough:
- The Psyocropos will become enraged if you take out the Goborn mages first
- It may be a good idea to inflict forget on the Goborns to stop them from using their elemental magic, while you keep them alive
- Psyocropos is weak to pierce and wind damage, so hit it with the strongest attacks that you have
- The Goborn mages are just standard enemies, and they don't pose a huge threat once their leader is slain
- Remember that Goborns go into a frenzy if they see magic-based Archetypes, like the Mage, Healer, and Summoner lines
- The Psyocropos is capable of big damage, but it's nothing you won't have dealt with before
- Party-wide healing magic is recommended for this one, as the boss can hit everyone with its strike attacks
Reward: 60,000 reeve, Courage increase
The Fiend in the Frozen Forest
Target: Icebeast Chimenzahn, Traceless Threat
Rank: 7
Available From: 9/13
Deadline: None
Location: Everfrost Forest (unlocked on the map after accepting this bounty)
Walkthrough:
- Defeating four ice worms (marked on the map) will summon the Icebeast
- The Icebeast doesn't have a huge amount of HP and it's weak to fire
- However, the accompanying solider will cast a magic-negating shield on the monster
- It's best to take care of the solider first, and then dispel the shield once he's defeated if possible
- The solider is weak to strike attacks
- Once the solider is low on HP, he'll sacrifice himself to fully heal the beast
- If you don't have the means to dispel the monster's magic shield, you'll need to just assault it with your best physical party members
- The Icebeast tends to use almighty and ice magic that hits everyone, so multi-target healing magic is recommended
Reward: New Moon Hairpin (boss drop), Anti-Dagger Weave (boss drop), 80,000 reeve, Courage increase
The Incarnate in the Woods
Target: Ordemos, Grudge's Fang
Rank: 7
Available From: 9/26
Deadline: None
Location: Abandoned Path (unlocked on the map after accepting this bounty)
Walkthrough:
- After defeating four giant snakes, the Ordemos will appear
- He's weak to dark attacks
- He resists all physical damage, and is immune to electric
- Generally speaking, hit the monster with as many powerful magic skills as you can
- Try to lower its strength if you can, or its hit rate so that its highly damaging physical attacks don't hit as hard or as often
- He'll lower your attack and defence with his war cry, so try to buff you and your allies back to normal if possible
- When he charges up, be sure to move everyone to the back row and guard to lessen the damage
- When he's fairly low on health, he'll start using a skill that maximises his attack, but lowers his defence
- Make sure your party's all healed up, and you can start hitting the target with everything you have while his defences are dropped
Reward: 75,000 reeve, Courage increase
The Cockatrice in the Clouds
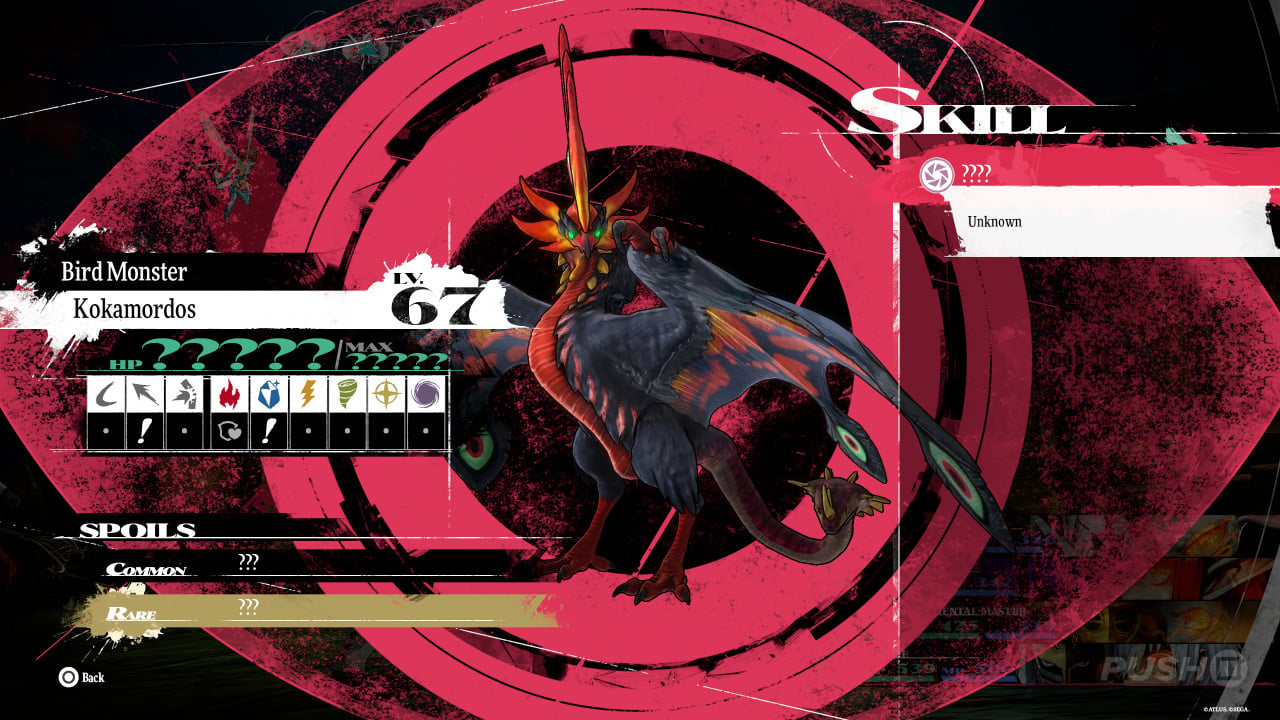
Target: Kokamordos, Terror of the Skies
Rank: 8
Available From: 9/26
Deadline: None
Location: Manor of the Ascendant (unlocked on the map after accepting this bounty)
Walkthrough:
- The Kokamordus is much like the other Cockatrice monsters you'll have fought up until this point
- It's weak to both pierce and ice attacks, so get your strongest skills ready
- It can kill party members in one shot once it takes aim — the only way to stop it is to make sure everyone's defence is buffed with the appropriate skills
- It also likes to hit the whole party with dark magic, so be wary of characters who are weak to that element
- All in all, this is a fairly straightforward battle for this point in the game, when you'll have access to so many Archetypes and skills — just don't get caught out by its instant death pecking, and you should be fine
Reward: 105,000 reeve, Courage increase
The Apostles of the Apocalypse
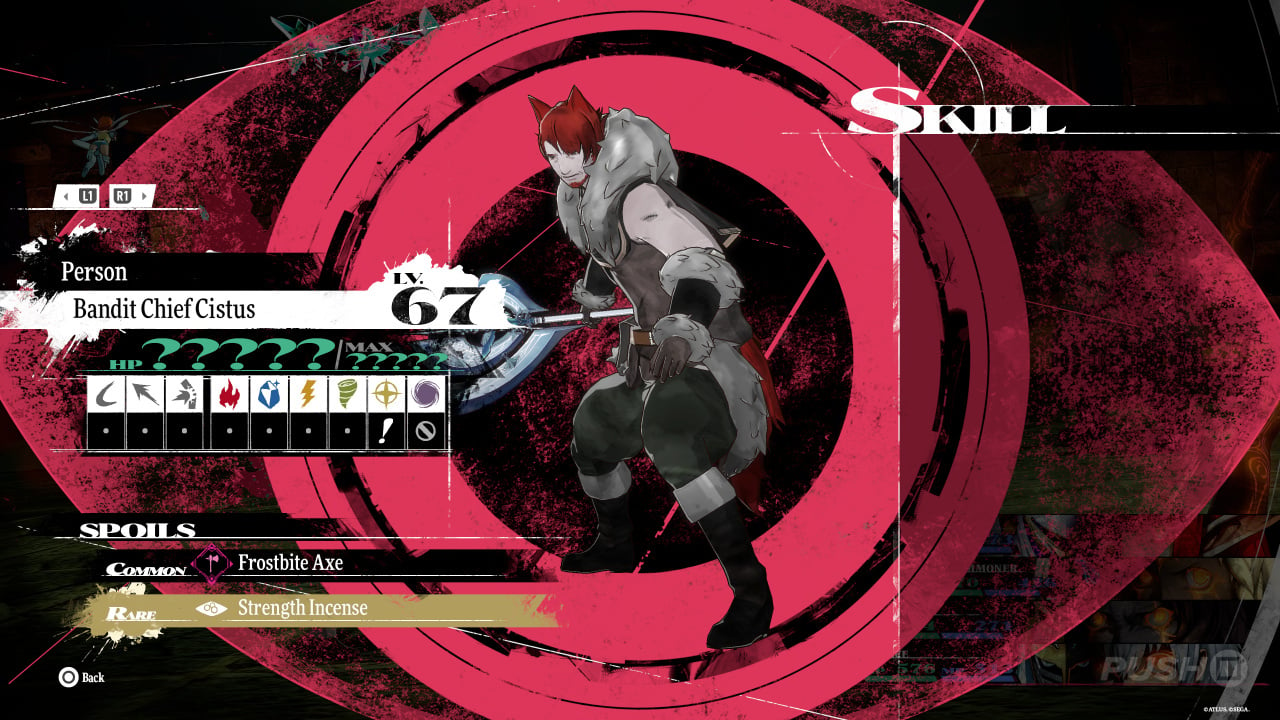
Target: Bandit Chief Cistus, Fervent Zealot
Rank: 8.5
Available From: 9/26
Deadline: None
Location: Disgraced Ruins (unlocked on the map after accepting this bounty)
Walkthrough:
- The chief is weak to light
- The fighter bandit is weak to fire and ice
- The thief bandit is weak to pierce and strike
- You can distract the chief by using money-based skills from the Merchant Archetype line, but it's not strictly necessary
- The two bandit grunts have very little HP — they're just regular enemies — so you can quickly wipe them out with multi-target magic if you have it
- This is another straightforward fight for how far into the game you are by this point; the chief's attacks can be crippled by lowering his strength, and then it's just a case of smashing him with your strongest skills
- Of course, that wasn't the real fight, was it?
- Upon defeating the bandits, a human will appear, providing a much sterner challenge
- Homo Sondro is weak to strike, but reflects slash, pierce, and electric
- This is one of those fights where dealing big damage is difficult, but if you've got powerful fire, ice, wind, or dark magic, now's the time to use it
- Keep your HP topped up whenever possible — the human deals heavy strike damage, and can bolster its strength
- It's also worth buffing your defence when you can
- If you've got skills that deal multiplied damage to human enemies, they can completely turn the tide in this battle
Reward: Golden Armour (boss drop), 115,000 reeve, Courage increase
Have you claimed all Bounties in Metaphor: ReFantazio? Be sure to check out our Metaphor: ReFantazio guide for more help with the game, and then return to the recruitment centre in the comments section below.


Comments 0
Wow, no comments yet... why not be the first?
Leave A Comment
Hold on there, you need to login to post a comment...