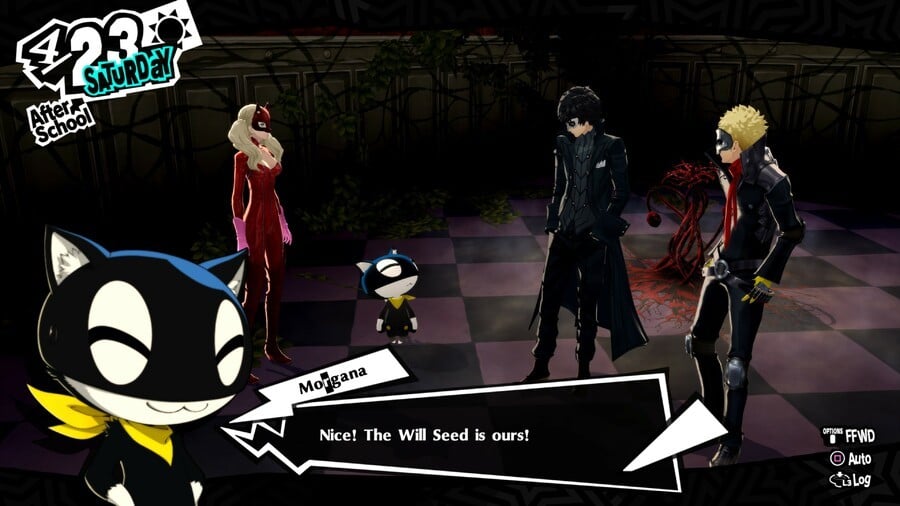
Looking for all Will Seeds in Persona 5 Royal? There are three Will Seeds in (almost) every Palace in Persona 5 Royal. Finding all three in one Palace rewards you with an exclusive, and often powerful, accessory — so they're well worth hunting down.
In this guide, we've detailed where to find every Will Seed in Persona 5 Royal.
This guide does not contain any direct story spoilers. However, the included screenshots show the name of each Palace ruler, so please keep that in mind as you scroll.
First Palace
First Will Seed
You can't miss it — the door's pointed out by Morgana in a small cutscene. Use the grappling hook to swing over.
Second Will Seed
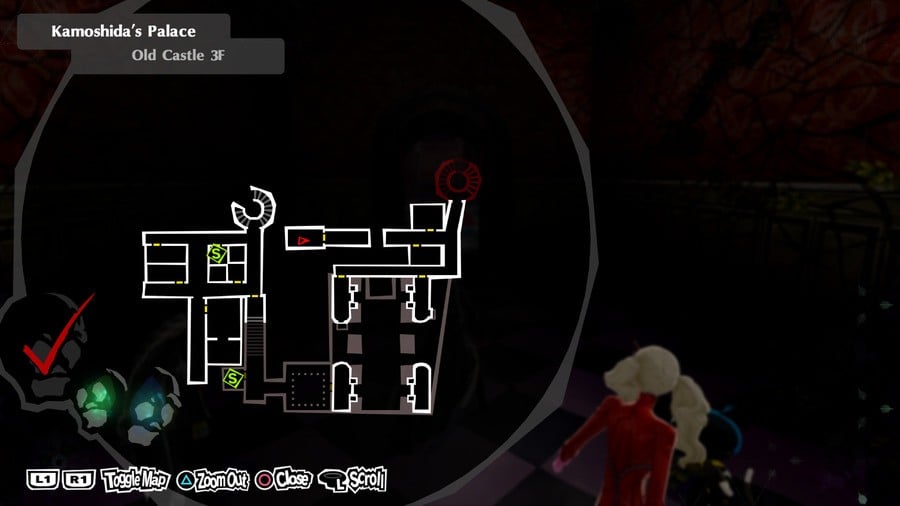
Crawl through the vent after entering the tower window.

Once you're out of the vent, use the grappling hook a couple of times to access higher areas. The second Will Seed is in a room at the highest point.

Third Will Seed
Use the elevator to go down and flip your way through the big painting of Kamoshida.


Go right to find a secret room with a switch. Hit the switch and gears will start moving in the background. Go back through the painting and take the other elevator (now accessible thanks to the moving gears). The final Will Seed is behind the door at the end of this area. Beat the tough enemy and it's yours.

Second Palace
First Will Seed
After disabling the electric gates, head up the stairs and then use your grappling hook to jump up to the rafter.
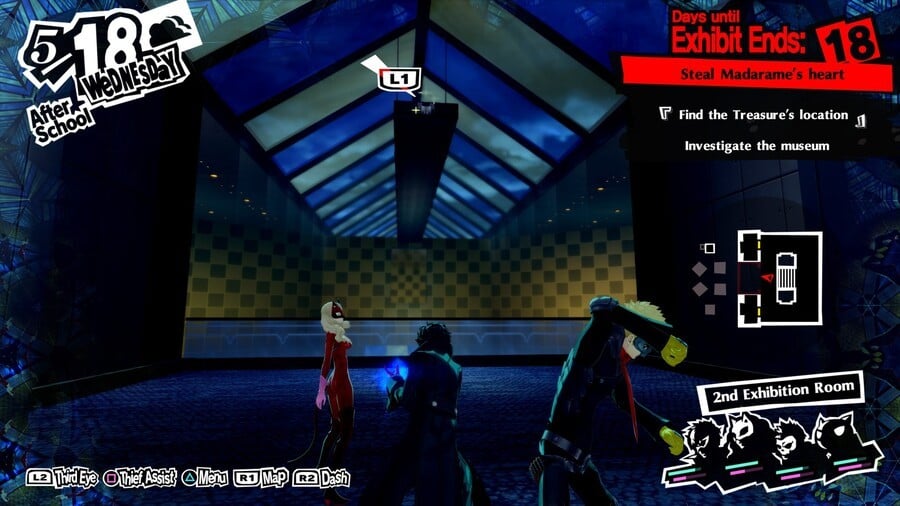
Drop down and the first Will Seed is behind the door at the end of the area.

Second Will Seed
After venturing through all the paintings, drop down in the next area. You'll see that the door to the second Will Seed is behind a gate. To lower it, find another grappling hook location that takes you upwards.

Here you should find a switch that'll deal with the gate. Head back down, go through the door, and grab the seed.

Third Will Seed
In the final area of the Palace, look out for a vent on the left wall of the right corridor.

Enter the vent and follow the path to the final Will Seed. It's guarded by a tough enemy.

Third Palace
First Will Seed
When you're looking for a way to disable the cameras, find a place to use your grappling hook in one of the corridors.
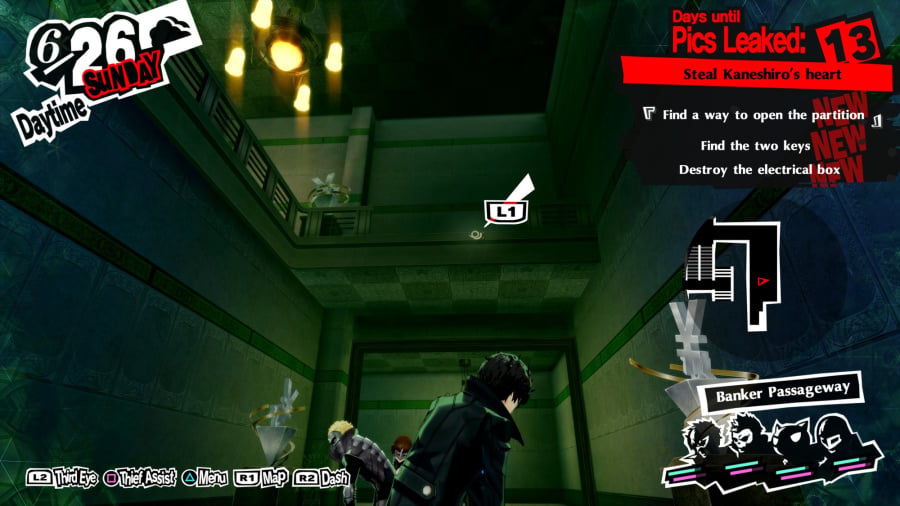
Avoid or defeat the tough enemy, and find the door to the first Will Seed at the opposite end of the area.

Second Will Seed
Once you've made it to the Laundering Office, crawl through the vent at the end of the corridor, then start drop down to lower platforms a couple of times.

Once you're on the lowest level, look for the grappling hook opportunity. Use it and you'll go right to the door of the second Will Seed.

Third Will Seed
Move the gates of the vault so that you can access the innermost ring with the stairs at the top.

Head towards the stairs, beat the tough enemy, and you'll find the third Will Seed behind the door.

Fourth Palace
First Will Seed
After breaking the big wall so that the beam of light can get through, go left into a room that has a chest.
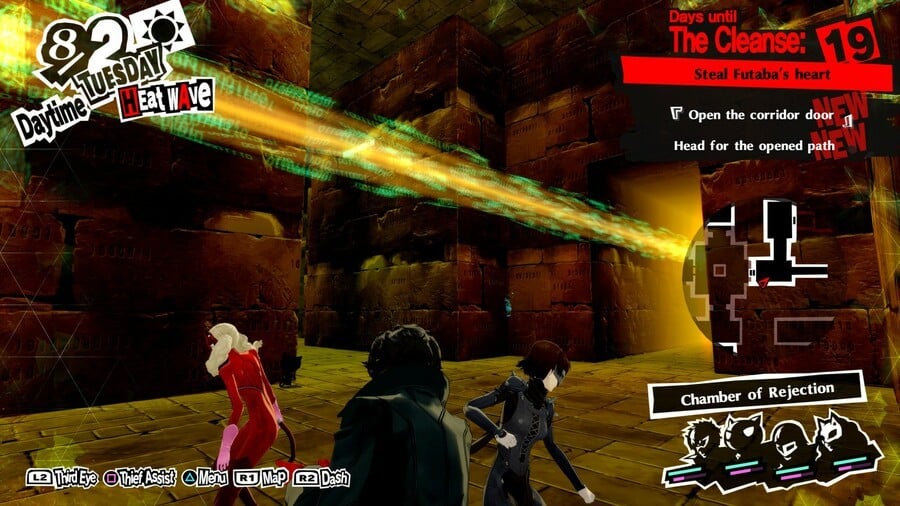
From here, jump up the statues and you'll come face to face with the door to the first Will Seed.

Second Will Seed
After blocking the passageway with all the boulders, you can use them to jump onto a ledge that has a tablet.

Read the tablet and you'll be given two codes. Solve the hologram puzzle, press the switch, and the red door will open on the other side of the room. Go through, follow the corridor, and you'll find the second Will Seed.

Third Will Seed
When jumping across the huge statues and then the floating platforms, go back towards the start of the area and look up to find a grappling hook opportunity.

Beat the tough enemy and the third Will Seed is yours.

Fifth Palace
First Will Seed
In the circular room that you access through the first vent in the palace, look for a grappling hook opportunity while standing on one of the platforms.
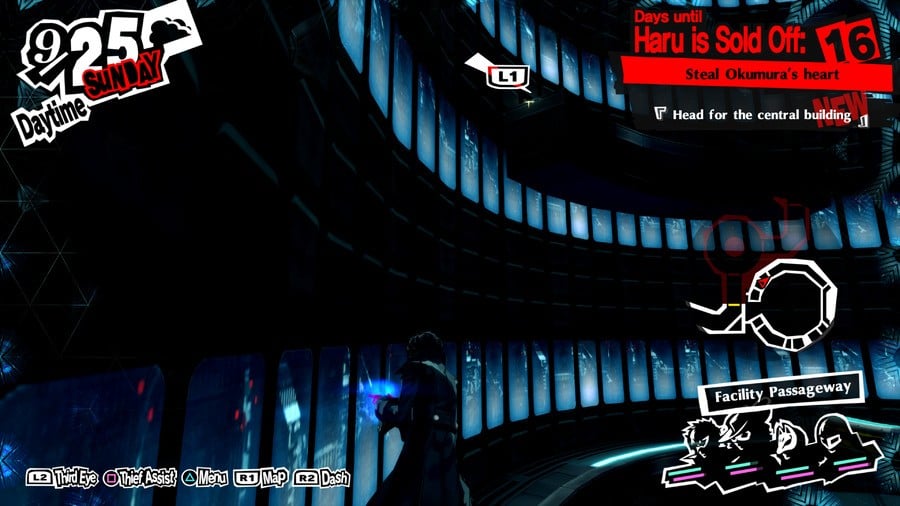
Keep grappling upwards and you'll find a corridor with the first Will Seed.

Second Will Seed
Go up the ramp and climb up onto the pipes.

Follow them around and you'll come to a corridor with the Will Seed. However, a set of lasers prevent access to the door. To turn them off, progress further into the factory and find a console. Examine it and the lasers will deactivate, allowing you to go back and nab the second Will Seed.

Third Will Seed
Once you get to the dreaded airlock section of the Palace, make it to the most southern corridor and then take the airlock on the east upwards.

Keep following the corridor and you'll find the third Will Seed at the end of it, guarded by a tough enemy.

Sixth Palace
First Will Seed
Once you have the first keycard, go to the most southern part of the current area map and unlock the door to the corridor on the bottom left.
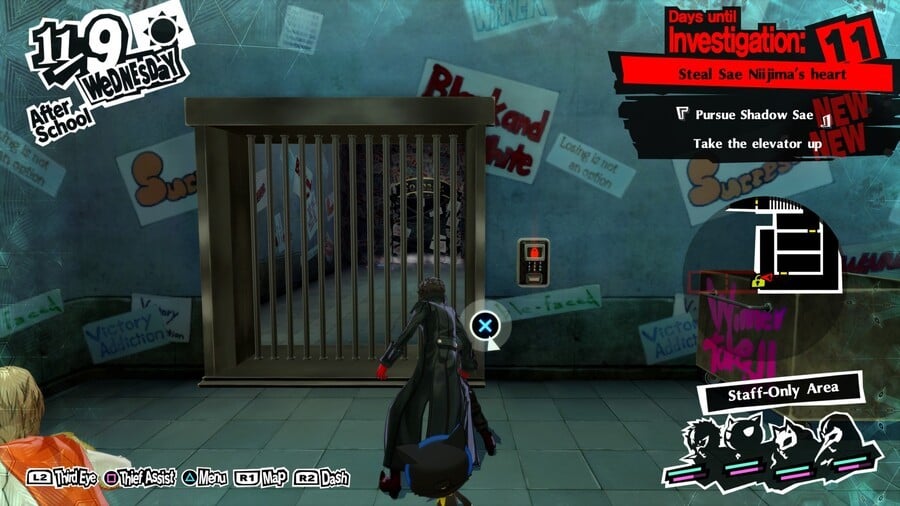
The first Will Seed is at the end of it.

Second Will Seed
In the Slot Room, head towards the western-most room. You can get there by jumping on top and then over some metal crates before using your grappling look to jump over some piles of junk.

The second Will Seed is at the end of the corridor.

Third Will Seed
In the High Limit Lobby, use Joker's senses to locate one of two ways to climb, then use the grappling hook to reach the hanging platform.

Jump across to the narrow walkway on the wall, and follow it to a vent. Crawl through, beat the tough enemy, and grab the third Will Seed.

Seventh Palace
First Will Seed
Once you've activated the switch that stops you from turning into mice, head into the large room with multiple enemies and locate a door with a staircase leading up.
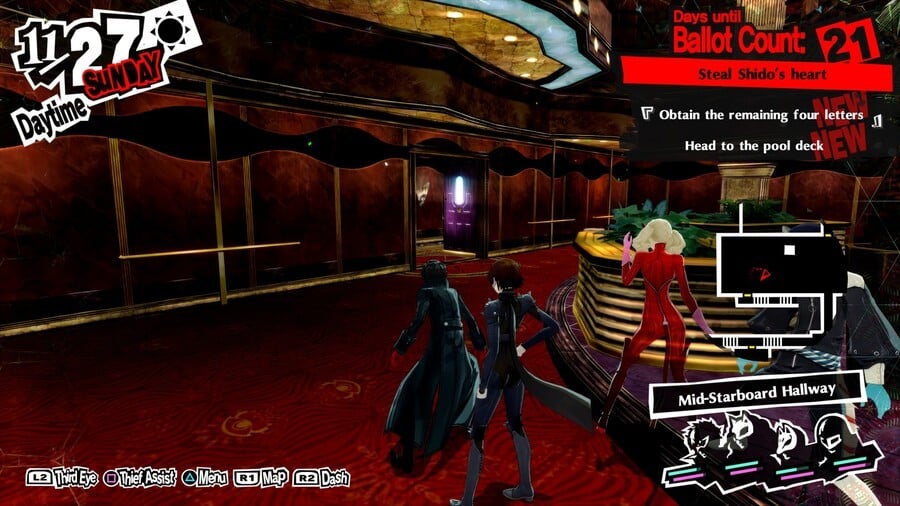
Climb the stairs and use the grappling hook to reach the other side of the room. Crawl through the vent and you'll find the first Will Seed at the end of the corridor.

Second Will Seed
Clear the way of enemies and open up any necessary doors before hitting the switch in the Lower Port Hallway. Head to the top right room on the map, turn into mice, and go through the vent. The second Will Seed is at the end of the corridor.

Third Will Seed
Later on in the Palace while searching for the fourth target's room, climb up the platforms on the side of the ship, but instead of going left, head right.

Climb to the top and use the grappling hook to go all the way across.

Enter the new area, take a right, then fight the tough enemy. The third Will Seed is yours.

Eighth Palace
Don't worry, there are no Will Seeds in the eighth Palace!
Ninth Palace
Warning: There are spoilers for the new content in Persona 5 Royal included in the screenshots past this point. Please don't read on unless you're currently playing through this Palace, or have finished the game.
Please excuse the quality of the screenshots in this section. The game blocks use of the share button past this point in the story, so we had to snap the following pictures on our phone (thanks, Atlus).
First Will Seed
Once you've been to Mementos to clear the first roadblock, the next area of the Palace will lead to a room with multiple exits. Head for the one on the left that leads up some stairs. In the next room, find the vent. Crawl through it and then hop over the platforms to find the first Will Seed.
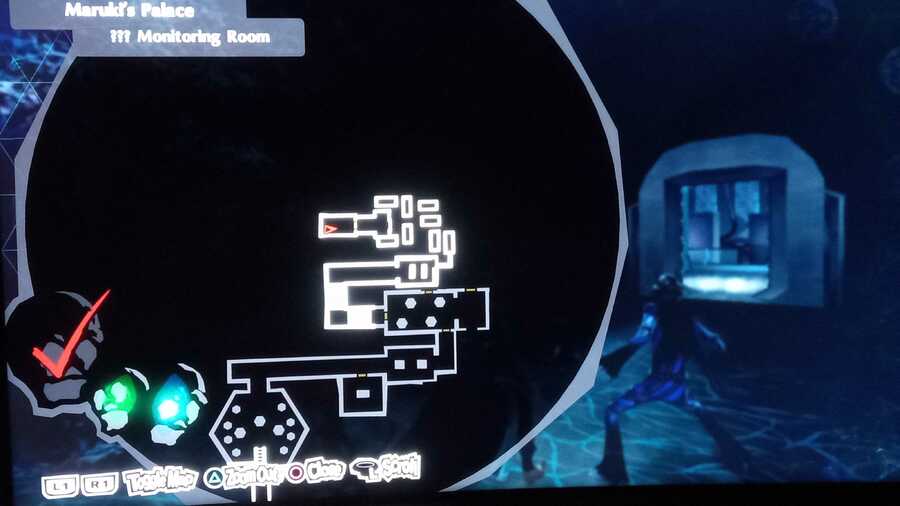
Second Will Seed
The second Will Seed is through a locked door that you'll notice as you search for the second video tape room — you can't get to it yet.

But after you've found the second video tape room, go up the spiral staircase just outside the room instead of going straight back to the password lock. In the room above, look for the grappling hook opportunity.

Once you've used it, go through the vent, and then through the door. You'll be on a balcony above the locked door with the Will Seed behind it. Break the cracked window and jump down to grab the Will Seed.

Third Will Seed
The third and final Will Seed is in the last area with all of the colour switches, on the highest floor. It can be a bit of a pain to open up the correct route to the Will Seed, as you'll need to do a lot of colour switching. With some patience it's certainly doable, but if you're having trouble, we've put together a step-by-step route below.
However, to follow these instructions you'll need to make it to the next safe room before you begin. Thankfully, making it to the safe room is a lot easier than making it to the Will Seed.
- Exit the safe room and go back to the area with the Will Seed.
- Go down the long staircase and turn the red light off at the first switch.
- Cross the cyan bridge.
- Cross two blue bridges heading north. You'll be back at the start of the area.
- From here, take one green bridge to a switch.
- Enable the red light and remove the blue light.
- Cross the green bridge, then the red bridge, heading south.
- Cross the red bridge heading west to a switch.
- Enable the blue light and remove the green light.
- Go back across one red bridge.
- Head south by jumping across the gaps.
- Cross the blue bridge heading west to a switch.
- Enable the green light and remove the blue light.
- Cross the green bridge to a switch.
- Disable the green light.
- Cross the red bridge to a switch.
- Disable the red light to open the final colour gate.
Following these steps should open the way to the final Will Seed. You'll need to beat a tough enemy before grabbing it.

This article is part of our Persona 5 Royal Guide, which contains All Differences Between Persona 5 and Persona 5 Royal along with Crossword Answers, Exam Answers, Romance Options, How To Get The Best Ending, New Game + details for Persona 5 Royal, and How To Unlock Persona 5 Royal's New Semester Endgame.
Have you found all Will Seeds in Persona 5 Royal? Look for some more secrets in the comments section below.


Comments 2
Is it worth to play the PS3 version? How much content they added on this Royal Version?
@vhsodre it's like the definitive version with a few tweaks and changes. But you should be fine with the original, it's still a very good game.
Leave A Comment
Hold on there, you need to login to post a comment...