In this fifth part of our Silent Hill 2 Walkthrough, which presents a step-by-step guide to completing the entire game on PS5, including Collectibles, we'll be covering the Historical Society building. James will get here after working his way through the Otherworld version of South Vale in pursuit of Laura.
This Walkthrough is intended for a playthrough where the Combat Challenge and Puzzles Challenge are both set to the Standard option. For more information covering Combat and Puzzles difficulty options, click the link. This page offers a full guide through the location, from when you enter until you drop down into Toluca Prison.
Silent Hill 2: Historical Society Walkthrough - All Collectibles: Strange Photos
After leaving the dark streets of West South Vale in its Otherworld state for the Historical Society, create a save on the wall to the left and enter the room opposite the locked stairwell, with the piano and display cabinets inside. There's another door in here that's locked, and next to it inside the glass cabinet is a Strange Photo. Smash the glass and grab it.
Strange Photo #1: The New Clock
On the first floor of the Historial Society in the room opposite the locked stairwell, follow the path to a locked door. In the display cabinet to your left will be the Strange Photo. Smash the glass and take it.
Subscribe to Push Square on YouTube167k
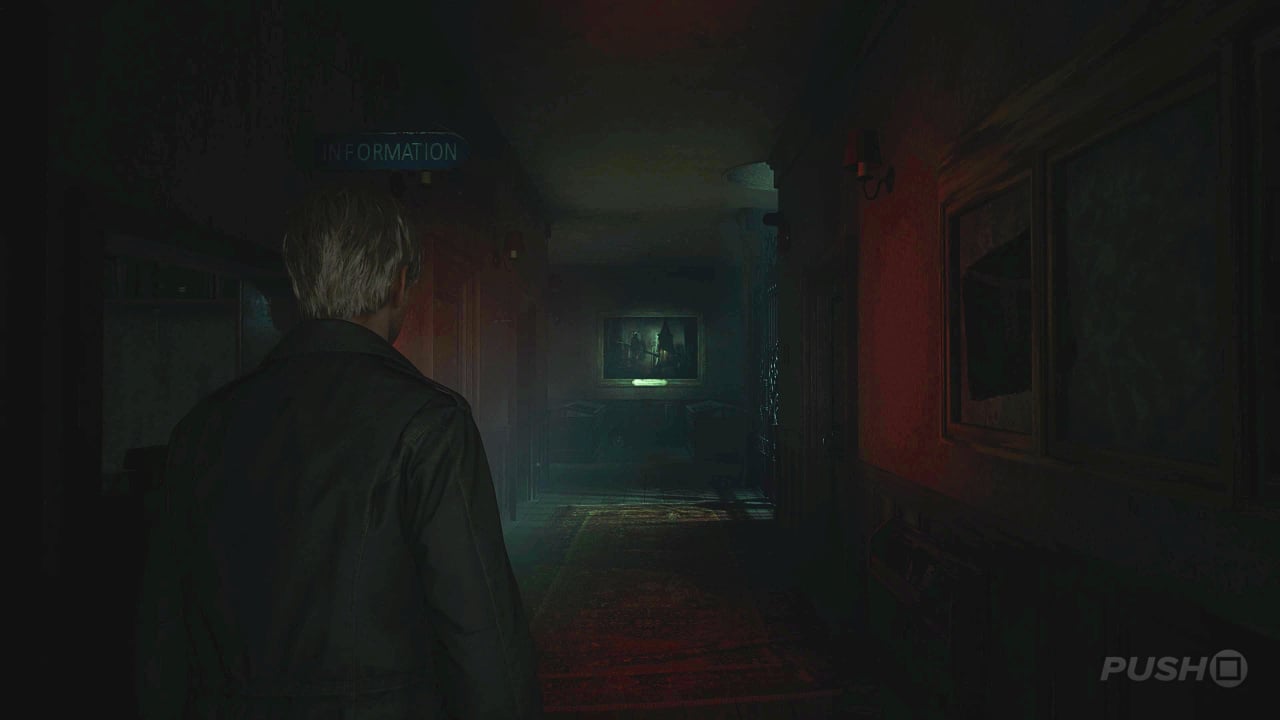
Return to the corridor and follow it past the picture of Pyramid Head and down a staircase in the hole in the wall. This extremely long staircase will lead you down into the beginnings of a prison. On top of the desk to your immediate right is a Syringe, then the next corridor up will lead you to a room with a hole in the middle. You'll be given the prompt to jump down, which you should do.
At the bottom, break the wall behind you and press on down the corridor until you find a brown, rusty door on your right. Inside on the ground will be the Spiral-writing Key, which you need to pick up. Doing so locks you in the room with a load of bugs, meaning you'll need to figure out the keypad code to escape. If you look closely at the keypad numbers, you'll notice 3 of them are brighter than the others. This would suggest someone has pressed them recently, clearing the dirt on them away. It's not clear whether the brighter numbers are randomised for each player, but for us, 2, 3, and 9 were the brightest.
There's no way to figure out the code for sure in a single go, so simply trial and error your way through this keypad puzzle, trying different combinations until the door unlocks. If you get the same numbers as us, the code we used to escape was 293. While you're trying to work it out, keep in mind the bugs continuously spawn so you'll occasionally have to exit out and kill a few.
Back outside, use the Spiral-writing Key on the giant grate in the floor and accept the prompt to jump down again. At the bottom, you'll officially find yourself in Toluca Prison, where our Silent Hill 2 Walkthrough continues.
Did you find our Walkthrough covering the Historical Society in Silent Hill 2 and all its Collectibles useful? Our Silent Hill 2 Walkthrough continues in our Toluca Prison Walkthrough, and we have even more guidance and information in our overall Silent Hill 2 guide.


Comments 0
Wow, no comments yet... why not be the first?
Leave A Comment
Hold on there, you need to login to post a comment...