Where do you find all Artefacts, Trading Cards, Journal Entries, and Workbenches in The Tunnels chapter of The Last of Us 2? Following the shootouts at the Channel 13 television centre, this chapter sees Ellie and Dina trying to make an escape through Seattle's subway system. There are 5 Artefacts, 2 Trading Cards, 1 Journal Entry, and 1 Workbench to find. Continuing our The Last of Us 2 guide, we’re going to reveal the locations of all collectibles in The Tunnels, in the order that you'll encounter them.
Artefact #1: Subway Note
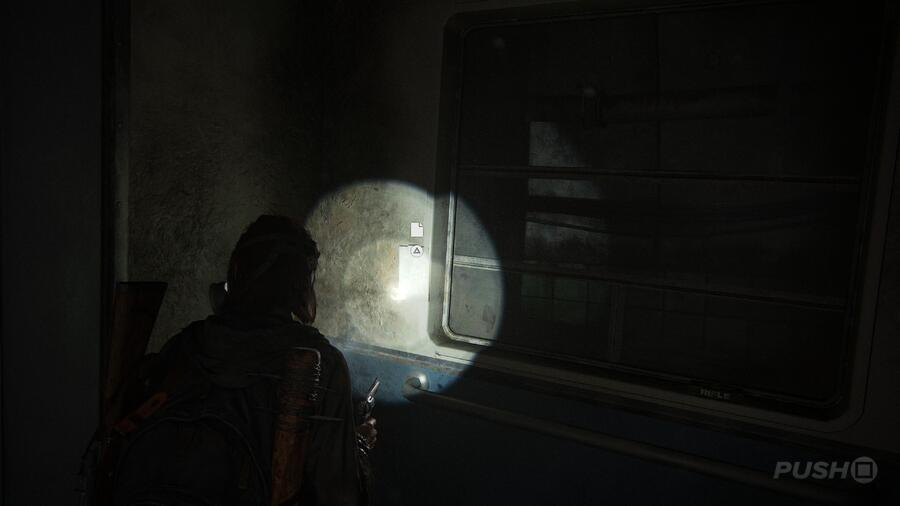
When you're in the subway, you'll reach a point where Ellie and Dina close a train door on an approaching Clicker. Follow the train all the way to the end until you can't go any further. On the wall of the compartment, to the left of a window, is the Artefact (See Also: The Last of Us 2: All Artefacts Locations).
Trading Card #1: The Imp
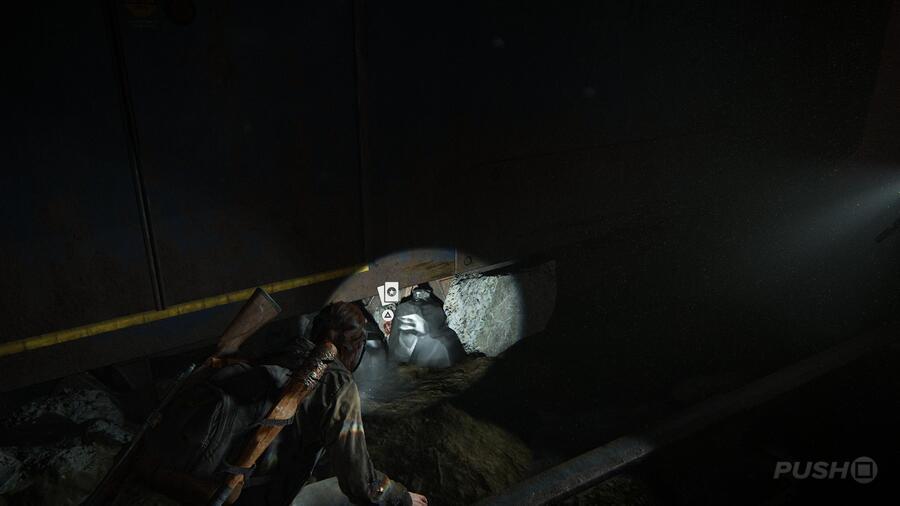
Shortly after you crawl under the subway train, you'll happen upon a room with a red light. Run past it to another crashed train. You'll find the Trading Card (See Also: The Last of Us 2: All Trading Cards Locations) among some trash, underneath the train.
Workbench #1
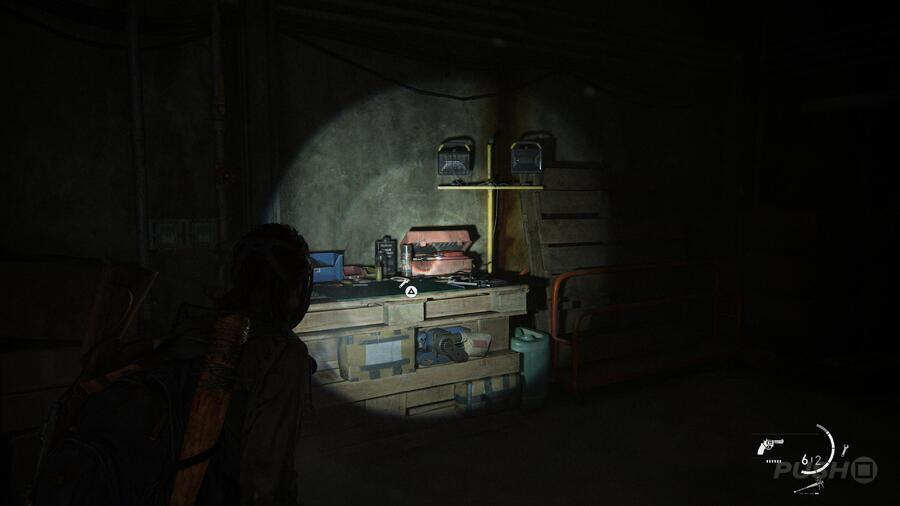
Shortly after Ellie spots the "dead Clicker", you'll need to use rope to reach a ladder. Before you do that, explore to the right of the Clicker and you'll find a door. The Workbench (See Also: The Last of Us 2: All Workbench Locations) is inside the room.
Journal Entry #1
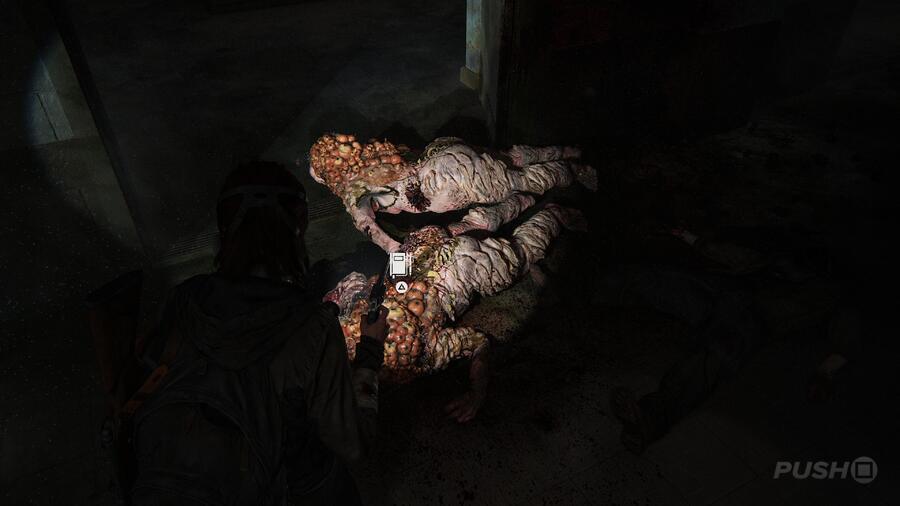
The first time you encounter the Shambler, after climbing through the vents, kill it and then look at its corpse. Ellie will add a new Journal Entry (See Also: The Last of Us 2: All Journal Entries) to her notebook.
Trading Card #2: Dr. Daniela Star
After the Shambler fight, once Ellie and Dina have gone through the chain gated door, run right down a corridor and find a blue door. Go in and in the upper-right corner of the room, crawl under the desk and through a hole in the fence. You'll find the Trading Card in the next area on a table.
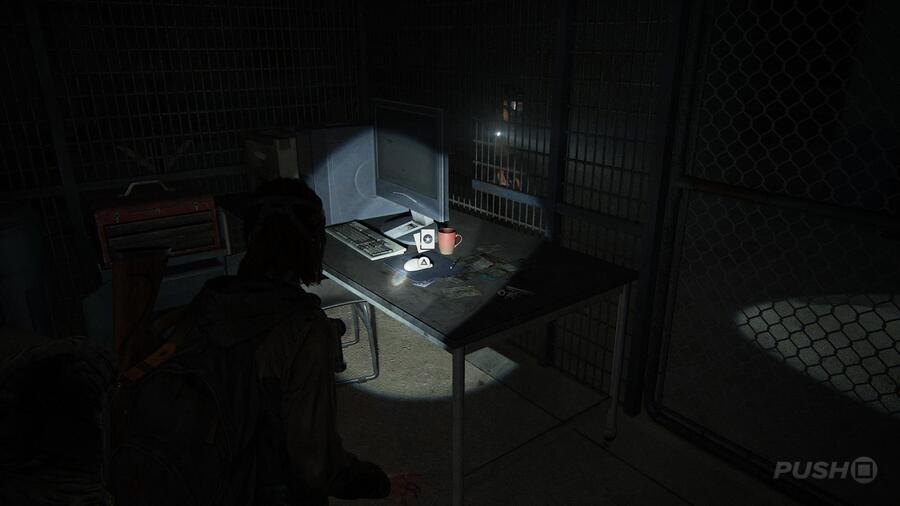
Artefact #2: Whittled Statue
After the Shambler fight, follow the path into a new corridor with blue doors on the right. Go through the second one, and the Artefact is immediately to your right, on a table next to a microwave.
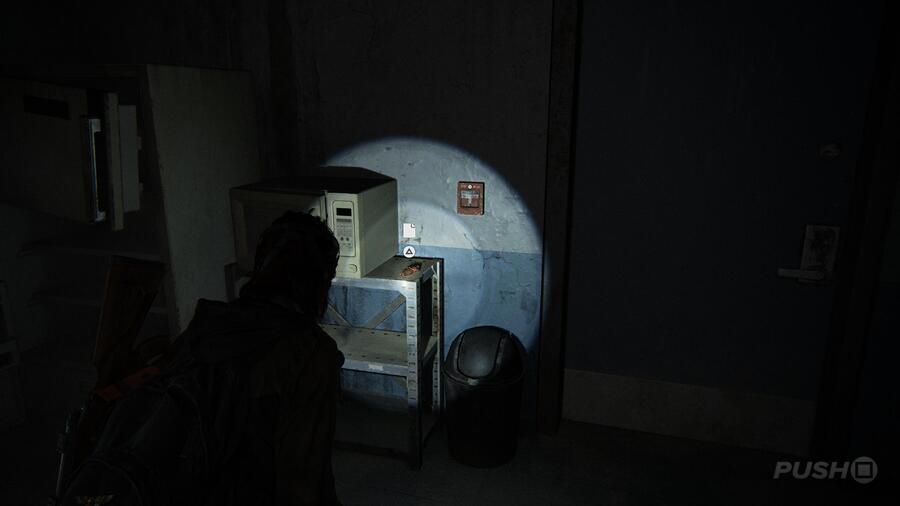
Artefact #3: Locker Room Code
In the same area, explore the opposite side of the room where dining tables and chairs are. You'll find the Artefact on one of the tables.
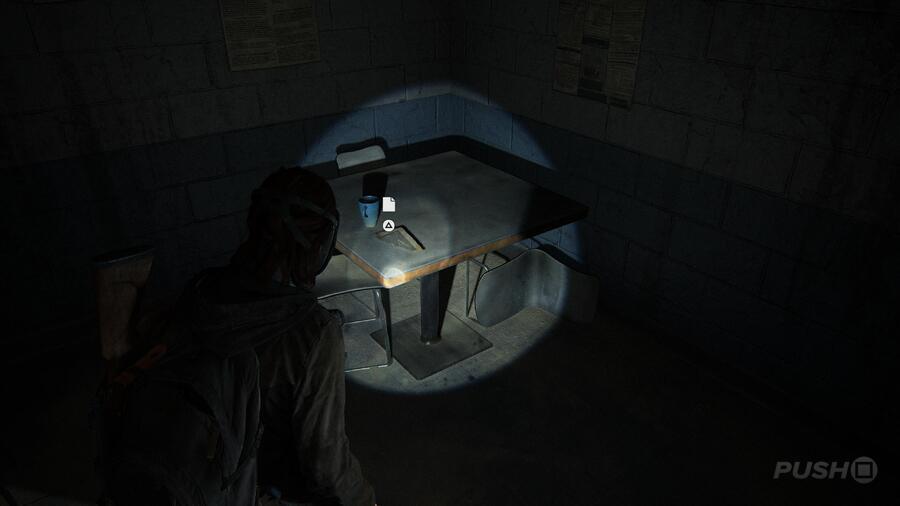
Artefact #4: Soda Can Note
Turn around and smash the glass on the vending machine situated against the wall to your right. There's a soda can with the Artefact attached to it.
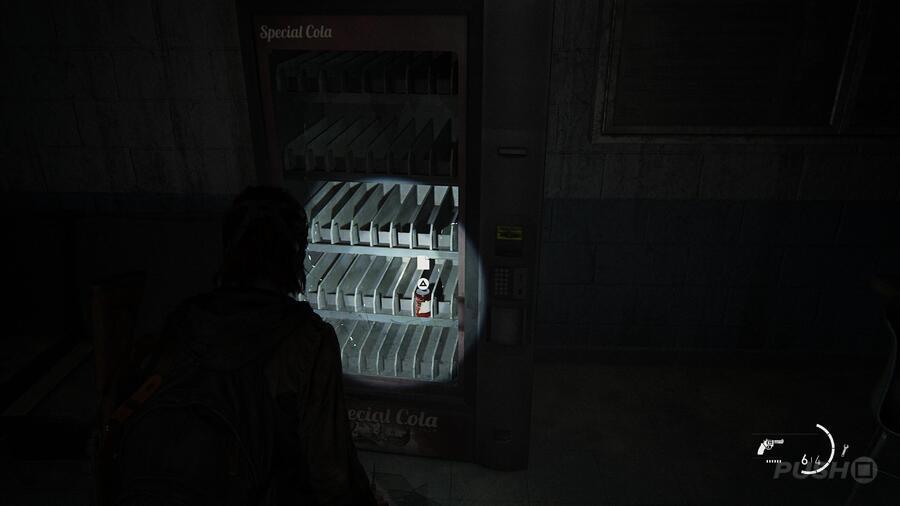
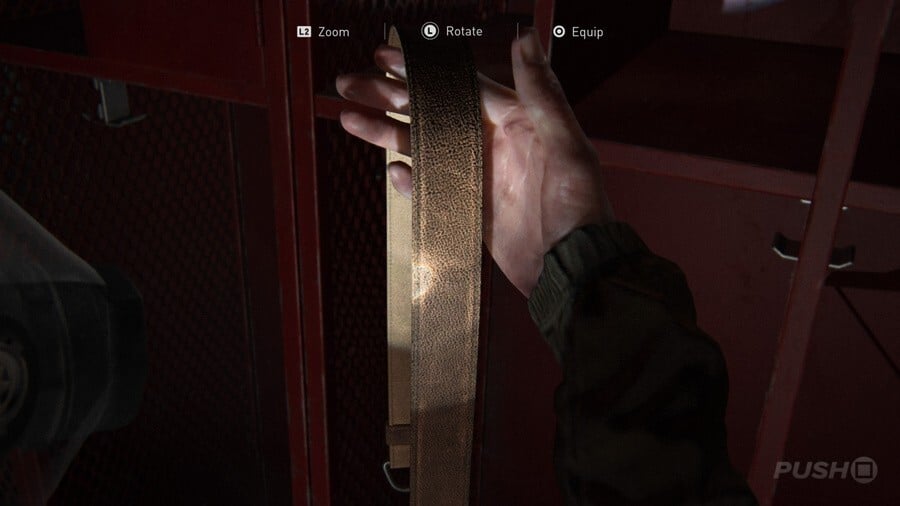
Weapon Upgrade: Long Gun Holster
Input the door code from the soda can nearby, and you'll find the Long Gun Holster (See Also: The Last of Us 2: All Weapon Locations and Upgrades) in a red locker inside. This will allow you to carry and equip two large firearms at once.
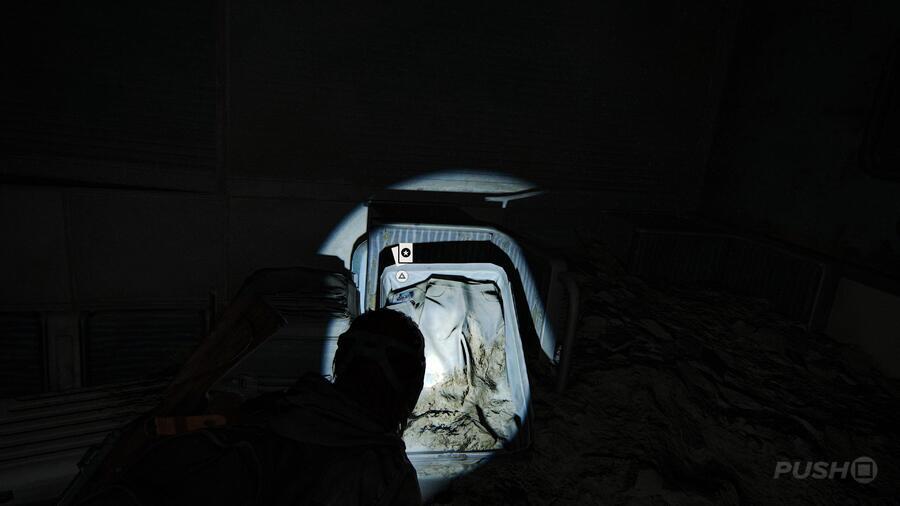
Trading Card #3: Bastet
As you attempt to make your way out of the subway, look for a gap beneath a crashed train next to a toppled vending machine. Crawl underneath it and you'll find the Trading Card on top of a luggage case.
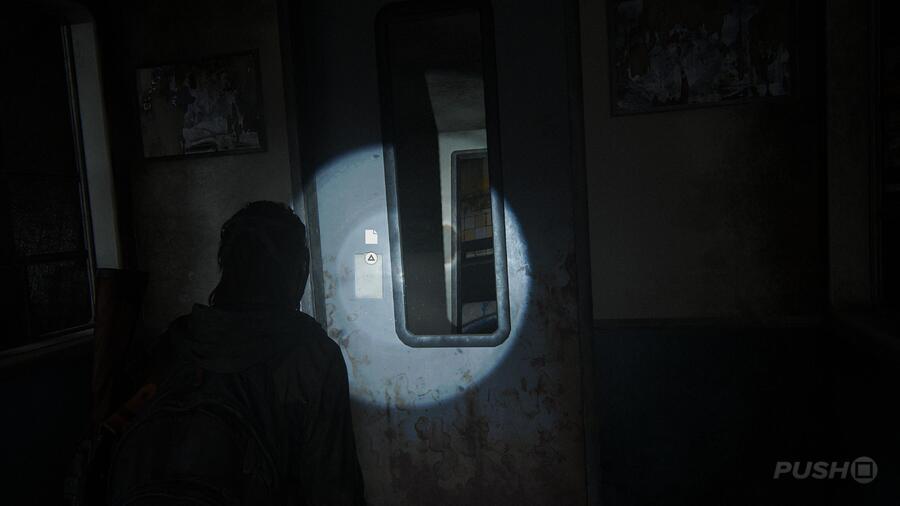
Artefact #5: Subway Station Note
When you can climb on top of the train, climb into the cabin on the way towards the exit and you'll find the Artefact pinned to a door.
Did you find all the Artefacts, Trading Cards, Journal Entries, and Workbenches in The Tunnels in The Last of Us 2? Head back to our The Last of Us 2: Channel 13 - All Collectibles: Artefacts, Trading Cards guide if you're missing anything or carry on to our The Last of Us 2: The Theatre - All Collectibles: Artefacts, Trading Cards guide if you're ready for the next section. Also, don't miss our The Last of Us 2 guide for much more help and guidance.


Comments 5
Trading Card #3: Behind the first blue door (before the soda can note) there is a cage with the card sat on the computer in the corner. Jump over the desk to the left and squeeze under the hole in the cage which can now be unlocked from the inside
FYI: this is, in fact, NOT where the Long Gun Holster is found. I spent a good five minutes in this locker room thinking I found a way to do something wrong, but googling the location just to make certain I didn't somehow miss it revealed that this item is found (no spoilers,) shortly after a sequence involving some dogs. Just keep pushing forward. Don't worry, you're not missing the holster yet.
Also, how is it that the author can't spell the word "artifact"? "Art•i•fact." Maybe a spell checker would help? Pretty unprofessional.
And it would be super helpful if you'd take the time to learn how to discern left from right because the number of times I've had to find my own way to one of these collectibles because your directions are reversed is honestly getting pretty annoying.
(Super-protip: make an "L" shape using the thumb and index finger on both of your hands hands. Hold them up in front of you, and the one that makes a proper "L" shape from your own perspective is your LEFT.)
@NC222 Artefacts is how it's spelled in the UK. Are you dumb?
The guide gets worse as you go on. The door code is 15243 since this guy was to lazy to put it up.
@NC222 bit late but the holster can be found in many different places and he names them all I have already found it in a previous place he listed your using his guides that they put so much work into and instead of saying thank u you come and sound a d!(k bro but I bet my bottom dollar u Carrie on using his guides over the years I found your comment offensive trying to tell him he doesn't know his right from left that I had to comment 3 years later I really hope u see this
Show Comments
Leave A Comment
Hold on there, you need to login to post a comment...