In this second part of our Silent Hill 2 Walkthrough, which presents a step-by-step guide to completing the entire game on PS5, including Collectibles, we'll be covering the Wood Side Apartments. You'll get here after finding the Wood Side Apartments Key as a result of solving the Jukebox Puzzle in Neely's Bar.
This Walkthrough is intended for a playthrough where the Combat Challenge and Puzzles Challenge are both set to the Standard option. For more information covering Combat and Puzzles difficulty options, click the link. This page offers a full guide through the location, from the moment you pass through its entrance to reaching Blue Creek Apartments. We also cover how to solve the Coin Cabinet puzzle and the Room 206 Safe code solution.
Silent Hill 2: Wood Side Apartments Walkthrough - All Collectibles: Memos, Strange Photos, Glimpses of the Past
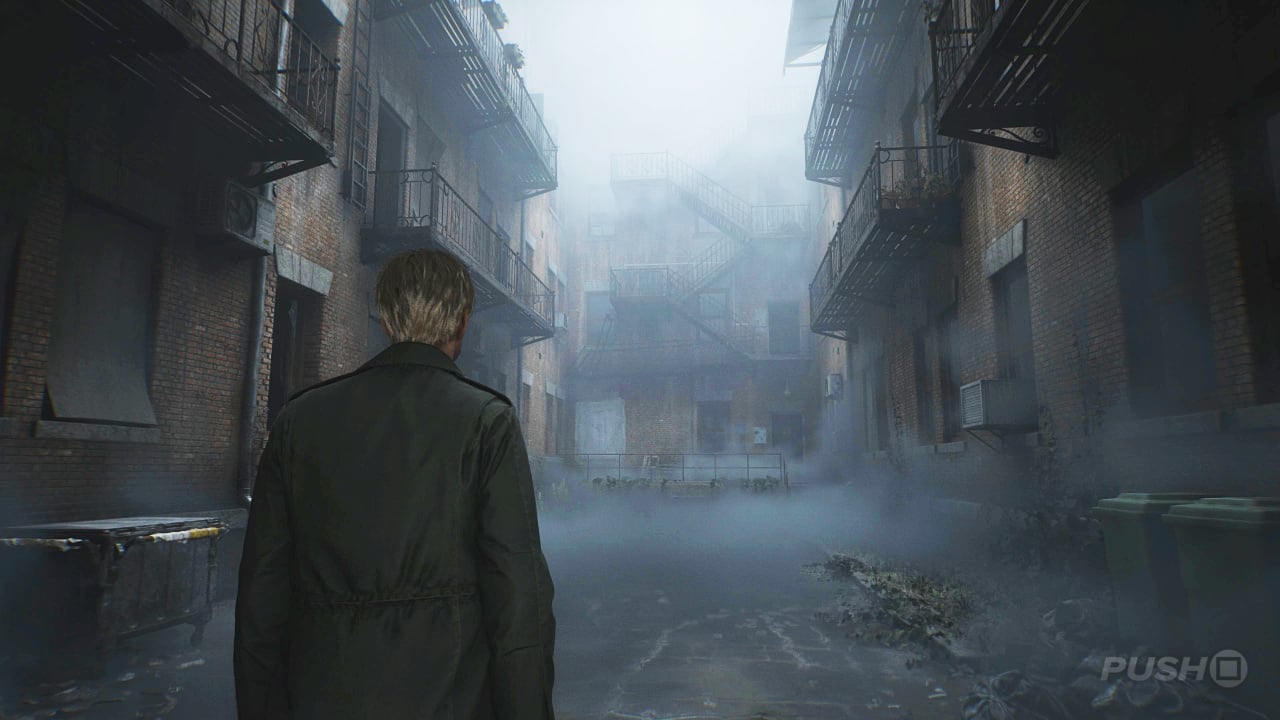
Having escaped the storm brewing outside, the Wood Side Apartments present a surprisingly welcoming ambience. Or, the entrance office does at least. You'll find the Wood Side Apartments 1F, 2F, and 3F Maps pinned to the notice board, and then there's the chance to save your game inside the reception office. In the back room of the office, you'll find Handgun Ammo in a cupboard on your immediate right, and then you can pull the cover off some furniture to reveal the Coin Cabinet. This is the main puzzle for the Wood Side Apartments.
Exit out into the hallway and head left to the staircase. Underneath it you'll get a Health Drink, and then in the mailboxes is a Memo called Administration Note.
Memo #1: Administration Note
On floor 1F, underneath the staircase to the left of the reception office, is a series of mailboxes. Interact with them to get the Administration Note.
Besides some Handgun Ammo in a storage cupboard past the reception office, every other door on this floor is currently locked, so feel free to head up to 2F. Once in the corridor, approach the open door with light shining out of it. Inside, you'll find a Health Drink in a kitchen drawer, and you an approach the mannequin and interact with it to pick up the Flashlight. You'll be immediately attacked by an enemy once you do, so be careful.
Once it's dead, open the drawer in the dressing table to find the Chute Courtyard Key. Leave Room 202 and head back down to floor 1F. You can use the key you just picked up on the set of double doors to the right of the reception office, leading outside. When you're in the courtyard, push the cart up against the window to its right so you can climb through.
Inside, you'll find Handgun Ammo in the bedroom to the left. Leave the apartment and you'll be in a new corridor. Head right into Room 109 to defeat an enemy and take the Handgun Ammo from the bedroom. Return to the corridor and follow it around until you spot a key on the ground just beyond a set of metal railings. When you go to try and pick it up, a little girl will suddenly appear and kick it away out of reach.
Having regained control, exit out into the courtyard and return to the entrance hallway where you're able to save your game. You'll hear the young girl from before as you get inside, and if you look to your immediate left, a door to a new corridor has been left ajar. This leads you to the other side of the metal railings, where the girl kicked the key away. Run to the end to pick the 2F Hallway Key up off the ground, then enter Room 107 next to it. In here you'll find a Health Drink in the bedroom.
Return to the corridor and go inside Room 108, which is the one with its front door left open. In the main room, there's a cupboard you can interact with. Twist the left hand and the Golden Apple Handle will fall to the ground, letting you pick it up and add it to your inventory.
Now enter Room 106 to find some Handgun Ammo. That's this area cleared for now, so return to the entrance hallway to find the shutter on floor 1F has been opened, with two enemies lying in wait. Defeat them, then head into Room 102 on your left. On the tray next to the TV is a Strange Photo called Valentines Day. In the bedroom will be a Health Drink.
Strange Photo #1: Valentines Day
When the metal shutter blocking the corridor leading left on floor 1F has been opened, head into Room 102 and you'll find this Strange Photo on the tray next to the TV.
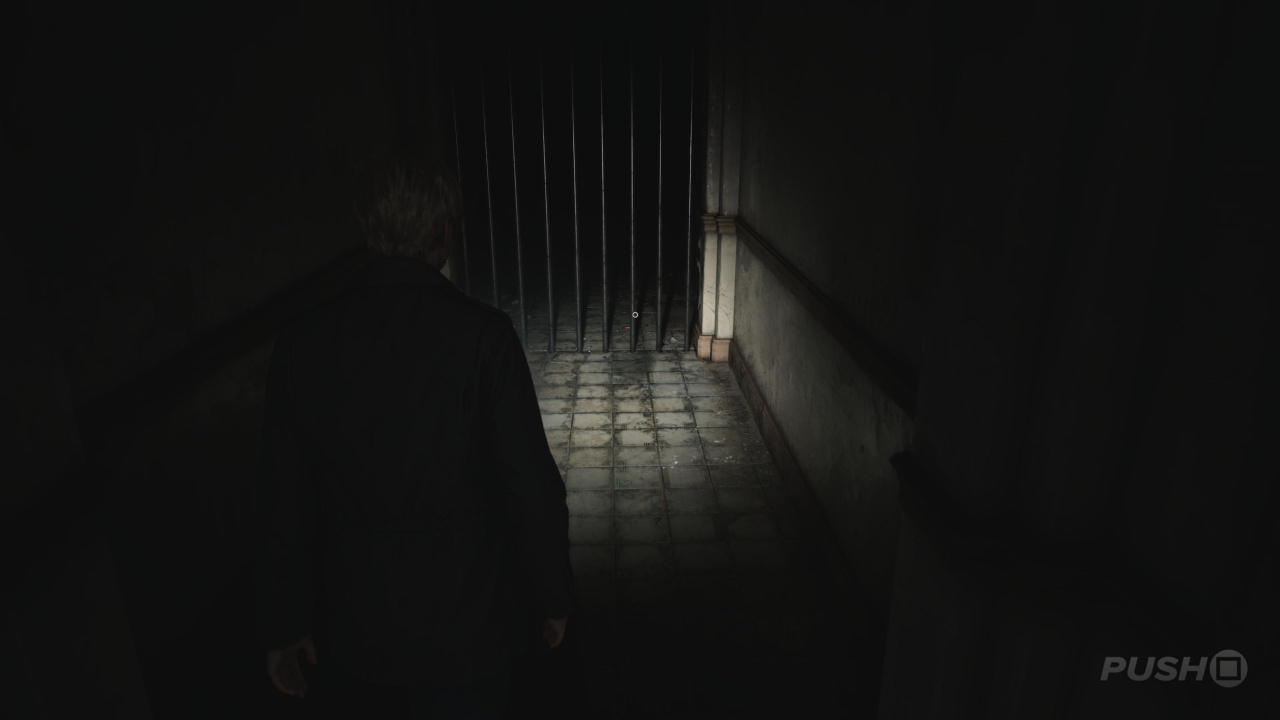
Room 101 at the end of the corridor is locked, so now our only option is to head upstairs to use the 2F Hallway Key on the set of double doors to the left as you get up there. You won't have much luck finding unlocked doors down this new corridor, except when you reach the end. If you notice the red glow also, that's your first sighting of Pyramid Head.
The first, immediate door on your right doesn't have an official name, but it takes the form of a washing room, and there's a garbage chute on the back wall. If you interact with it, you'll notice there's a Coin stuck at the top of it. This is important for later.
Return to the corridor and this time enter Room 213 opposite. It's incredibly dark in here, but if you go into the bedroom in the back and interact with the wall where there are scratches, you'll get one of the Glimpses of the Past.
Glimpses of the Past #1
After using the 2F Hallway Key, you'll follow the corridor along to a dead end with Pyramid Head on the other side of a set of metal bars. Enter Room 213 on your left and interact with the scratches on the wall in the bedroom.
Still in Room 213, head into the living room and squeeze through the gap in the wall next to the chair. This allows you to get around a locked door, and on the wall to your right is a locked door leading up to the third floor. For now, go down to the corridor to the left and enter Room 217 at the end. This is the apartment that had someone complaining about gunshots, and as you can tell by the back wall, someone definitely let off a few rounds. In the storage area to your immediate left is some Handgun Ammo, and you'll find some more in a kitchen drawer.
There's another lot besides the TV, then you should look inside the red trolley: it's a Handgun! We finally have something to put all that Handgun Ammo we've been finding into.
When you leave the room and return to the corridor, you'll hear a scream off in the distance. Squeeze back through the gap in the wall and you'll discover the TV has been switched on to static and a body facing it. Interact with the body for a cutscene, then pick up the Apartment 212 Key off the table to your right. That's the room opposite the one you're in, so return to the corridor (not via the squeeze hole) and cross over to Room 212. You'll notice Pyramid Head is also gone now.
In here, you'll find a Health Drink in a kitchen cupboard. Exit out onto the balcony and follow it along into Room 210. An enemy is hiding and waiting to ambush you in here, so be careful as you turn the corner. Inside the fridge is some Handgun Ammo, and then by the left-most boarded-up window is a Strange Photo called Career's Humble Beginnings.
Strange Photo #2: Career's Humble Beginnings
After finding the Handgun and going back the way you came to discover a corpse in front of a TV and Apartment 212 Key, you'll enter Room 212 and use the balcony outside to cross into Room 210. In here, on the ledge of the left-most boarded-up window, is the Strange Photo.
Leave Room 210 via its front door, and you'll be in a new corridor — the one you saw Pyramid Head in. Head right until you come to a set of stairs outside overlooking the courtyard. Use the lever to your right to lower a staircase, creating a shortcut for you. Go back inside and continue into Room 207, where 2 enemies need defeating before you can grab 2 boxes of Handgun Ammo. While you're in here, you can shoot the balloons displaying "Welcome Home" for a Trophy.
Go back out into the corridor and follow it further around into Room 208, which contains Handgun Ammo in the kitchen and another cupboard locked by a hand contraption. This time, you'll want to insert the Golden Apple Handle into the left hand. Doing so opens the doors and reveals a peephole into a room on the other side of the wall. To access it, push the cupboard on the left-hand side.
Once you squeeze through the gap in the wall that's revealed, you'll be locked inside. For information on how to escape, refer to our how to open the Safe in Room 206 guide:
For your troubles, you'll earn the Man Coin and the Steel Key, with the latter letting you exit Room 206 via the locked door in the back. In this corridor, you can access Room 205. In here you'll find a Health Drink, Handgun Ammo, and the 2F Small Staircase Key placed on the chair in the middle. This key can be used to unlock the door blocking your path to the northern staircase just to the right of Room 215. Head there and unlock the padlock. You'll find a save point on the other side.
From this stairwell, you can head downstairs to access a new section of floor 1F, or explore 3F for the first time. We're going to head up to 3F first, where the only path open to you is a gap in the wall at the end of the left-hand corridor. In here, you'll need to fight 4 enemies, so play it safe using both the Wooden Plank and your Handgun. Sweep the room once they're dead for a Health Drink and Handgun Ammo. You can exit via a hole in the wall, but don't squeeze through the gap just yet. Turn right and head into the small room to the left of the generator to find a Memo called Strange Note along with Handgun Ammo.
Memo #2: Strange Note
After reaching floor 3F, squeeze through the gap in the wall into Room 311, then cross into Room 309 and leave via the big hole in the wall. However, don't squeeze through the next gap right in front of you. Instead, turn right and head into the small room next to the generator to find the Strange Note in a drawer.
Now squeeze through into Room 310 and defeat the two enemies inside, then exit out onto the balcony and use it to enter Room 312. Inside is another enemy, along with a Health Drink and a Memo called Sinister Note pinned to the wall next to the locked front door.
Memo #3: Sinister Note
When you enter Room 312 via the balcony out of Room 310, head for the front door and you'll find the Sinister Note pinned to the wall on the left.
In order to progress, return to the kitchen area and head into the small room opposite. Out on the balcony is a Syringe, then there's a crawlspace on the floor you can use. On the other side, you'll be in another sort of washing room. Grab the Handgun Ammo, then pick up the Canned Juice and use it on the garbage chute next to it. As the cutscene that plays reveals, doing this action nudges the Coin we saw trapped in the garbage chute below. Exit the washing room and return to the northern staircase, taking it all the way down to floor 1F.
There's some Handgun Ammo underneath the staircase at the bottom, then you can exit out into the courtyard and grab the Woman Coin. We recommend heading back to the reception office to the south and making a save at this point.
Now, return to the northern stairwell beyond the courtyard where you picked up the Woman Coin and turn left into Room 116. You should hear someone being sick, so head for the bathroom to trigger a cutscene where James meets Eddie for the first time.
Afterwards, you can grab Handgun Ammo from a kitchen drawer and climb through the window opposite to reach the pool area. There are 5 enemies within this tight section, so try and tackle them one by one, breaking an individual off from the pack so you can kill it more easily. When they're dead, climb down into the pool and take the Snake Coin from the red baby pram/stroller.
Now you have the 3 Coins for the Coin Cabinet puzzle in the office space on floor 1F, return there and insert the Coins so you can solve the puzzle. For all Coin Cabinet riddle solutions, click the following link:
For solving the Coin Cabinet puzzle, you'll earn the Apartment 201 Key. Make a new save so you don't have to go through that process again, then return to the northern stairwell on the other side of the courtyard to get up to floor 2F. Follow the long corridor south, all the way down and around to Room 201 and unlock it. There's a Health Drink in the small bathroom, and a note on the desk. Once you pick it up, a cutscene will play involving Pyramid Head.
Afterwards, you can pick up the Handkerchief and open the red steel door in the kitchen to enter the Otherworld for the first time. This takes place in the Blue Creek Apartments, which is where our Silent Hill 2 Walkthrough continues.
Did you find our Walkthrough covering Wood Side Apartments in Silent Hill 2 and all its Collectibles useful? Our Silent Hill 2 Walkthrough continues in our Blue Creek Apartments Walkthrough, and we have even more guidance and information in our overall Silent Hill 2 guide.


Comments 0
Leave A Comment
Hold on there, you need to login to post a comment...