What are the best lightsaber Stances in Star Wars Jedi: Survivor? As you work your way through the game, you'll unlock up to five different lightsaber Stances, which affect your move set, approach to combat, and how the lightsaber is used. Some are better in certain situations than others, but this guide is designed to give you a general consensus on what to equip most of the time. As part of our Star Wars Jedi: Survivor guide, we're going to reveal the best lightsaber Stances.
Star Wars Jedi: Survivor: All Lightsaber Stances Explained

Below you'll find a description of each lightsaber Stance, taking into account its usability, stats, and the sort of combat encounters you might want to use it in. After that, we'll present the two lightsaber Stances we recommend you should use for most situations.
Single
A classic, balanced approach to combat. Reliable in all situations.
Subscribe to Push Square on YouTube167k
The Single Stance offers moderate stats across the board. You can be assured of a reliable time across Power, Speed, Range, and Defense. It's ideal for taking on one or a few enemies at a time.
Double-Bladed
A highly-mobile, energetic approach to combat. Best for dealing with many enemies at once.
The Double-Bladed Stance sacrifices Power for Speed and a better Defense. Perfect for taking on many enemies at once — especially if they have blasters — you can defend yourself while dealing damage in a larger radius.
Dual Wield
A purely offensive approach to combat. Overwhelm enemies with a flurry of strikes. Abort attacks by pressing L1.
The Dual Weild Stance is all about dealing damage at a faster rate. You're leaving yourself wide open with a much worse off Defense, but the risk could well pay off for you.
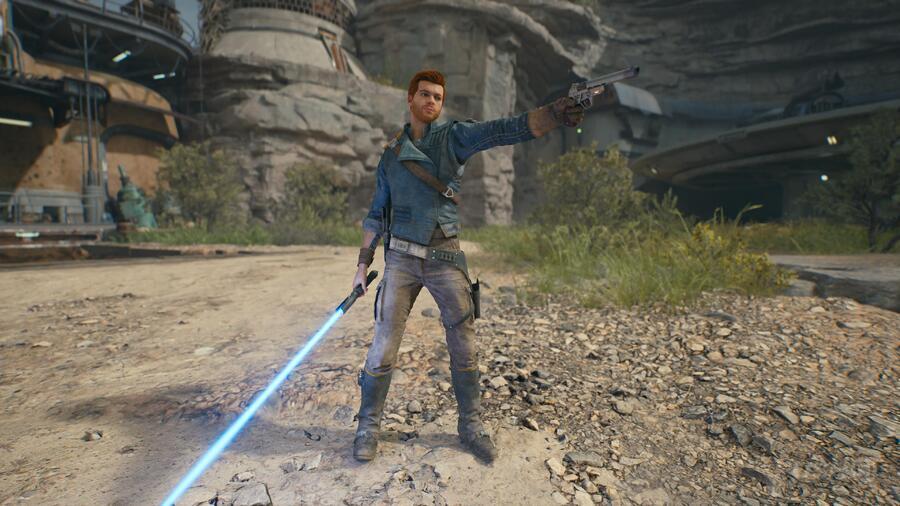
Blaster
An unorthodox approach to combat. Couple your lightsaber with a blaster to gain ranged superiority.
The Blaster Stance focuses heavily on ranged damage thanks to the introduction of a blaster for Cal. With this, you can shoot at enemies at a distance while wielding a lightsaber in your other hand. Your move set is quite basic when you've got a gun in the other hand, but with a Charge Shot to keep you company, you can stay safe while taking shots at the Empire.
Crossguard
A slow, yet highly lethal approach to combat. Powerful swings devastate enemies, but have very long wind-ups.
The Crossguard Stance leaves you wide open to enemy attacks while you're swinging the lightsaber, but if you manage to land the hit, the payoff is immense. This Stance deals heavy damage while sacrificing a lot of Speed. It's best used during one on one fights like boss encounters.
Star Wars Jedi: Survivor: Best Lightsaber Stances
While it may be the most boring answer since you start the game with them, the two Stances we recommend you have equipped the majority of the time are Single and Double-Bladed. They excel in almost every single situation possible, with the other Stances only proving useful over Single and Double-Bladed in a handful of situations. Single can cover most single enemy encounters and boss fights while Double-Bladed is handly when a whole platoon of droids stands in your way. You really can't go wrong with these two.
Did you find our Best Lightsaber Stances guide for Star Wars Jedi: Survivor useful? Click through to our Star Wars Jedi: Survivor guide for more information and share any further tips in the comments below.


Comments 0
Wow, no comments yet... why not be the first?
Leave A Comment
Hold on there, you need to login to post a comment...