In this second part of our Silent Hill 2 Walkthrough, which presents a step-by-step guide to completing the entire game on PS5, including Collectibles, we'll be covering the Blue Creek Apartments. You arrive here after stepping across a gap between two doors from the Wood Side Apartments.

This Walkthrough is intended for a playthrough where the Combat Challenge and Puzzles Challenge are both set to the Standard option. For more information covering Combat and Puzzles difficulty options, click the link. This page offers a full guide through the location, from the moment you step across the gap into its entrance until the end of the Pyramid Head boss encounter. This also includes how to solve the Clock Puzzle in Room 212, how to solve the Seesaw puzzle in Room 210, and the moth lock combination and how to get it.

Note: This page is considered a work in progress as we're still tracking down the last few Collectibles in the game.

Silent Hill 2: Blue Creek Apartments Walkthrough - All Collectibles: Glimpses of the Past, Strange Photos
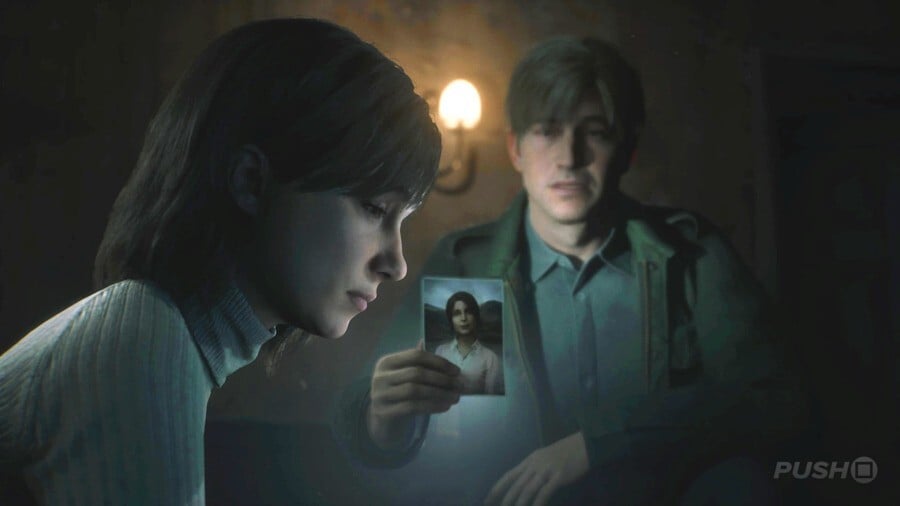
Silent Hill 2: Bluecreek Apartments Walkthrough 1
Image: Push Square

After crossing the gap between two doors from Wood Side Apartments to Blue Creek Apartments, you'll be inside what's considered the Otherworld. This is sort of like a different realm within Silent Hill, and it's even more decrepit and rundown. Once you regain control, pass through the apartment and out into the corridor, grabbing the Handgun Ammo off the chair to your right and then following the path around until you find the Blue Creek Apartments 1F, 2F, and 3F Maps on the wall. Continue along the corridor to find all the doors locked. However, right at the end, there's a cracked piece of the wall with black liquid pouring out. Hit this with your Wooden Plank to create an entrance into Room 206.

There are 2 boxes of Handgun Ammo and a Health Drink inside, along with 2 enemies to defeat. With those things cleared, exit via the blue front door and push on Room 202's locked entrance to receive the hint about "M" on Door. Continue along into Room 212, where there's a Health Drink, a save point, and a note to read. Then, to the left of the save point, pull the cover off the Clock. This is the main puzzle for the Blue Creek Apartments.

Now we sort of have a main objective for the area, exit out onto the metal balcony and head right to hear a bang on the door ahead, which James marks on his map as "H" on Door. There's some Handgun Ammo on the boxes just ahead, then you can double back and enter Room 203. Go through the bedroom into the main living space, where a television set will switch itself and leave you in temporary darkness as an enemy attacks. Once it's dead, grab the Syringe from the kitchen and then destroy the wall next to it to cross into Room 205.

Take the Handgun Ammo from the cot and enter the main living space to find an enemy to kill. Grab further Handgun Ammo from the bathroom, then climb out onto the metal balcony and take the stairs up to floor 3F, where you can use the boxes to climb into Room 303. There's Handgun Ammo and a Health Drink in the two kitchens as the former has been opened up into a larger space combined with Room 305. Leave into the corridor on the left-hand side of your map. If you take a left and head to the end, Room 303 has some Handgun Ammo in a separate area you couldn't access before.

Now follow the corridor on floor 3F north into Room 307, where you'll discover a Radio chained up and hanging from the ceiling. Handgun Ammo and a Health Drink can be found in the kitchen, then in the room on your right is a pipe missing a handle. Go outside through the propped open door and climb in through the window into a new area of Room 305. You'll be locked inside once you enter, but pick up the Apartment 306 Key and then interact with the pipe on the wall by holding Cross/X. 2 enemies will ambush you when you do, so kill them and head for Apartment 306 in the northwest corner of floor 3F.

You'll find 2 enemies inside, then Handgun Ammo and a Health Drink. By the couch is a crawlspace you can use to enter the kitchen, where a hole in the wall lets you enter Room 304. Handgun Ammo is found in the small room opposite as well as the kitchen; then two enemies need to be dealt with. When you're ready, interact with the pipe handle in the living room and it'll explode, allowing you to remove and take the Valve.

Beware that when you leave through the blue front door out into the corridor, 2 sets of enemies will attack you. This can be a difficult fight, so play it safe and don't be afraid to burn through some Handgun Ammo. When they're all dead, return to Room 307 and use the Valve on the pipe. This lowers the Radio in the other room and lets you interact with it, rewarding you with The Hour Hand.

Lowering the Radio also unlocks the door it was bolted to, so head out onto the balcony outside and use the lever on the left to lower a staircase leading down to floor 2F. At the bottom, you can enter Room 212 and insert The Hour Hand into the Clock. For information on what to do with the Clock next, refer to our how to solve the Clock puzzle in Room 212 guide:

Once you've worked it out, the door that was previously locked that James marked as "H" on Door on his map has been opened. It's just outside on the balcony to the right. This apartment has electricity for some reason, making it easy to notice the Handgun Ammo in the kitchen and the Seesaw in the living area. There's a piece of the wall you can break in the kitchen, and if you search the toilet 3 times, you'll find The Minute Hand.

Leave the room and pick up the Pigeon Figurine for the Seesaw puzzle, then exit via the blue front door. You're in a new part of the Blue Creek Apartments now, so start by heading north to the end of the corridor to find some Handgun Ammo, then enter Room 209. In here, enter the right-hand door and use the path through the holes in the wall to access the bathroom. Smash the glass and take the Malformed Figurine Part.

Return to the main corridor and this time head south to Room 211, grabbing the Health Drink just before you enter. Kill the 2 enemies lying in wait, take the Handgun Ammo from the kitchen, then claim the Wooden Swan Head from the hook it's hanging from. Open up your inventory and combine it with the Malformed Figurine Part to get the Swan Figurine. This allows you to solve the Seesaw puzzle, with the final step detailed in our guide below:

Once you've done so, you'll earn the Winged Key. This can be used to unlock the door just to the left of the Seesaw, with a big hole on the other side inviting you to jump down. Do so and you'll end up all the way down on floor 1F of Blue Creek Apartments — in Room 110 specifically. Interact with the piece of furniture in front to witness one of the Glimpses of the Past.

Glimpses of the Past #1

After jumping down the hole having used the Winged Key, you'll end up in Room 110. Interact with the piece of furniture with the plague on it and you'll get this Glimpse of the Past.


Then, in the kitchen is Handgun Ammo and a Health Drink. Exit out into the corridor and head north into Room 109, where there's more Handgun Ammo in its own kitchen. Here you'll trigger a cutscene with Angela, who's the same woman you first met at the Graveyard at the very start of the game. As a result of the interaction, you'll get Angela's Knife and the Key of Resilience off the table.

The latter can be used to open the set of double doors at the southern end of the corridor. If you approach the door on the other side to the right, James will mark "S" on Door on his map. To progress, grab the Handgun Ammo and then go through the other set of doors to enter Room 101. Take the Syringe and Handgun Ammo, then follow the path around to a stairwell heading upstairs. Before you go up, go right to find a Strange Photo on the ground.

Strange Photo #1: Forever Together

Following the cutscene with Angela and obtaining the Key of Resilience, use it to unlock the set of doors at the southern end of the corridor on floor 1F. Follow the path through Room 101, then when you come to the bottom of the stairwell, go around to the right to find an enemy and this Strange Photo on the ground.


Go upstairs after claiming the Strange Photo and unlock the set of doors leading into the main corridor on floor 2F. Now, finally, return to Room 212 to make a save and then use The Minute Hand on the Clock. Here's the solution you need:

Once that's been inputted on the Clock, the door James has marked "M" on Door on his map will be open. You'll find the room to be full of moths, and a combination lock blocking your exit. For a step-by-step guide to this puzzle, please click the link:

Once you've cracked the code, the door will open to reveal a bedroom with a small hole in the wall that James can stick his hand into. Do so 3 times to get The Second Hand. Return to the Clock in Room 212, noticing the huge scrape marks on the floor and walls as you go (that's from Pyramid Head). Make a save and place The Second Hand in the Clock. For the final solution, refer below:

Having solved the last Clock-related puzzle, the double doors James has marked "S" on Door on floor 1F will be open. On your way there, when you reach the top of the stairwell on floor 2F, interact with the enemy corpse for one of the Glimpses of the Past.

Glimpses of the Past #2

After completing The Second Hand puzzle in the Clock found in Room 212, you'll need to return to floor 1F. When you get to the top of the stairwell from floor 2F, interact with the enemy corpse for this Glimpse of the Past. This only appears after completing the Clock puzzle; it's not there the first time you climb up the staircase.


Once you reach the door James has marked "S" on Door, you'll be introduced to a boss fight with Pyramid Head. While he's extremely slow, his gigantic sword has huge range, so always try and keep a good distance between you and him. Feel free to shoot at him, either aiming for his metal head or fleshy body. After a short while, the ground will shake and Pyramid Head will speed up a little, making him even more dangerous. Always run away to create some space between the two of you. Continue taking potshots at him, and eventually, a siren will start and Pyramid Head will stop attacking. He walks away and opens the large set of metal double doors, allowing you to also leave Blue Creek Apartments.


Did you find our Walkthrough covering Blue Creek Apartments in Silent Hill 2 and all its Collectibles useful? Our Silent Hill 2 Walkthrough continues in our West South Vale Walkthrough, and we have even more guidance and information in our overall Silent Hill 2 guide.

PlayStation Buttons based on work by VictorPines, CC BY-SA 4.0, via Wikimedia Commons